19+ Sample Gantt Charts
-
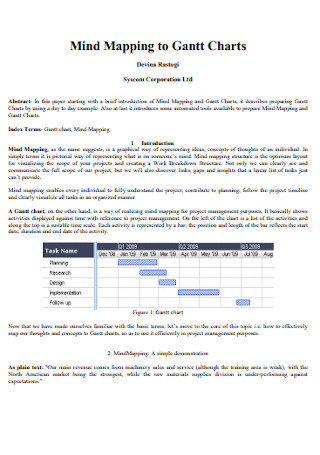
Mind Mapping to Gantt Charts
download now -
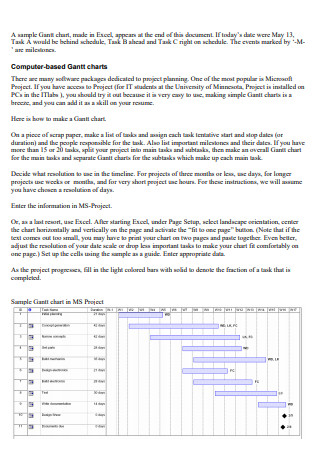
Project Planning and Gantt Charts
download now -
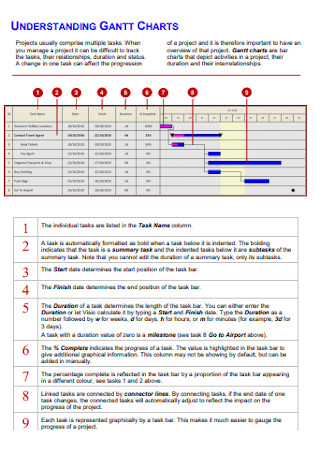
Understanding Gantt Chart
download now -
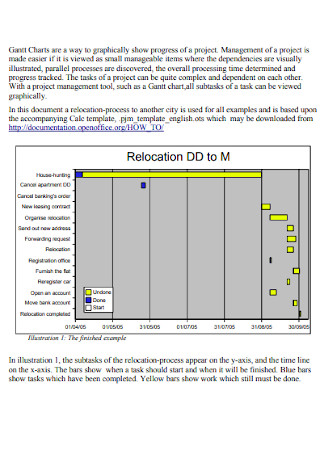
Project-Management with Gantt-Charts
download now -
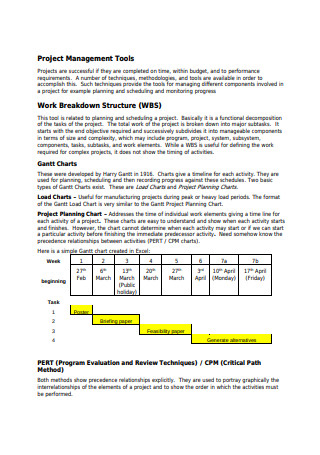
Project Management Gantt Chart
download now -

Project Planning Gantt Chart
download now -
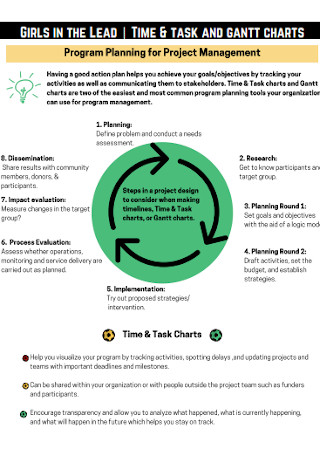
Task and Gantt Chart
download now -
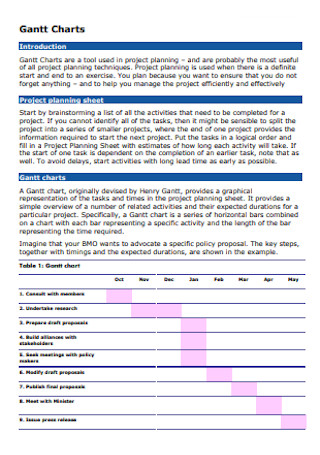
Sample Gantt Chart
download now -
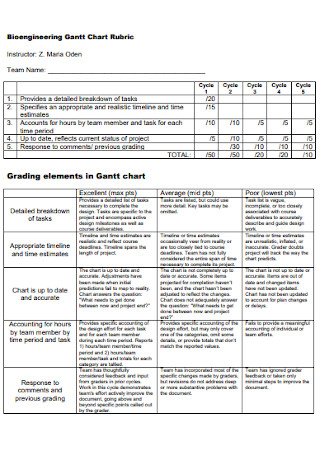
Bioengineering Gantt Chart
download now -
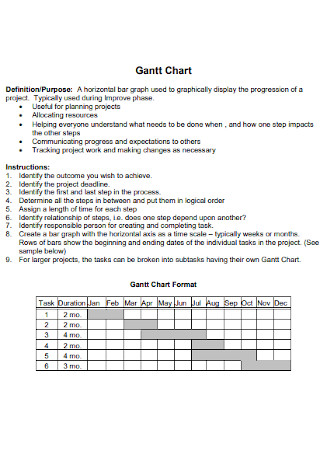
Gantt Chart Format
download now -
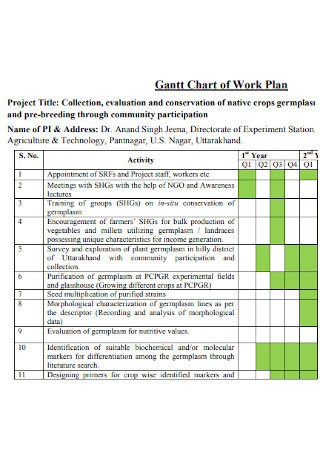
Gantt Chart of Work Plan
download now -
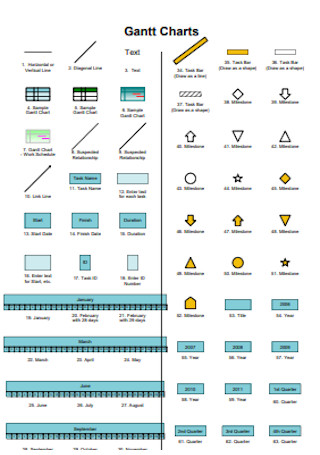
Simple Gantt Charts
download now -
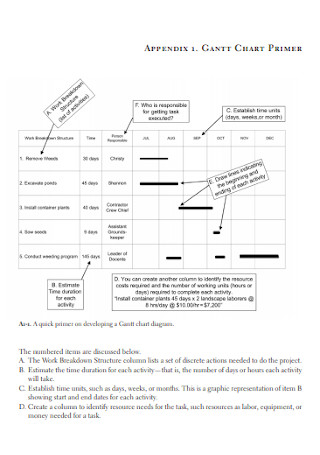
Gantt Chart Format
download now -
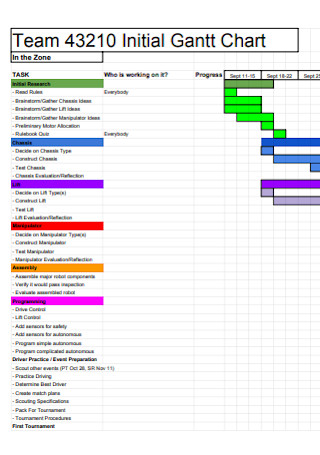
Initial Gantt Chart
download now -
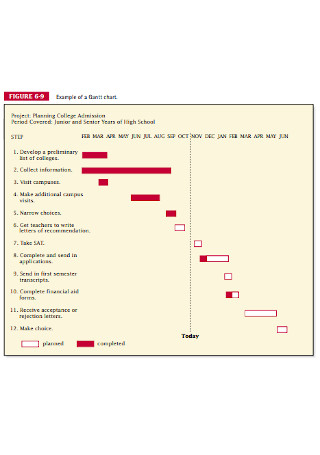
Standard Gantt Chart Template
download now -
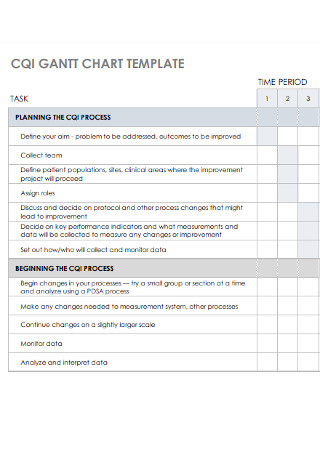
Formal Gantt Chart
download now -
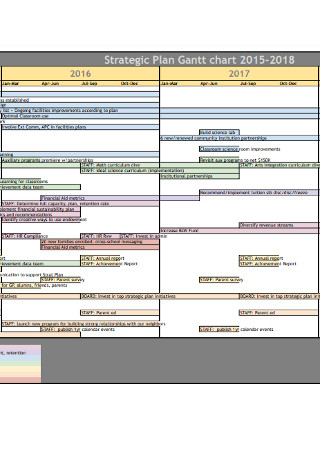
Strategic Plan Gantt Chart
download now -
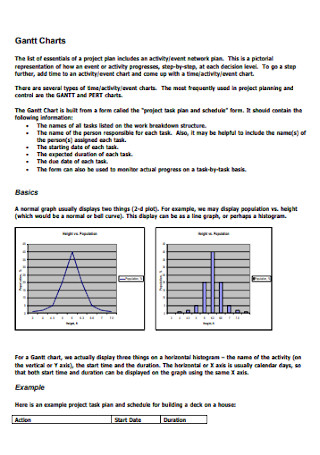
Simple Gantt Chart
download now -
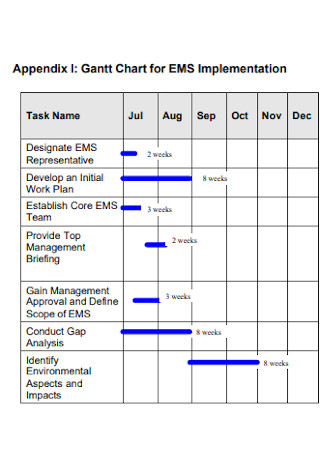
Gantt Chart for Implementation
download now -
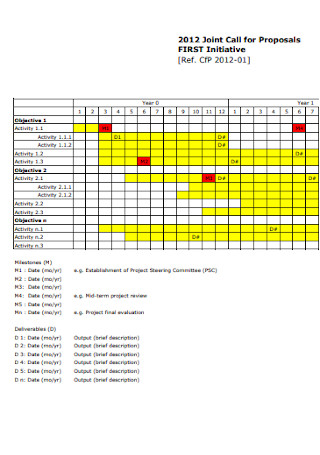
Gantt Proposal Chart
download now
What Is a Gantt Chart?
A Gantt chart is an instrument most commonly used in project management. It helps the planning process as well as keeping track of records easier and comprehensible. According to Wikipedia, it is a type of bar chart. It is designed by an American mechanical engineer and management consultant named Henry Laurence Gantt.
In simple terms, a Gantt chart is a visual representation of the tasks involved in the project. It outlines and showcases the schedule of the tasks as well as their relationship or dependencies with one another. This will also help in monitoring the resources needed and used in a project.
Key Elements Included in a Gantt Chart
Now that we know that a Gantt chart is a kind of horizontal bar chart, we can then identify the different core components that are needed to be included in it. A bar chart in general will be made up of columns and rows. Here are the different elements that are input in those rows and columns.
Step by Step Process in Creating Your Own Gantt Chart
Step 1: Select a Template
Creating a Gantt chart from scratch may be burdensome and confusing. However, with the help of the templates available above it will become easier and faster. As the main purpose of this document is to make the planning and management of the project easier, it is a must that it is created with clarity as well as with care. It is important that the chart is neat and organized.
It is important to make sure that the chart is created with care as this can also be used as a point of reference for future documents like a project status report.
Step 2: Know and Understand the Specific Goals
It is not enough that you know the mission statement as well as the vision statement of the company or the business organization. Each project has its specific goals to achieve. Just like in any project the very first step is to identify the goals. Know what are the required deliverables by the end of the project.
This will usually answer the question of why that project is being implemented or constructed. This will also answer and give an overview of why the project is of significant importance to the overall success of the business organization as well as to the whole industry.
Step 3: Identify the Tasks
The next step is to identify the tasks or activities that are needed to be performed in order to complete the project. This should be detailed. It is important to make sure that the list is complete and will encompass all that is required to be conducted in order to deliver the desired output and goals. If there is uncertainty or confusion, you can make use of a work breakdown structure in order to make sure that everything is accounted for.
Step 4: Identify the Duration
The next thing to identify is the length or duration of each task. One of the main uses of the Gantt chart is to identify and plan the schedule of the project. This will lead to a better understanding of the time required to be allocated on a particular task or activity. In order to identify the schedule with clarity, it is a must to identify the duration for each activity.
It is also important to take note of the earliest possible starting date of a task and the expected date the said task will be finished. Make use of a critical path in order to identify the crucial activities. These critical activities must be prioritized in the identification of the duration of each task.
Step 5: Identify the Dependencies
In order to successfully finish a project, a series of tasks needs to be performed. One of the most important things in managing a project is to identify the relationship between each task and identify their importance.
Fully knowing and understanding the dependencies of the activities will lead to a better management of the tasks and the durations. A task can be under one of two categories. They can either be under sequential tasks or parallel tasks.
Sequential tasks or also referred to as linear tasks are those that need a prerequisite. This means that a task must be finished first in order to move on with other tasks. They are usually the ones that are done in a hierarchical or succeeding order. Under sequential tasks there are also 3 categories. They are finish to start (FS), start to start (SS) and finish to finish (FF).
Finish to start (FS) – This means that a task cannot start unless the previous task is finished.
Start to start (SS) – This means that a task may only start if the previous task has started.
Finish to finish (FF) – This means that a task may only end if the previous task has finished.
Step 6: Verify Your Work
Proper project management will lead to a huge boost in your chance of success. It is only right that you double-check your work in order to make sure that there are no errors. It is a must to check the list of tasks or activities and make sure that there are no overlapping activities. Having overlapping activities may lead to overspending or delay in the schedule of the project.
Step 7: Identify the Risks
This step is optional. Although it is optional, experienced and smart project managers will always opt to have a register of the risks that may hinder the success of the project. It is important to identify the problems that may appear as you undergo the whole process. A good project manager will come up with a risk management plan as well.
Step 8: Identify the Members
This is an additional step. This is important as not only the managers should know about the Gantt chart. It is important that every team member has access to the document. This is done so that they will know and understand better the duties and responsibilities assigned to them.
Lastly, in order to properly execute the Gantt chart, it is a must that a project manager knows and understands the strengths and weaknesses of each team member. This is done in order to properly and accurately allocate team members to the tasks in which they will thrive and succeed. Make use of an employee information form in order to know the skills and knowledge they possess. In some cases, this is also based on the recent employee performance evaluation report.
Benefits That a Gantt Chart Has to Offer
To have transparency
By the use of a Gantt chart, everyone will be aware of each member’s tasks and responsibilities. This promotes transparency in the workplace. This will lead to more trust and unity between every team member.
To have a sense of accountability
Allocating the task to the respective members will give them a sense of responsibility and liability. This will also lead to better trust in the workplace.
To have more clarity
Having a Gantt chart helps in having a point of reference of the tasks that are done and underway. This will result in a clear understanding of what needs to be done next.
To have better time management
This means that having a chart will help in managing the time of every employee and every task. With a chart, you can easily visualize the project and understand the negative impact of any delays. In understanding the severity of any delays and which tasks can be delayed, you can make use of a critical path.
To know the dependencies
In order to complete a project, a series of interconnected tasks should be accomplished. More often than not, tasks in a project are to be done in a hierarchical order. This means that some tasks are prerequisites of other tasks. Having a Gantt chart will help you understand the order and relationship of every task.
To measure the progress
Bar charts are very effective in checking progress. Any visual depiction of the progress is better than a written document. This will lead to faster and better understanding of the activities that are in progress and are at risk of being delayed.
To avoid overspending
Having a complete list of the tasks to be done will result in a clear and organized project management. This will lead to better planning and management of the resources as well. This in turn will lead to avoiding excess resources that will result in overspending.
To improve communication
With the use of this chart managers will know who is working on that particular task as well as check the progress of the task. He or she can then leave comments or notes about the status of the task. This will lead to faster and better communication for every team member.
To have a visual
This is the biggest pro that a Gantt chart has. There is no doubt that a picture is worth a thousand words. Having a visual representation of the tasks as well as the duration of the tasks is better and easier to comprehend than having a long written document.
A Gantt chart is a type of bar chart that will outline and visualize the tasks and the duration of each task. This is an effective tool to properly allocate the resources and manage the manpower and resources you have. It is important to remember that this can be a point of reference for other documents such as project reports.
A visual representation will always be an effective instrument to show that target audience of the progress of the project. This should be done with utmost care, knowing that make sure to utilize the templates that are available above.
