Punch List Samples
-
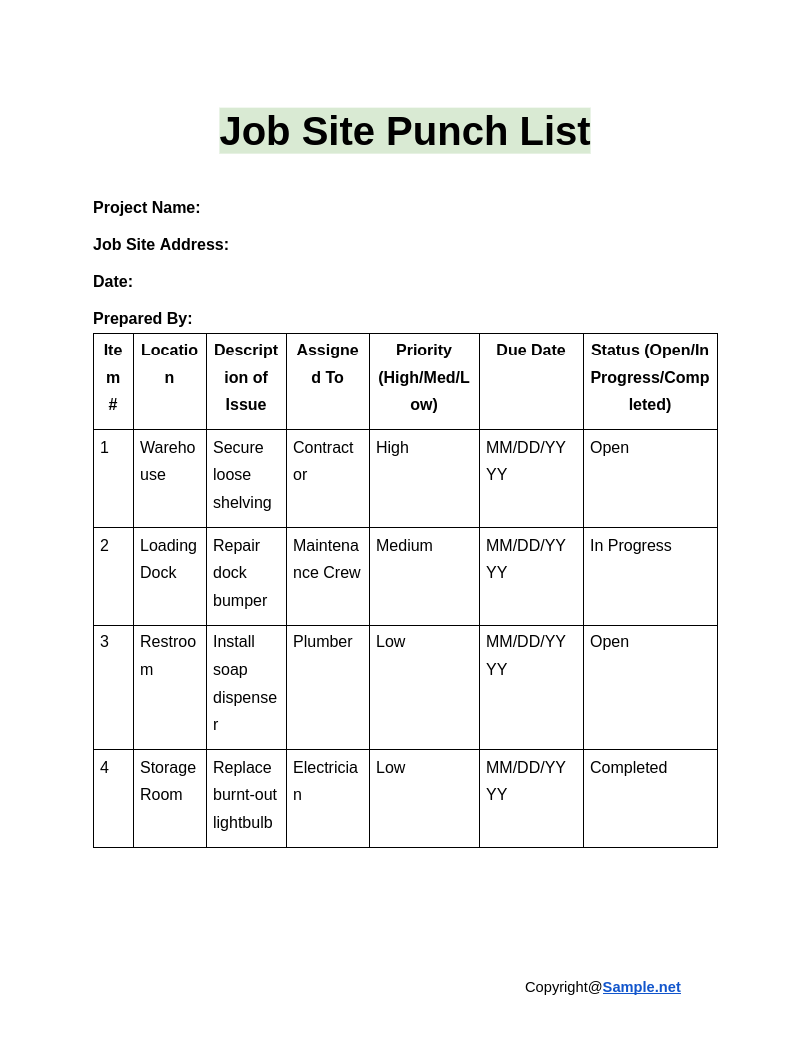
Job Site Punch List
download now -
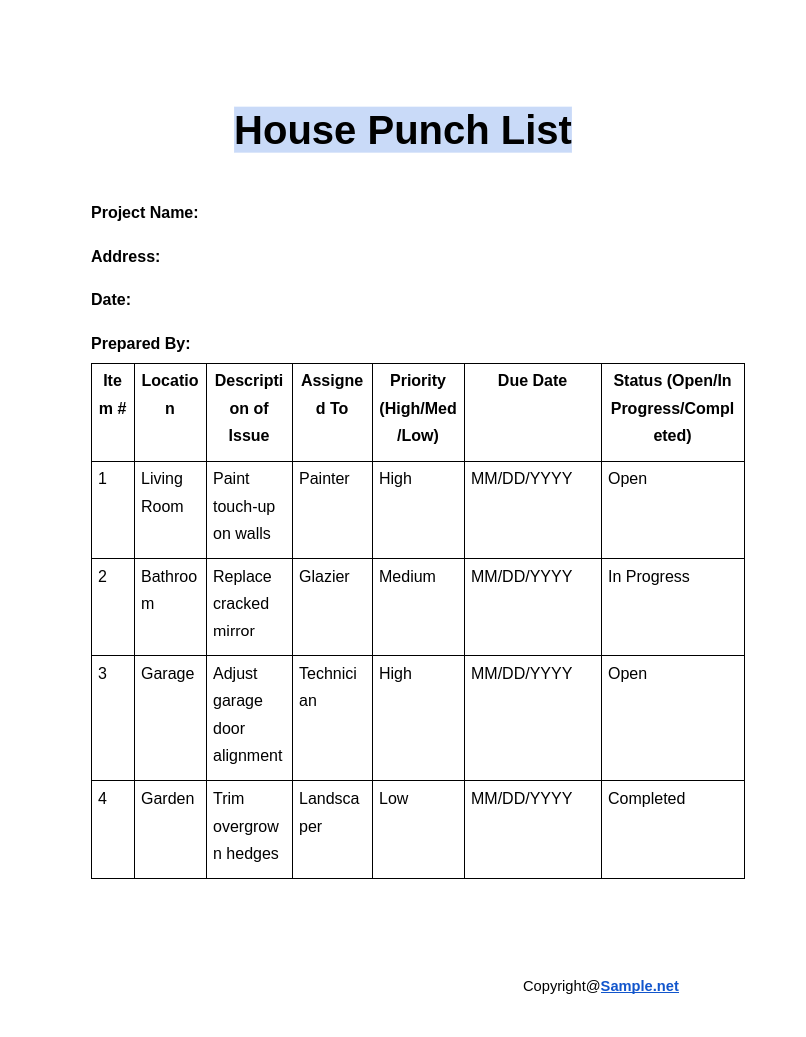
House Punch List
download now -
Architectural Punch List
download now -

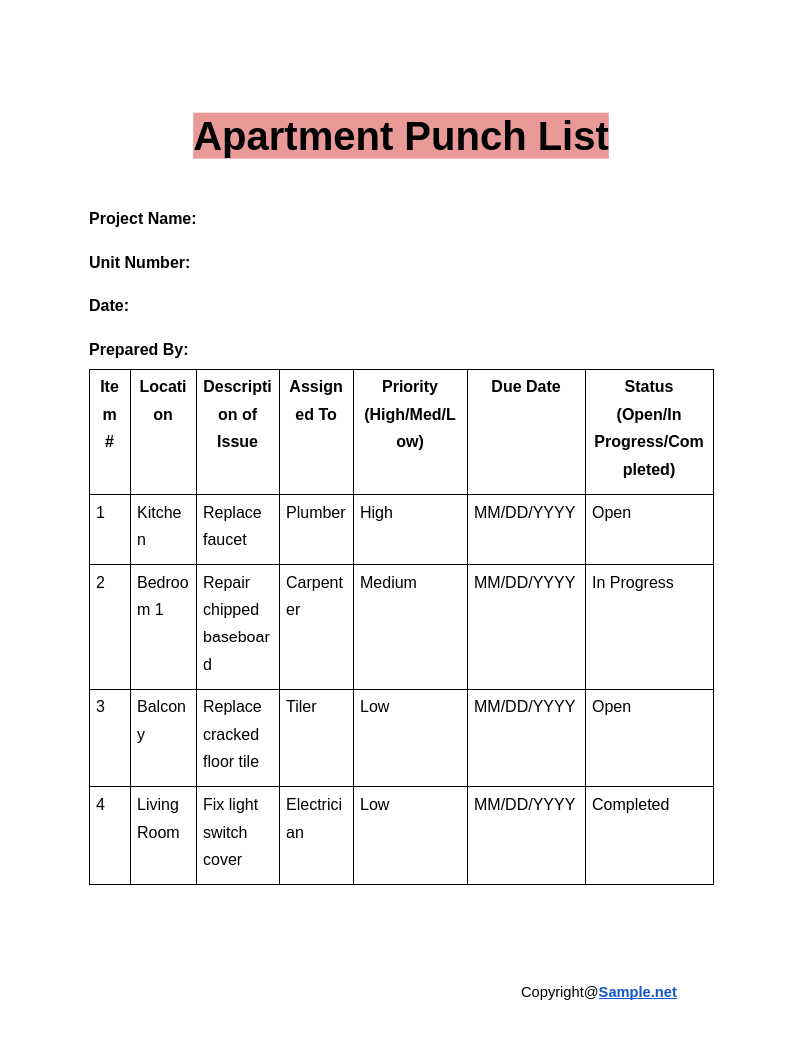
Apartment Punch List
download now -
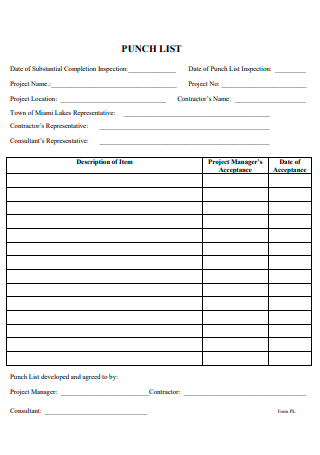
Punch List Template
download now -
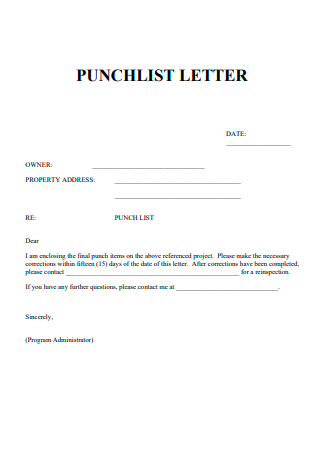
Punch List Letter
download now -
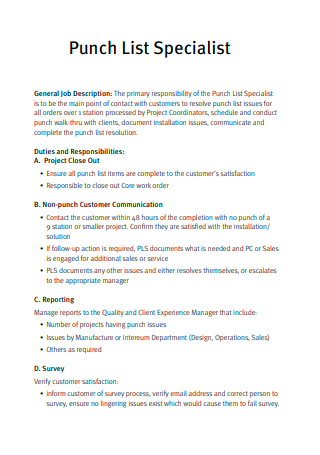
Punch List Specialist
download now -
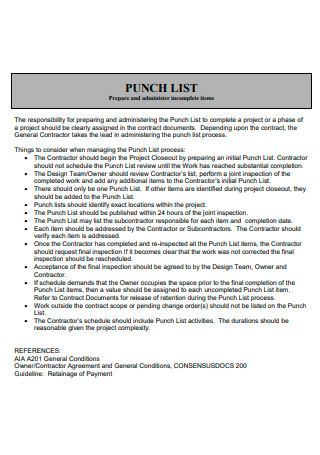
Punch List in PDF
download now -
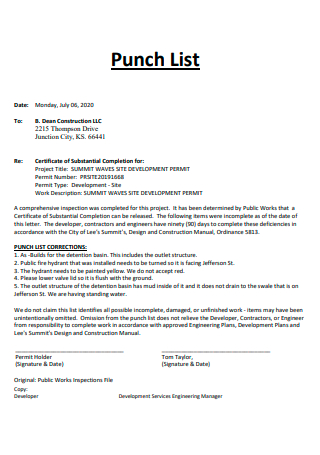
Standard Punch List
download now -
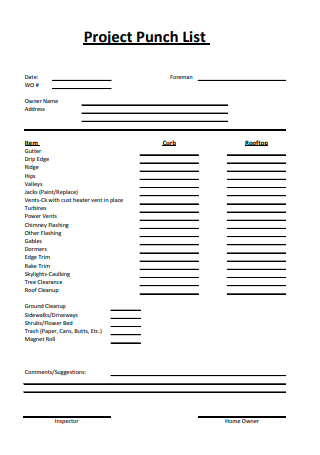
Project Punch List
download now -
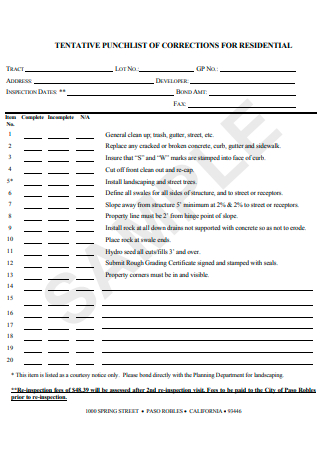
Sample Punch List
download now -
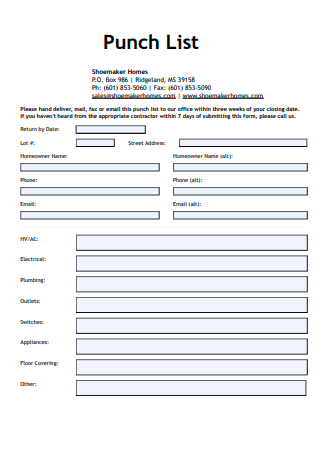
Formal Punch List
download now -
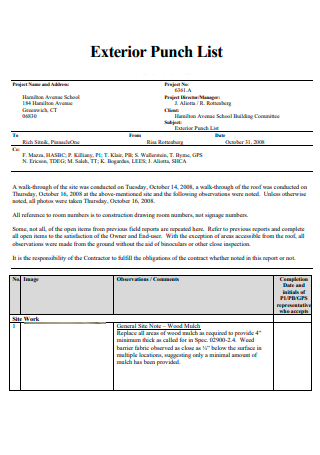
Exterior Punch List
download now -
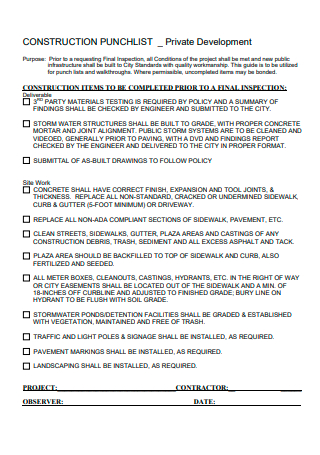
Construction Punch List
download now -
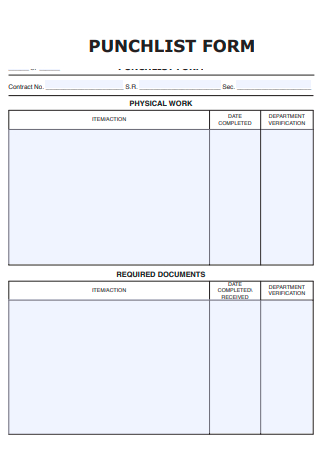
Punch List Form
download now -
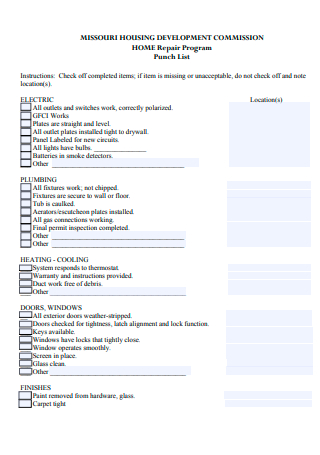
Home Repair Program Punch Lis
download now -
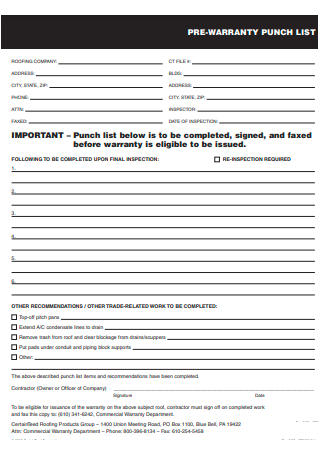
Pre-Warranty Punch List
download now -
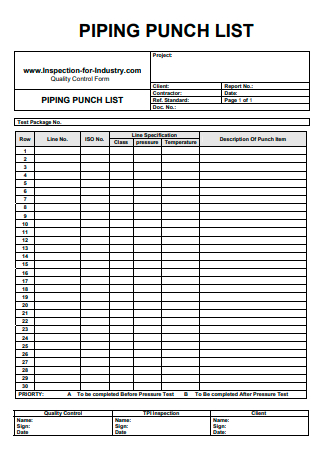
Piping Punch List
download now -
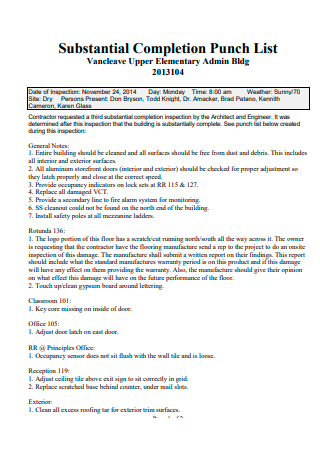
Substantial Completion Punch List
download now -
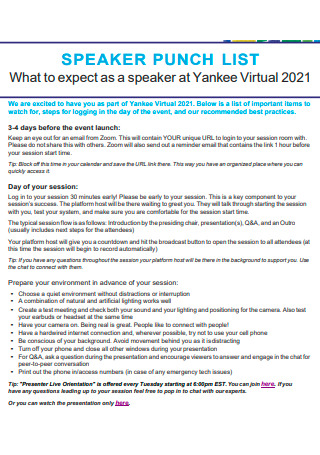
Speaker Punch List
download now -
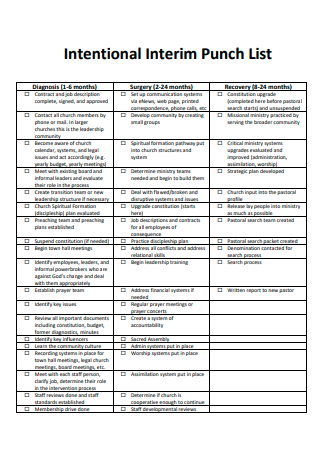
Intentional Interim Punch List
download now -
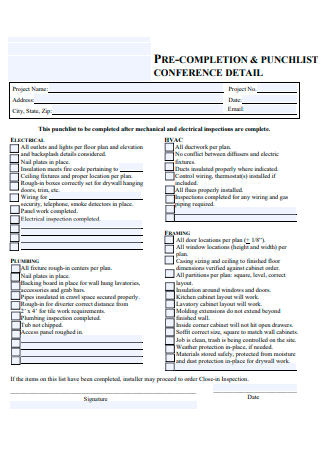
Pre-Completion and Punch List
download now -
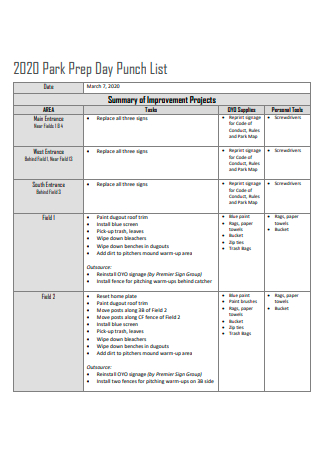
Park Day Punch List
download now -
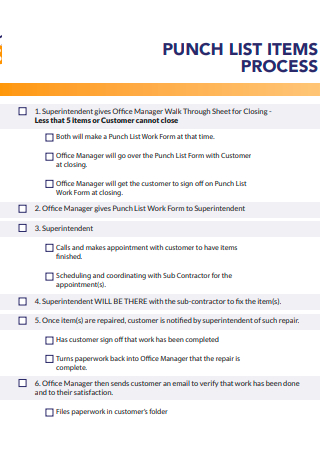
Punch List Items Process
download now -
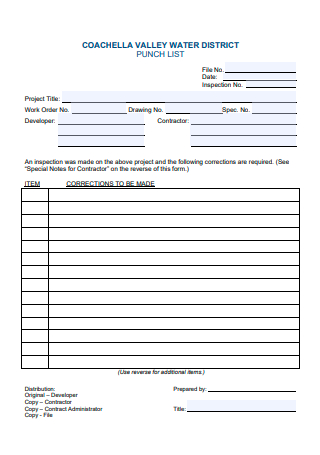
Water District Punch List
download now
FREE Punch List s to Download
Punch List Format
Punch List Samples
What is a Punch List?
What Are the Basic Parts of a Punch List?
How to Create a Punch List
FAQs
What are other names of a punch list?
What are the types of a punch list?
How does a punch list improve project quality?
What happens if punch list items are not resolved?
What is the difference between a punch list and a snag list?
Who is responsible for completing punch list items?
What happens if punch list items are not addressed?
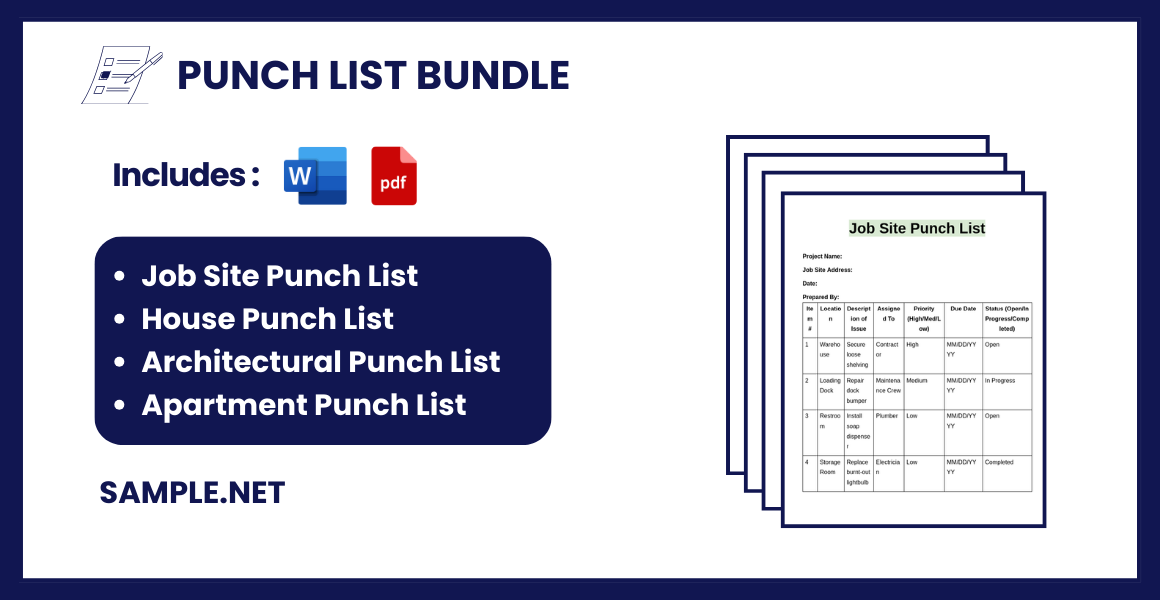
Punch List Format
A Punch List is a document commonly used in construction and project management to outline tasks that need to be completed before a project is finalized and accepted. Here’s a simple and professional format for creating a punch list:
Project Name:
Project Location:
Date:
Prepared By:
Punch List Items
| Item # | Location | Description of Issue | Assigned To | Priority (High/Med/Low) | Due Date | Status (Open/In Progress/Completed) |
|---|---|---|---|---|---|---|
| 1 | Living Room | Paint touch-up on walls | Painter | High | MM/DD/YYYY | Open |
| 2 | Kitchen | Replace broken cabinet handle | Carpenter | Medium | MM/DD/YYYY | In Progress |
| 3 | Hallway | Fix light fixture | Electrician | High | MM/DD/YYYY | Open |
| 4 | Master Bedroom | Adjust closet door alignment | Carpenter | Low | MM/DD/YYYY | Completed |
Notes
- Specify materials or tools required for tasks, if applicable.
- Include photos or drawings to clarify tasks.
- Set clear deadlines for each item to ensure timely project completion.
What is a Punch List?
A punch list is a checklist that outlines items needing correction or completion in a construction or renovation project. It typically includes unfinished tasks, defects, or adjustments identified during the project’s final walkthrough. These lists ensure accountability between contractors, clients, and project managers, as they serve as a shared document to address all remaining issues before project handover. Without a punch list, overlooked details can lead to disputes and dissatisfaction. You can also see more on Business Checklists.
What Are the Basic Parts of a Punch List?
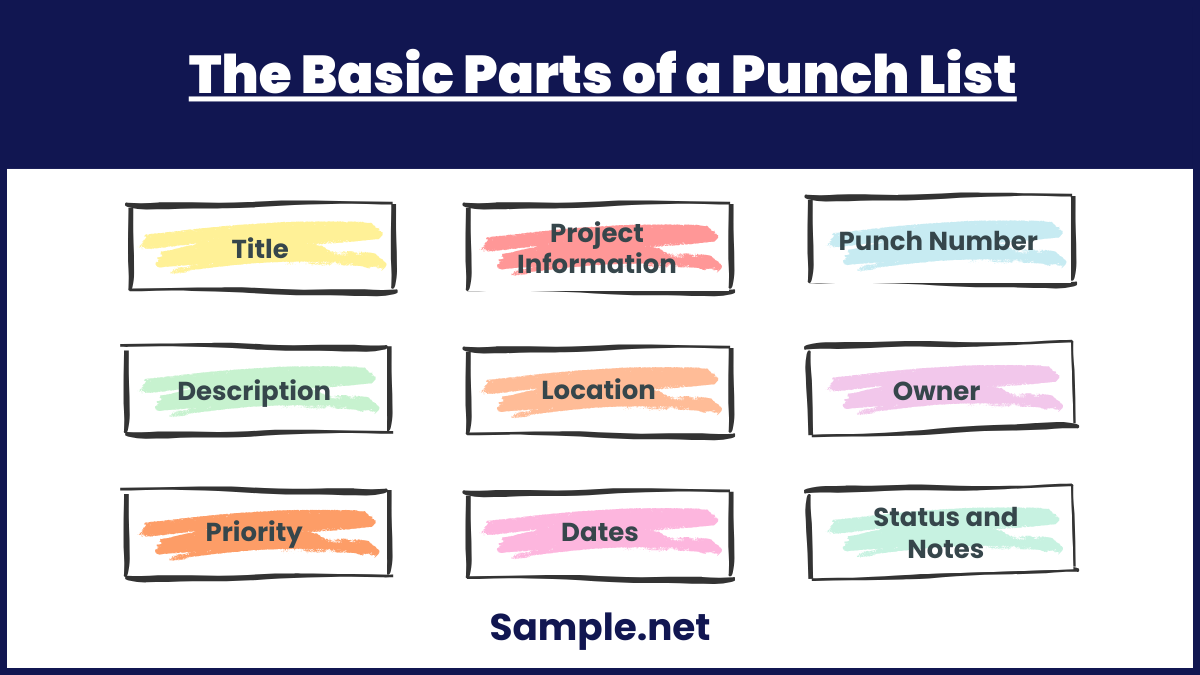
Now that you have insights into what a punch list means and why it is important, it is time to familiarize the many components of a standard punch list. Remember that components of a punch list are responsible for making the punch list effective in the first place. You can also see more on Job Lists. Without further ado, here are the main parts of a punch list:
1. Title: Include the words “punch list” in the title to clearly identify the document’s purpose.
2. Project Information: Provide details about the project, including its name, number, worksite location, and the names of key personnel like managers or architects.
3. Punch Number: Use a numbered system to organize tasks, making it easier to track and reference specific items. You can also see more on Asset Lists.
4. Description: Add a brief, specific description for each task to clarify what needs to be done.
5. Location: Specify where each task is to be performed, especially for projects with multiple sites or work areas.
6. Owner: Assign responsibility by listing the name of the person accountable for completing each task.
7. Priority: Indicate the priority level (e.g., high, medium, low) for each task to guide team members on what to address first.
8. Dates: Include columns for key dates: when the task was observed, its estimated completion date, and when it was approved or completed.
9. Status and Notes: Track progress with a status column (e.g., in progress, complete) and provide a notes section for additional information, such as instructions or budget updates. You can also see more on Task Lists.
How to Create a Punch List
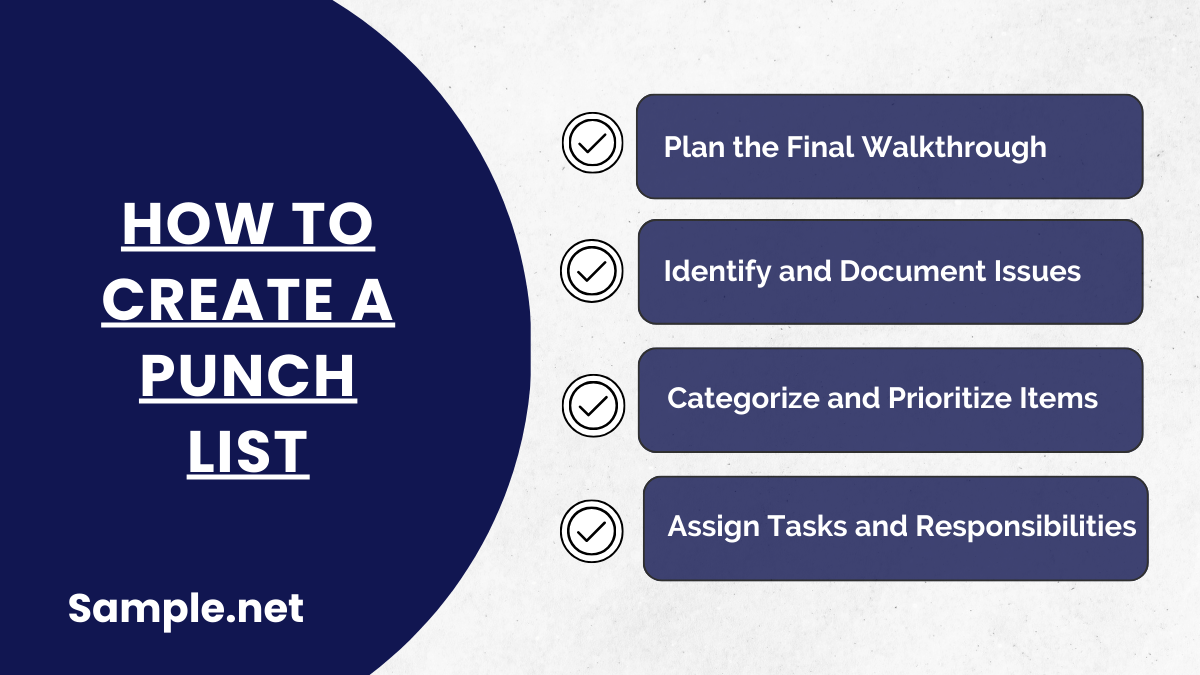
Creating a punch list involves several systematic steps to ensure that all project requirements are fulfilled before final completion. Here’s a step-by-step guide:
Step 1: Plan the Final Walkthrough
The punch list process begins with scheduling a comprehensive walkthrough of the project site. This walkthrough typically involves key stakeholders, including the project manager, contractors, and the client. The timing should be after substantial completion but before the official handover. This ensures that most work is done, and any pending issues can be addressed without delaying the project’s closeout.
Step 2: Identify and Document Issues
During the walkthrough, carefully inspect every aspect of the project. This includes noting defects, incomplete tasks, or work that doesn’t meet contractual or client standards. Use a structured approach, like moving room by room or section by section. Document each issue clearly, providing descriptions and photos where possible. This creates a comprehensive and organized list for easy follow-up. You can also see more on Action List.
Step 3: Categorize and Prioritize Items
Once issues are identified, categorize them based on urgency and importance. Safety-related issues should be prioritized, followed by functionality and aesthetic concerns. This helps stakeholders address critical problems promptly. Clearly defining which tasks are essential for project acceptance streamlines the resolution process and ensures accountability.
Step 4: Assign Tasks and Responsibilities
Distribute the punch list items to the appropriate contractors or team members responsible for resolving them. Provide clear instructions for each task and set realistic deadlines. Regular communication with stakeholders ensures that everyone understands their roles and obligations in completing the punch list items. You can also see more on To Do Lists.
FAQs
What are other names of a punch list?
A punch list can be referred to as a punch out list, snag list, or deficiency list. And if you are wondering why is it called a punch list, it was named after how traditional people used to punch a hole after every to-do list item that has been completed.
What are the types of a punch list?
Fieldwire stated that there are multiple types of a punch list. The two most common ones are the rolling punch lists and zero punch lists. A rolling punch list is a log sheet of punch list items recorded in real-time. Meanwhile, a zero punch list signifies that no punch list was involved at the project completion time. You can also see more on Vendor Contact Lists.
How does a punch list improve project quality?
A punch list ensures that even the smallest details are addressed before a project is handed over. By documenting deficiencies and assigning clear responsibility for fixing them, it acts as a quality control tool. This process prevents overlooked issues that might lead to costly post-project disputes or dissatisfaction.
What happens if punch list items are not resolved?
If items are not resolved, clients may withhold final payments or delay project acceptance. Unaddressed items could also lead to legal disputes or a tarnished reputation for contractors. Ensuring timely resolution is crucial for all parties involved. You can also see more on Event Lists.
What is the difference between a punch list and a snag list?
A punch list and a snag list are essentially the same; both refer to a list of incomplete or defective items in a project. The term “snag list” is more commonly used in the UK, while “punch list” is prevalent in the US.
Who is responsible for completing punch list items?
The contractor or subcontractors are typically responsible for completing punch list items. The project manager ensures accountability and timely resolution.
What happens if punch list items are not addressed?
If punch list items are not resolved, clients may withhold final payments or delay project acceptance until all issues are satisfactorily completed. You can also see more on Material Lists.
