50+ FREE Reading a Tape Measure Worksheet (Cheat Sheet, Math, Middle School, Inches, Feet, Measuring Length, Basic, 4th Grade, 5th Grade, 7th Grade )
-
Reading a Tape Measure Worksheet Cheat Sheet
download now -
Reading a Tape Measure Worksheet Grade 7
download now -

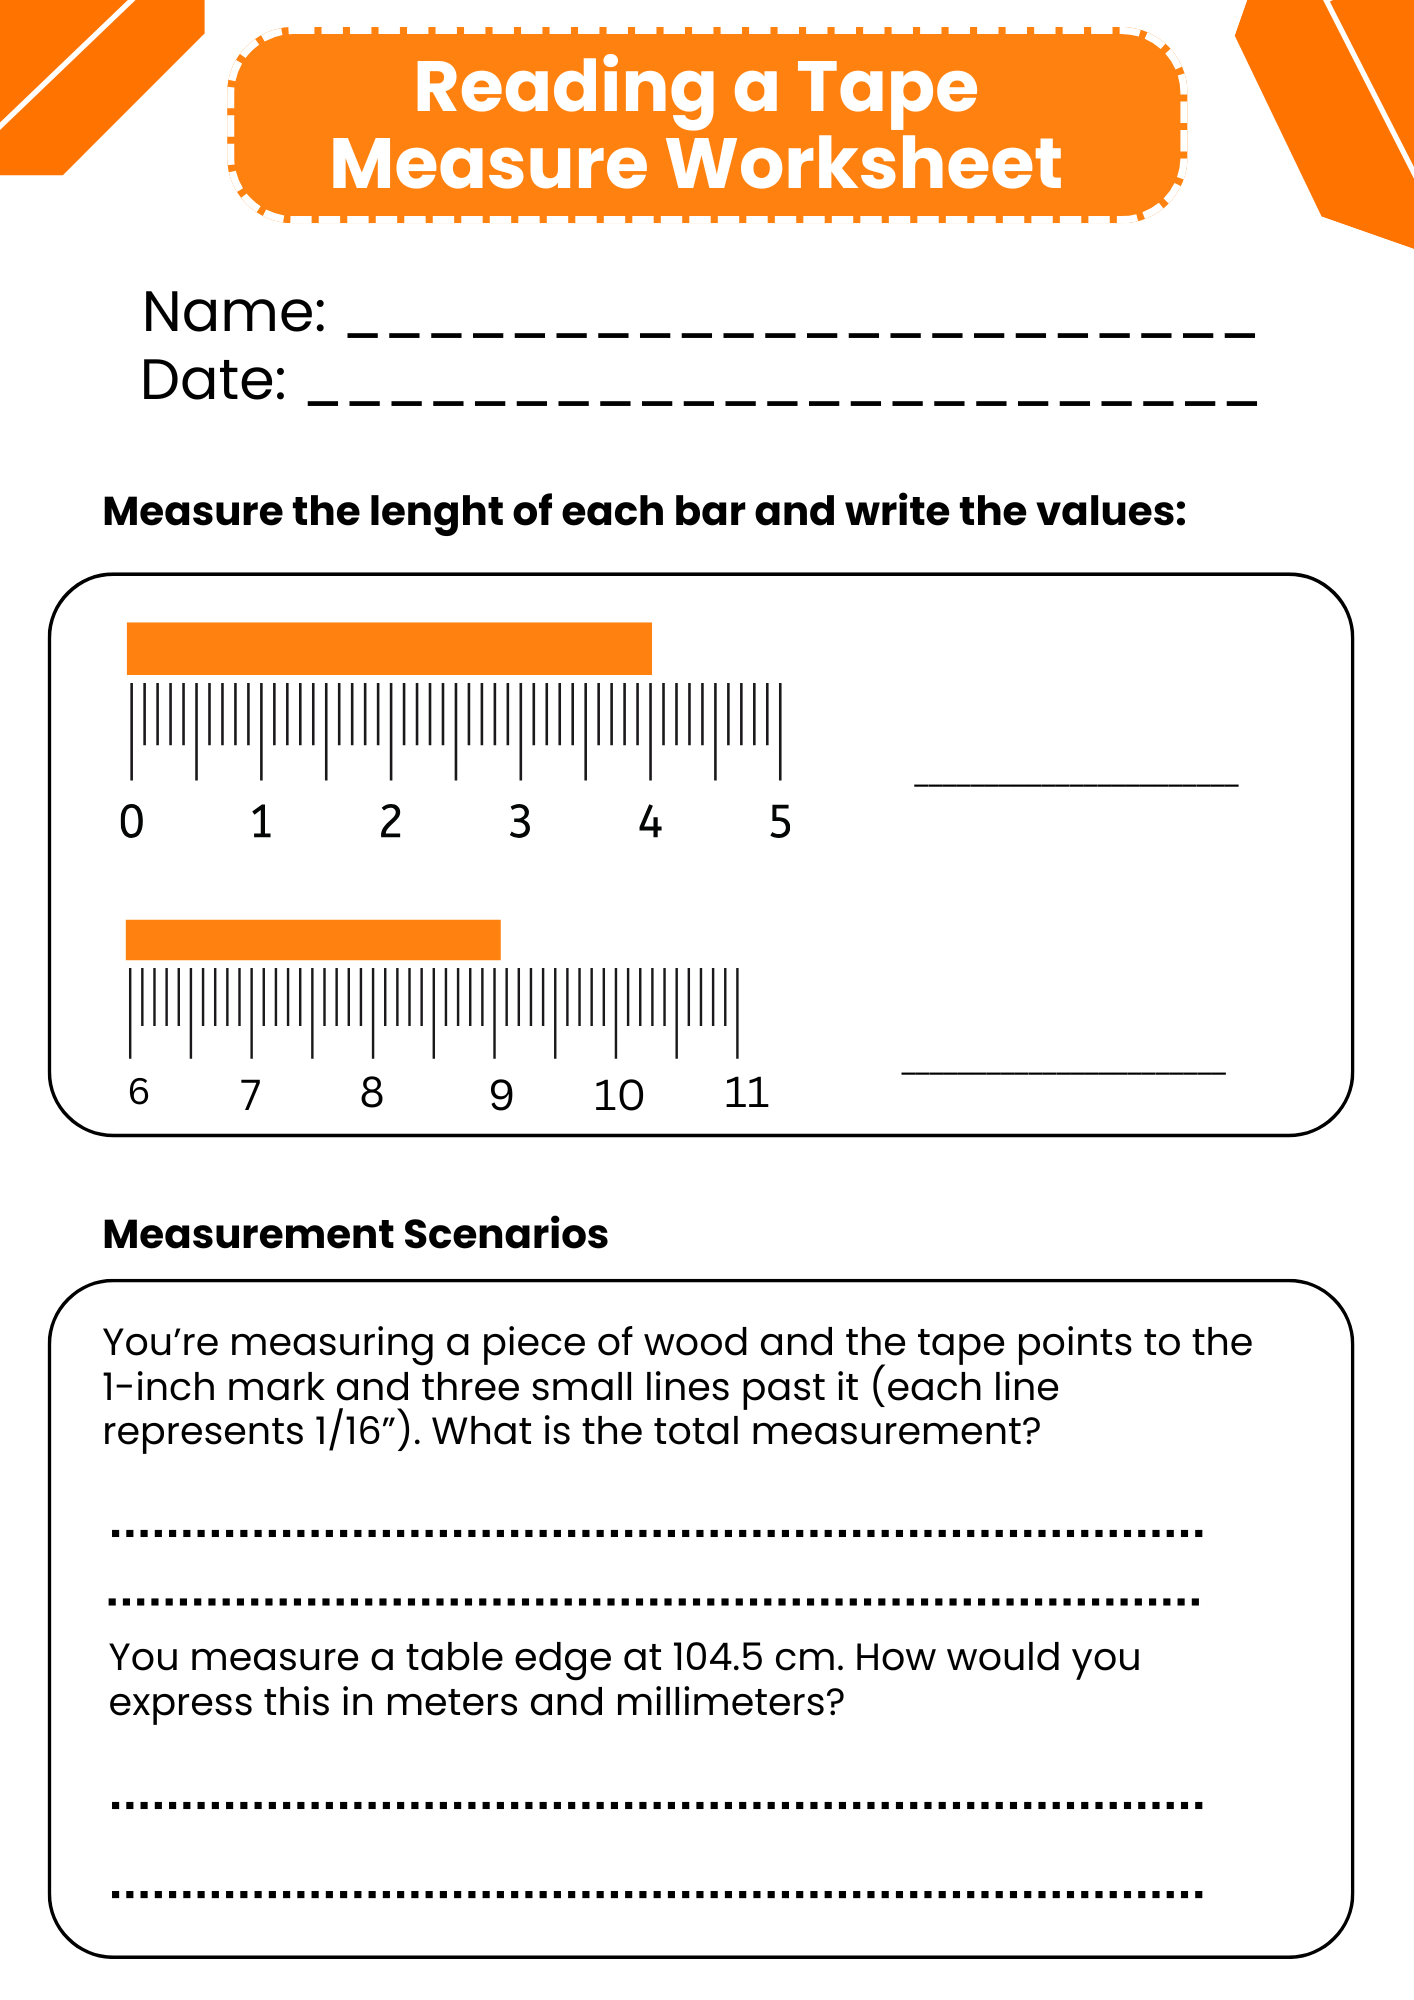
Math Reading a Tape Measure Worksheet
download now -
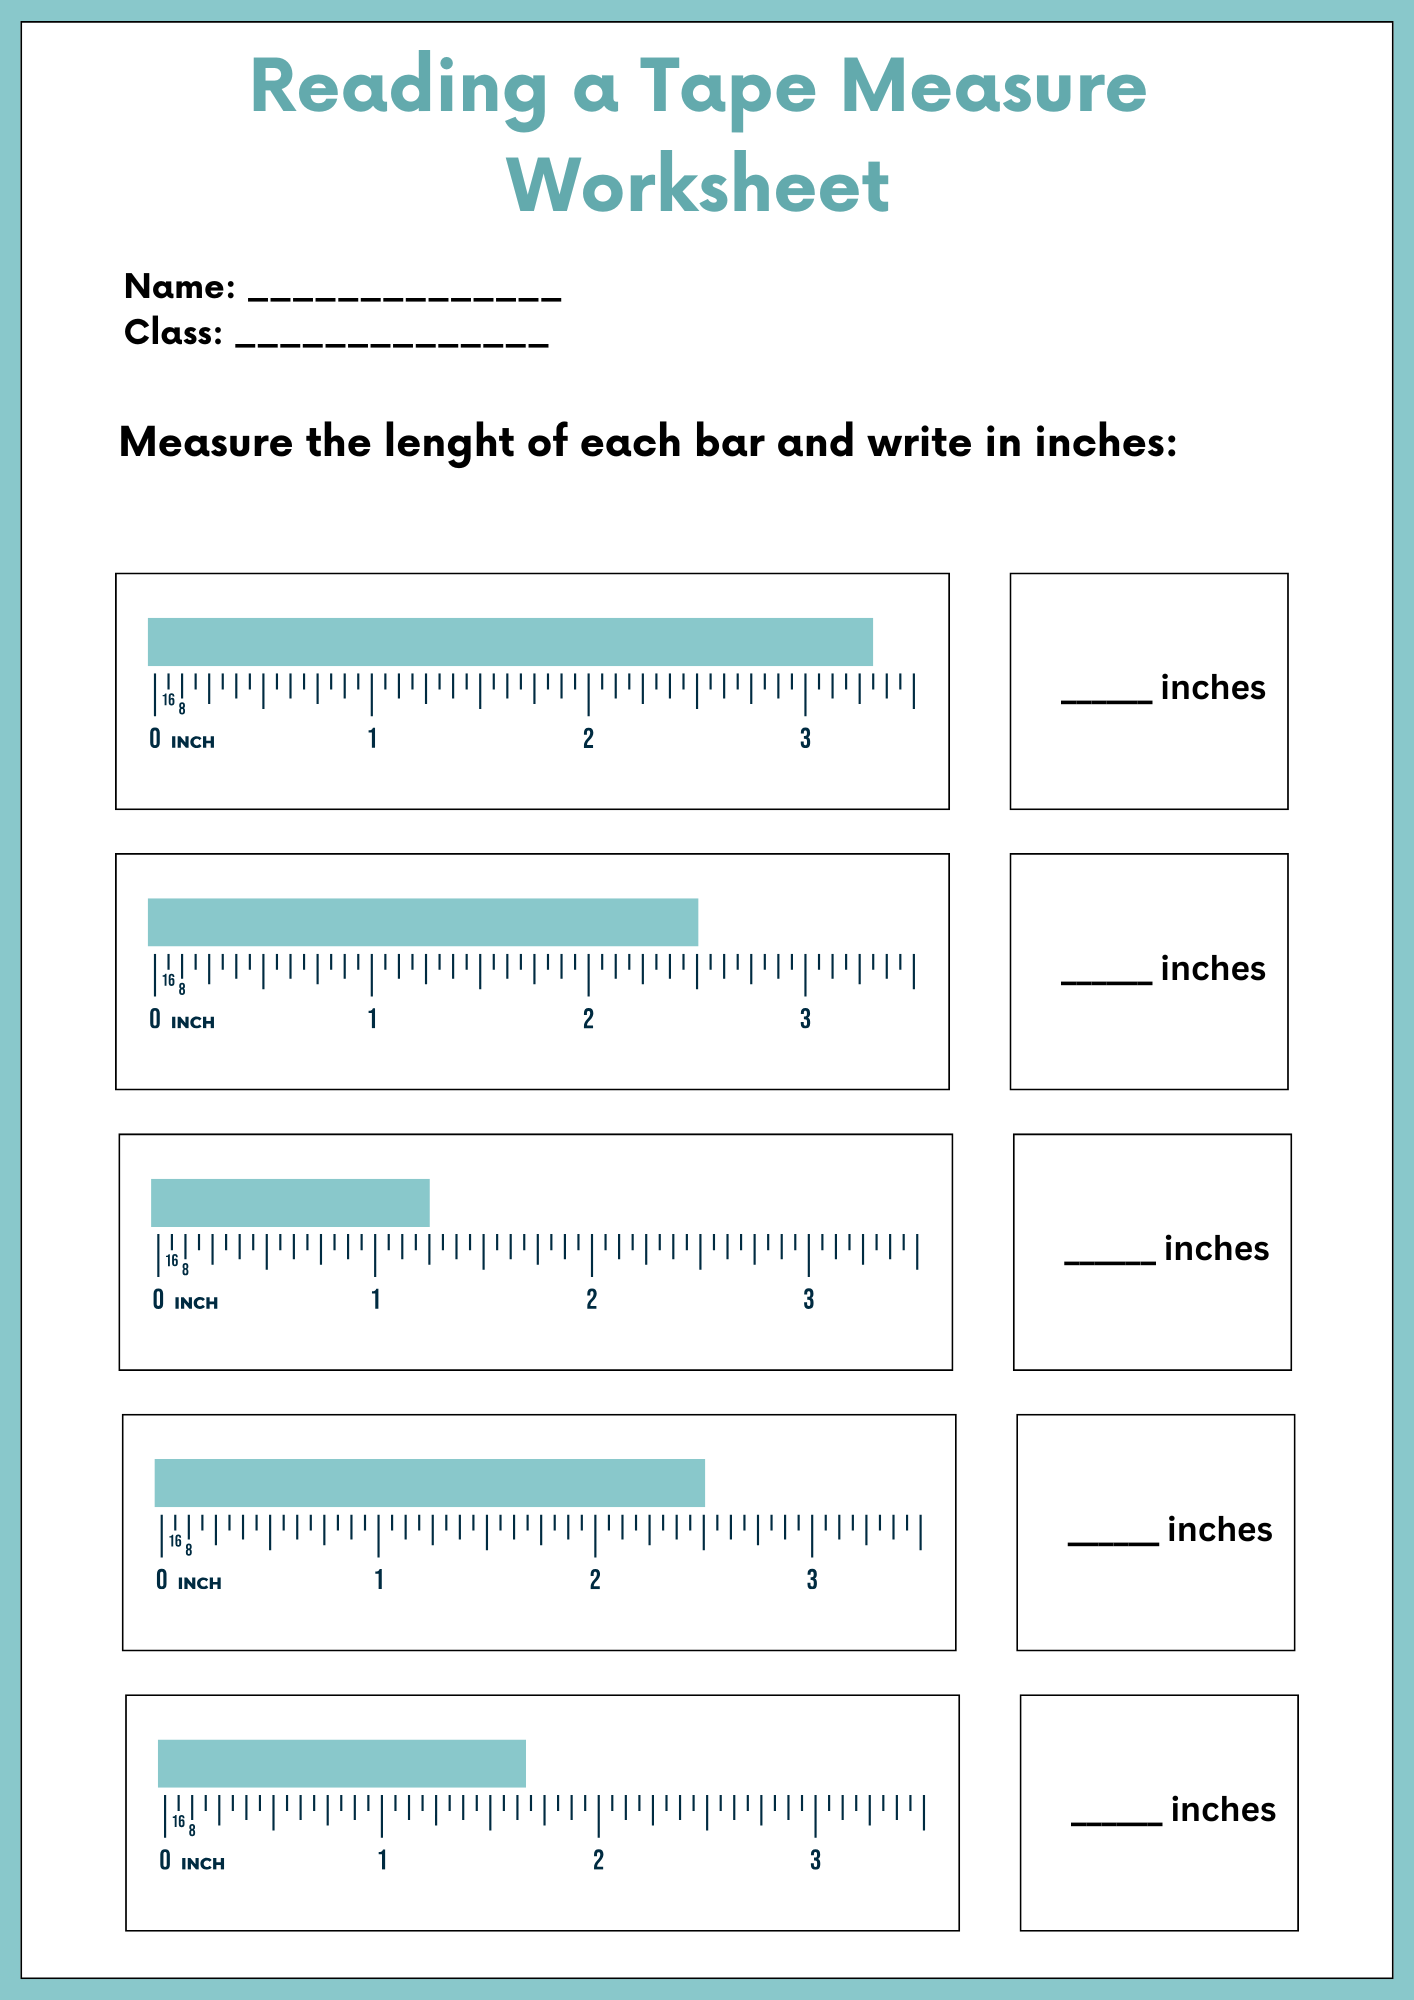
Inches Reading a Tape Measure Worksheet
download now -
Feet Reading a Tape Measure Worksheet
download now -
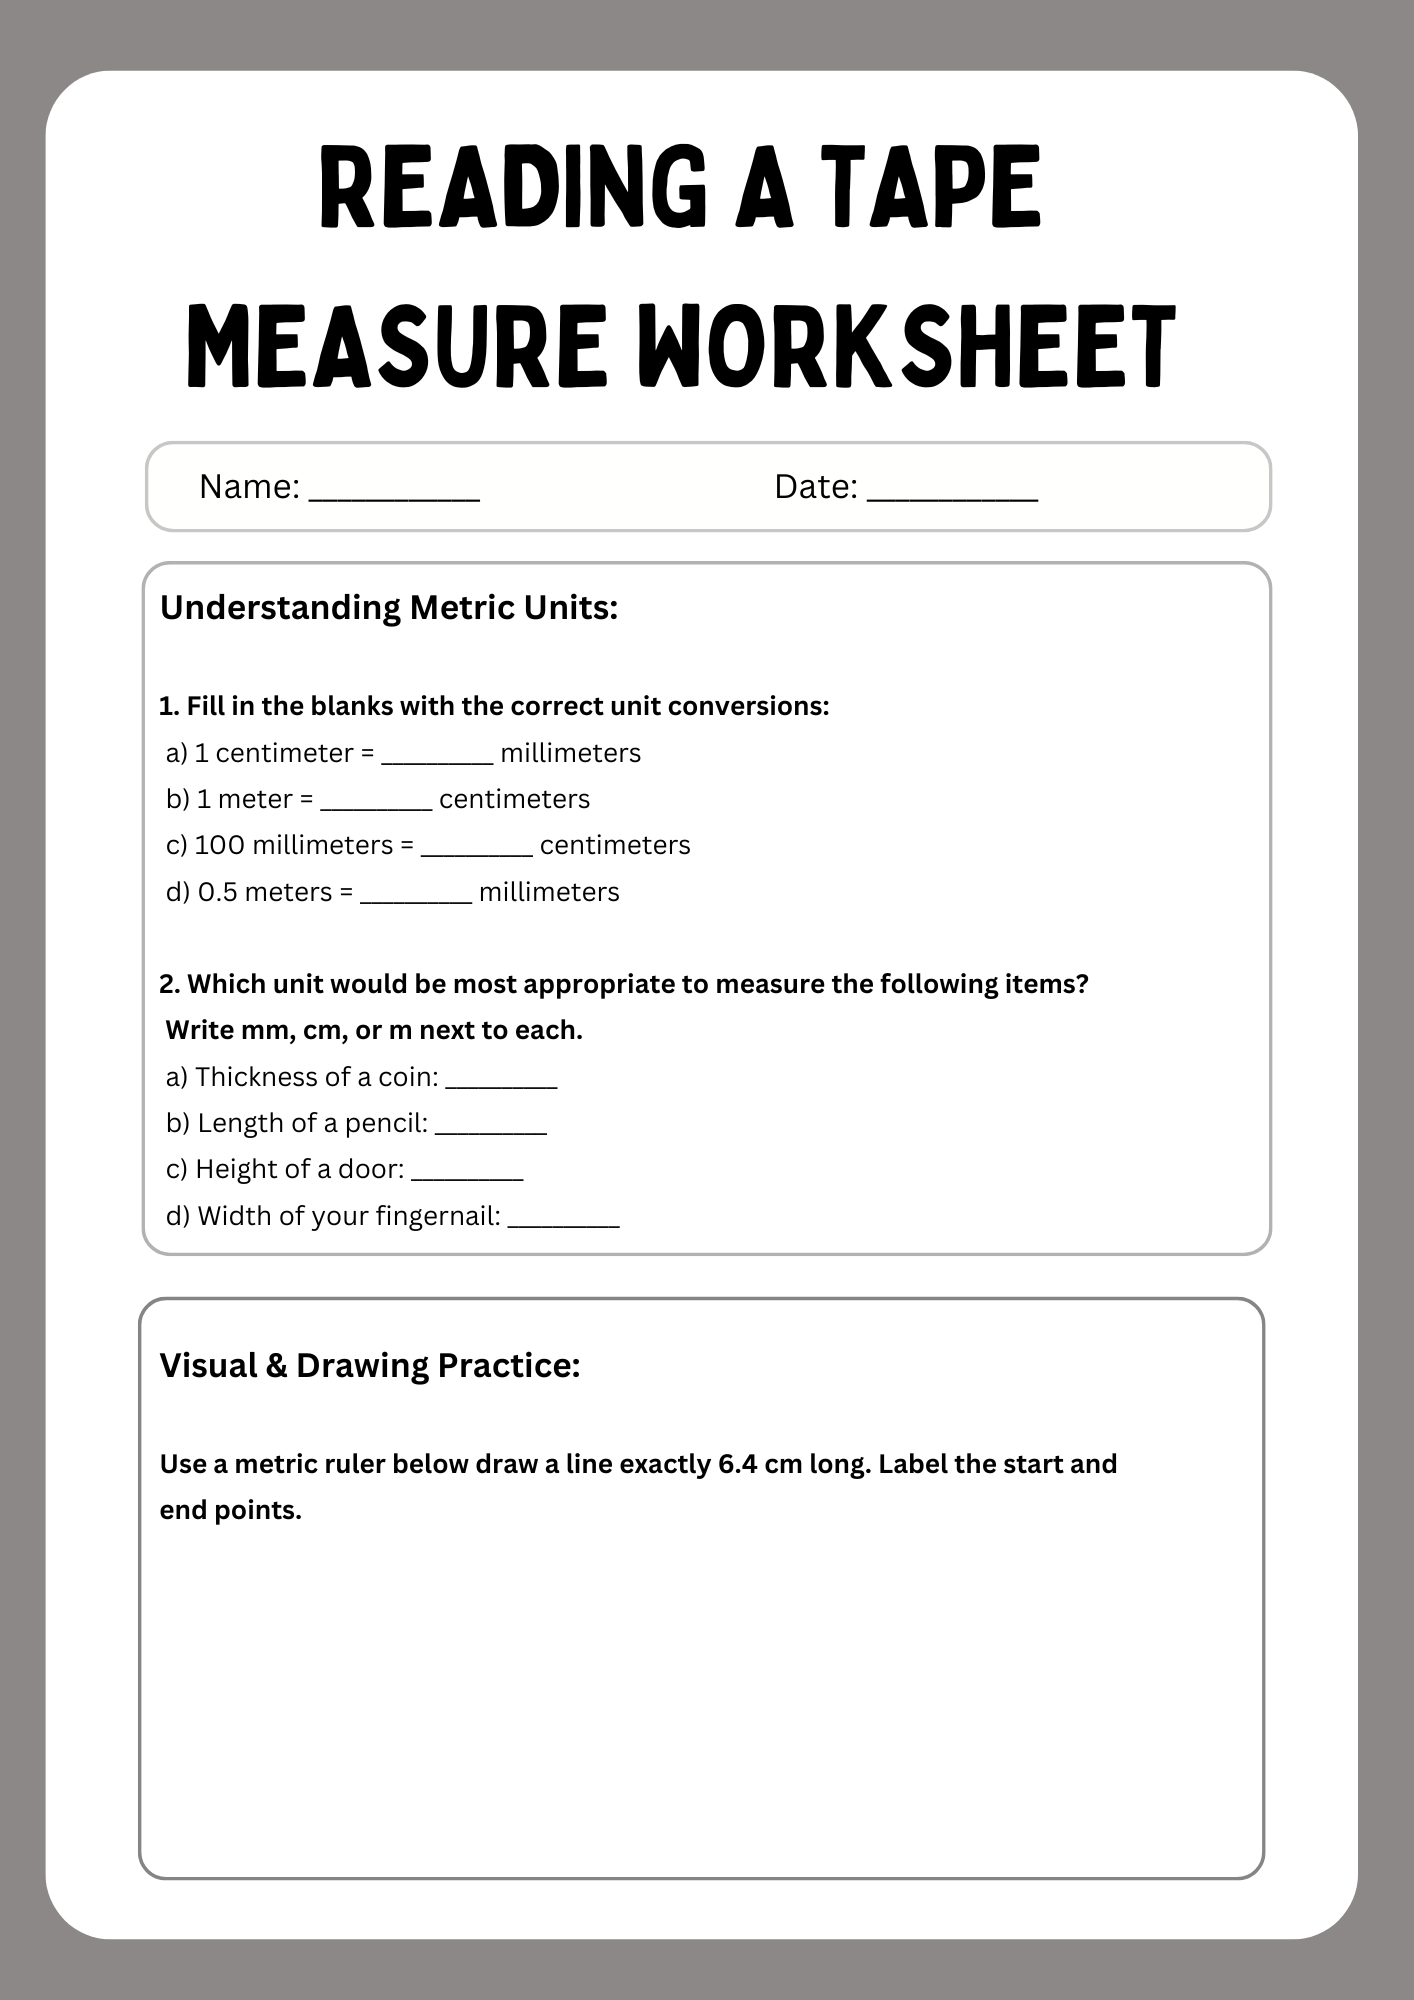
Metric Reading a Tape Measure Worksheet
download now -

Reading a Tape Measure Worksheets 9th Grade
download now -
Printable Reading a Tape Measure Worksheet
download now -
Measuring Length Reading a Tape Measure Worksheet
download now -

Reading a Tape Measure Worksheet Middle School
download now -
Basic Reading a Tape Measure Worksheet
download now -
Reading a Tape Measure Worksheet Grade 5
download now -
Simple Reading a Tape Measure Worksheet
download now -
Reading a Tape Measure Practice Worksheet
download now -
Reading a Tape Measure Worksheet Sample
download now -
School Reading a Tape Measure Worksheet
download now -
Reading a Tape Measure Worksheet Grade 6
download now -
Accurate Reading a Tape Measure Worksheet
download now -
Reading a Tape Measure Worksheet Answer Key
download now -

Reading a Tape Measure Test Worksheet
download now -
Reading a Tape Measure Worksheet Answer
download now -
Reading a Tape Measure Worksheet PDF
download now -
Reading a Tape Measure Worksheet Grade 8
download now -
Reading a Tape Measure Worksheet Maths Aid
download now -

Reading a Tape Measure Worksheet Activity
download now -
Reading a Tape Measure Worksheet Plan
download now -
Reading a Tape Measure Worksheet Lesson Grade 4
download now -
Reading a Tape Measure Worksheet High School
download now -
Reading a Tape Measure Worksheet Project
download now -

Reading a Tape Measure Worksheet Quiz
download now -
Reading a Tape Measure Tricks Worksheet
download now -

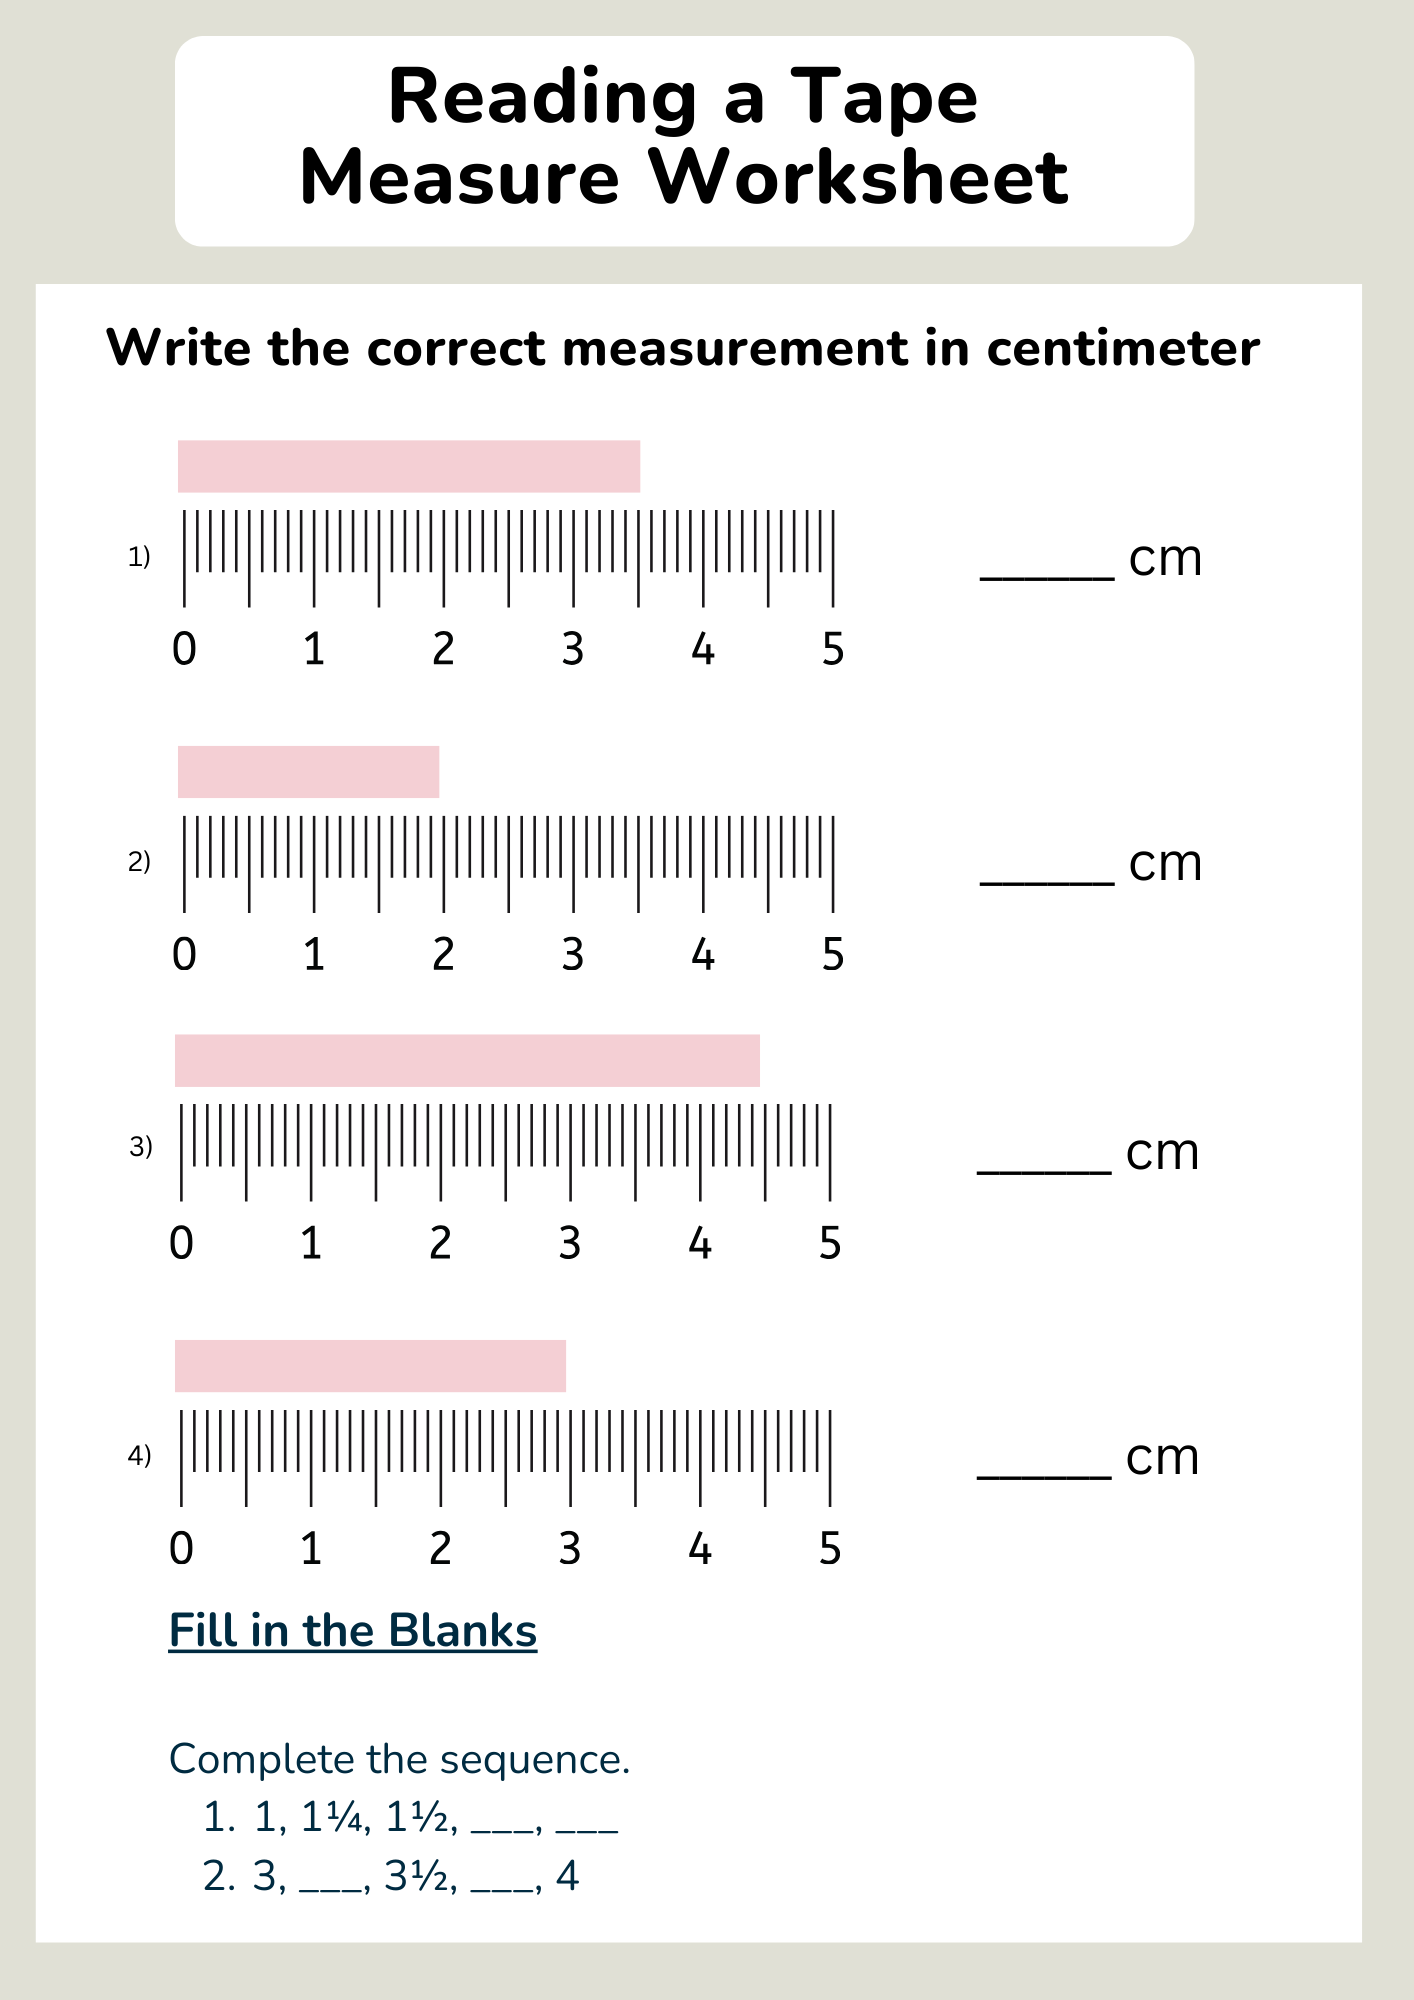
Reading a Tape Measure Worksheet Centimeter
download now -

Reading a Tape Measure Worksheet in Conversion Table
download now -
Blank Reading a Tape Measure Tricks Worksheet
download now -

Reading a Measuring Tape Differentiated Activity Worksheet
download now -
Reading a Tape Measure Review Worksheet
download now -
Reading a Tape Measure Method Worksheet
download now -
Reading a Tape Measure Work Worksheet
download now -

Generate Reading a Tape Measure Worksheet
download now -
Reading a Tape Measure Ruler Worksheet
download now -
Reading a Tape Measure Student Worksheet
download now -

Reading a Tape Measure Worksheet Answers Key
download now -

Easy Reading a Tape Measure Worksheet
download now -

Reading a Tape Measure Worksheet for Adults
download now -

Reading a Measuring Tape Differentiated Activity Sheet
download now -
Reading a Tape Measure Worksheet Exercises
download now -
Reading a Tape Measure Worksheet Answer PDF
download now -

Reading a Tape Measure Worksheet for Practice
download now -

Reading a Tape Measure Worksheet Grade 3
download now -

Reading a Tape Measure Worksheet for Students
download now -

Metric and Imperial Reading a Tape Measure Worksheet
download now
Free Reading a Tape Measure Worksheet to Download
50+ FREE Reading a Tape Measure Worksheet (Cheat Sheet, Math, Middle School, Inches, Feet, Measuring Length, Basic, 4th Grade, 5th Grade, 7th Grade )
What is a Reading a Tape Measure Worksheet?
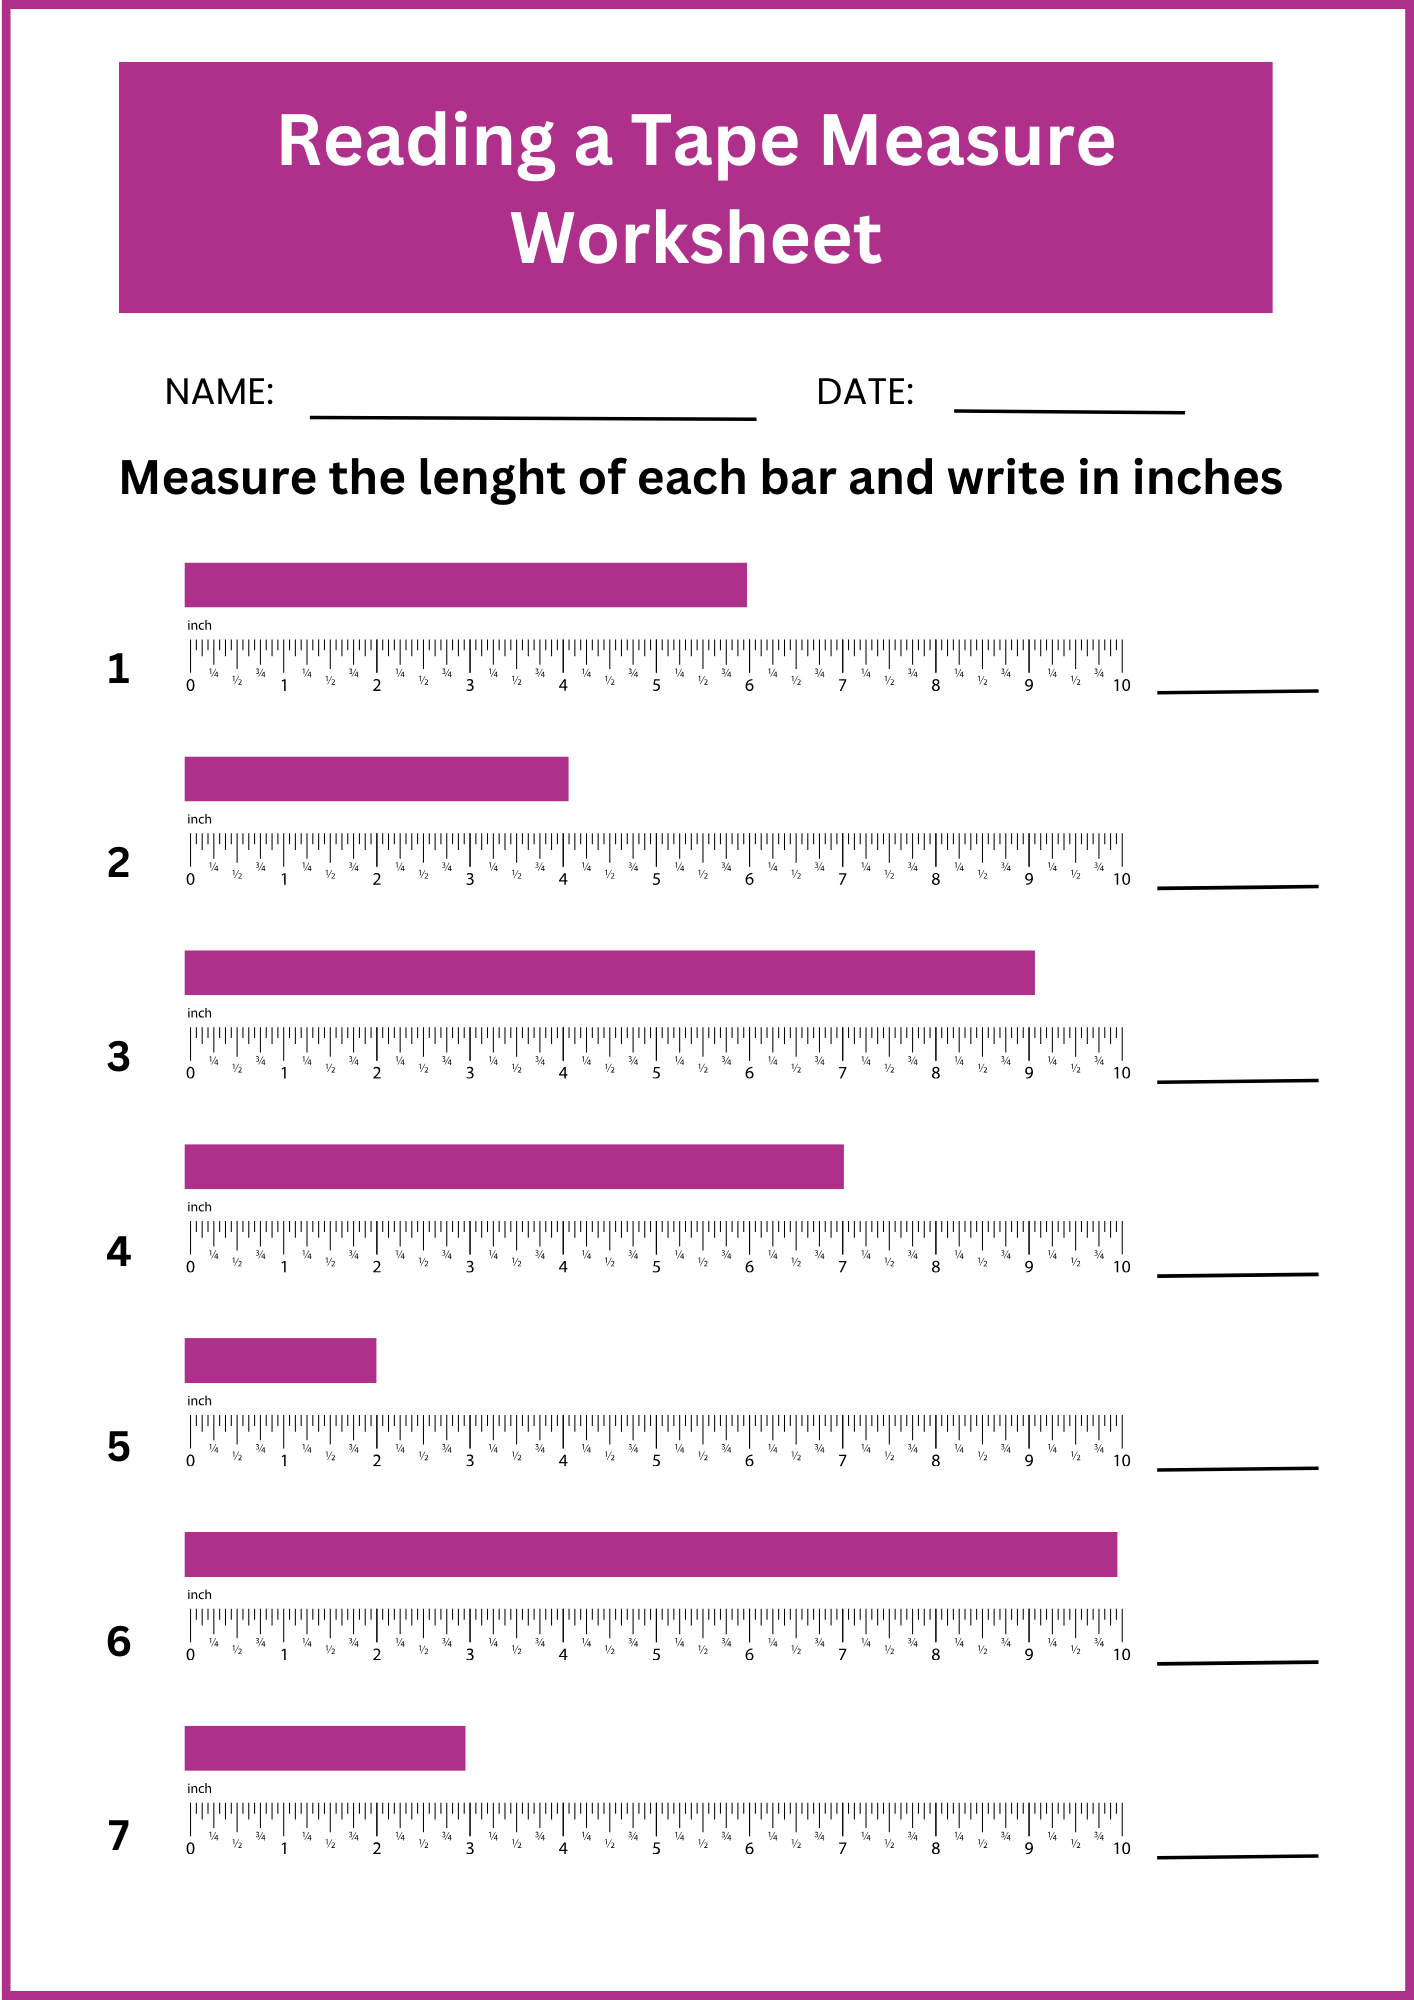
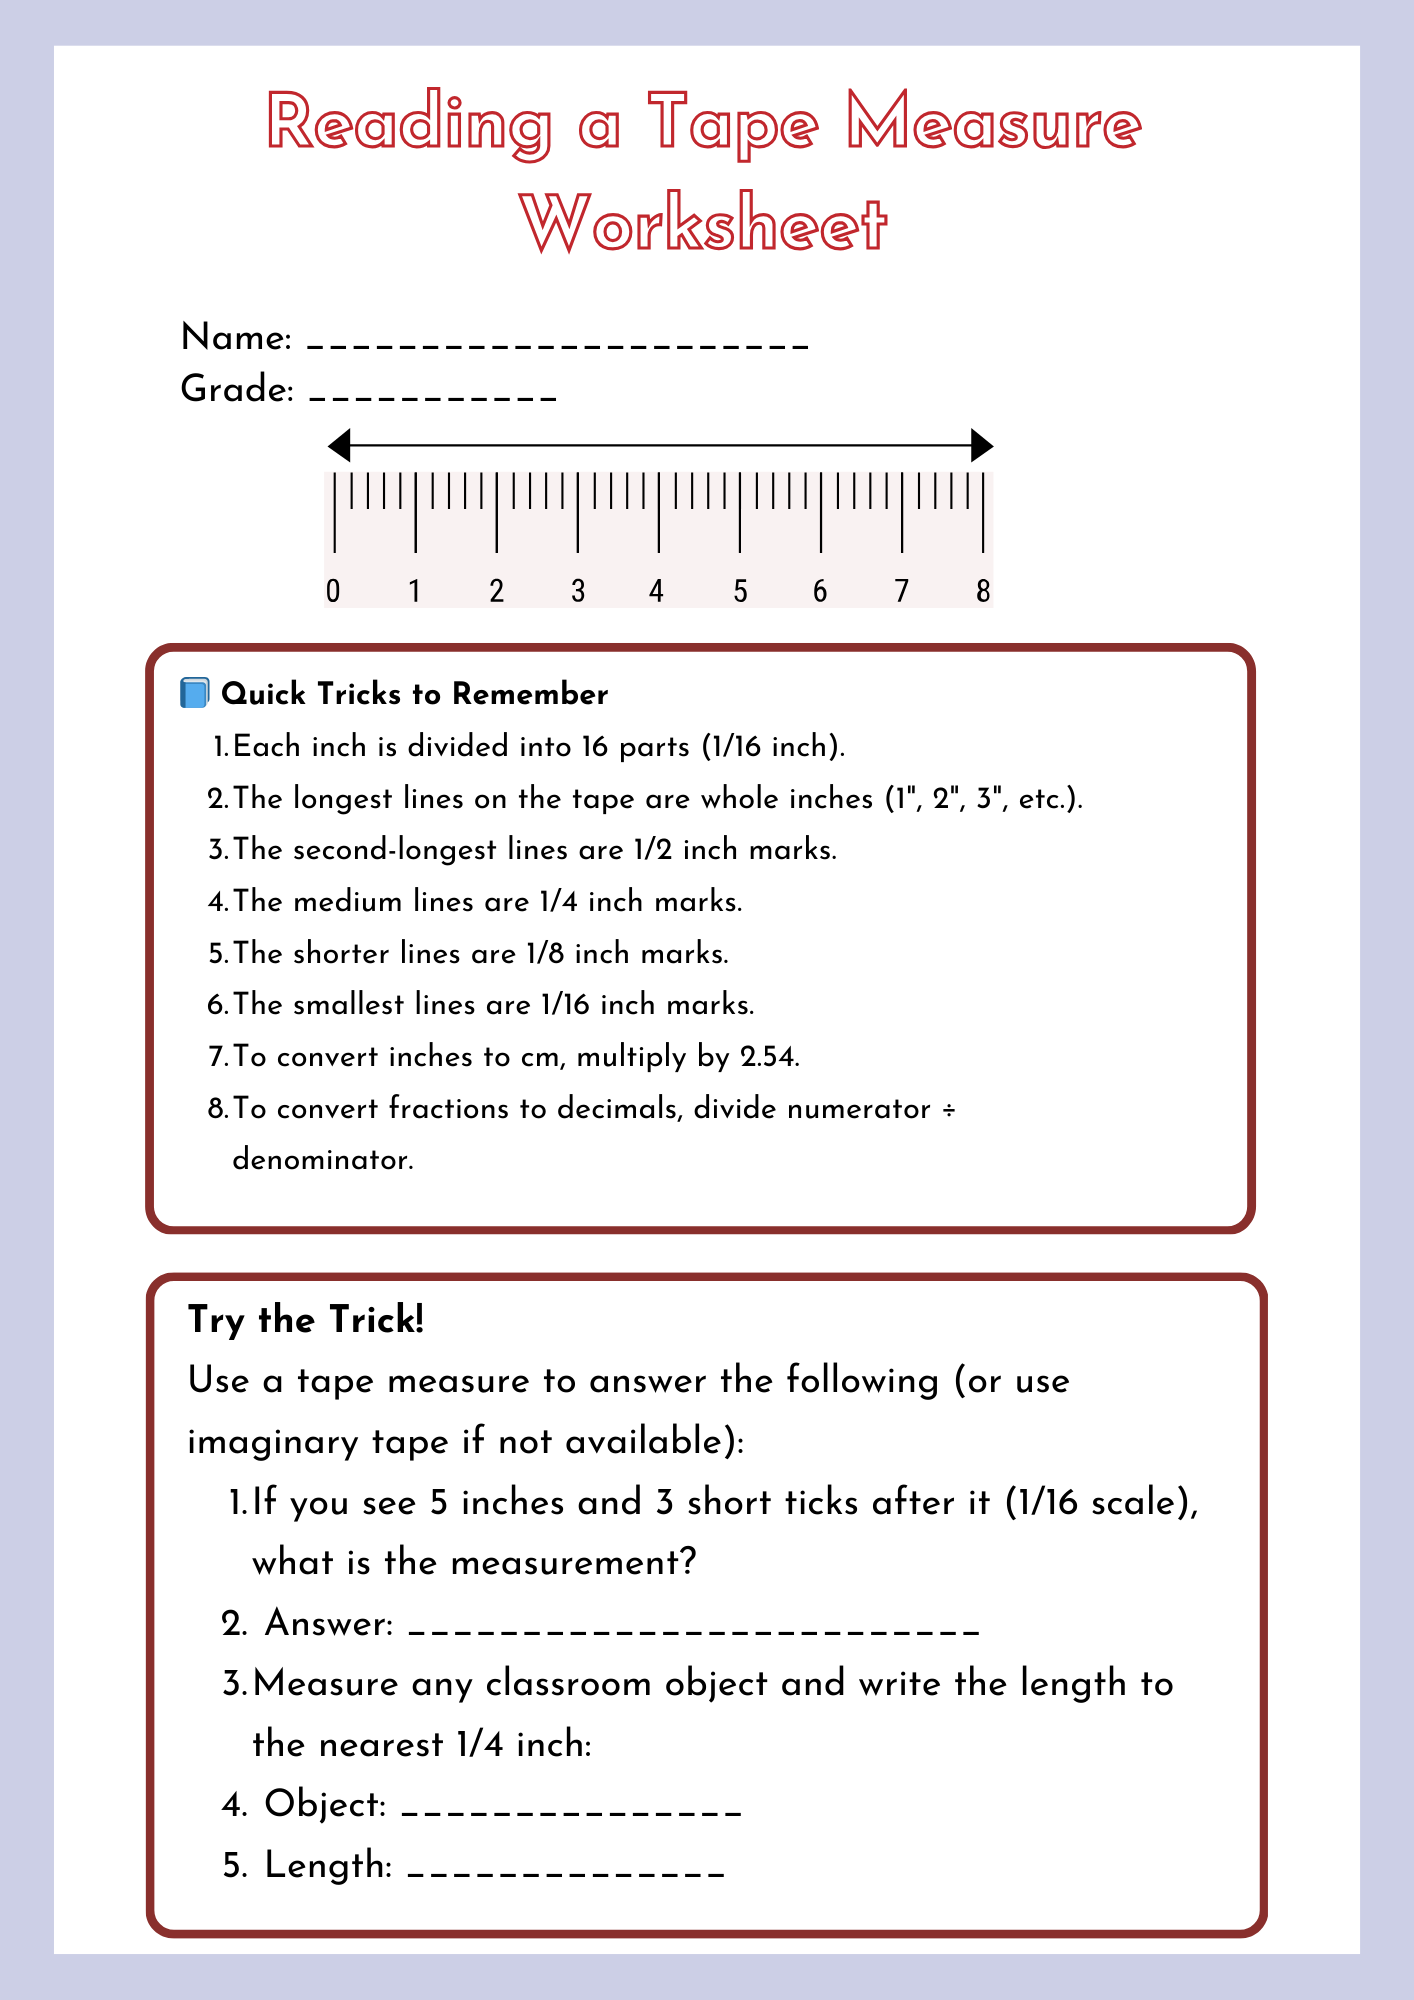
How do you Read a Tape Measure?
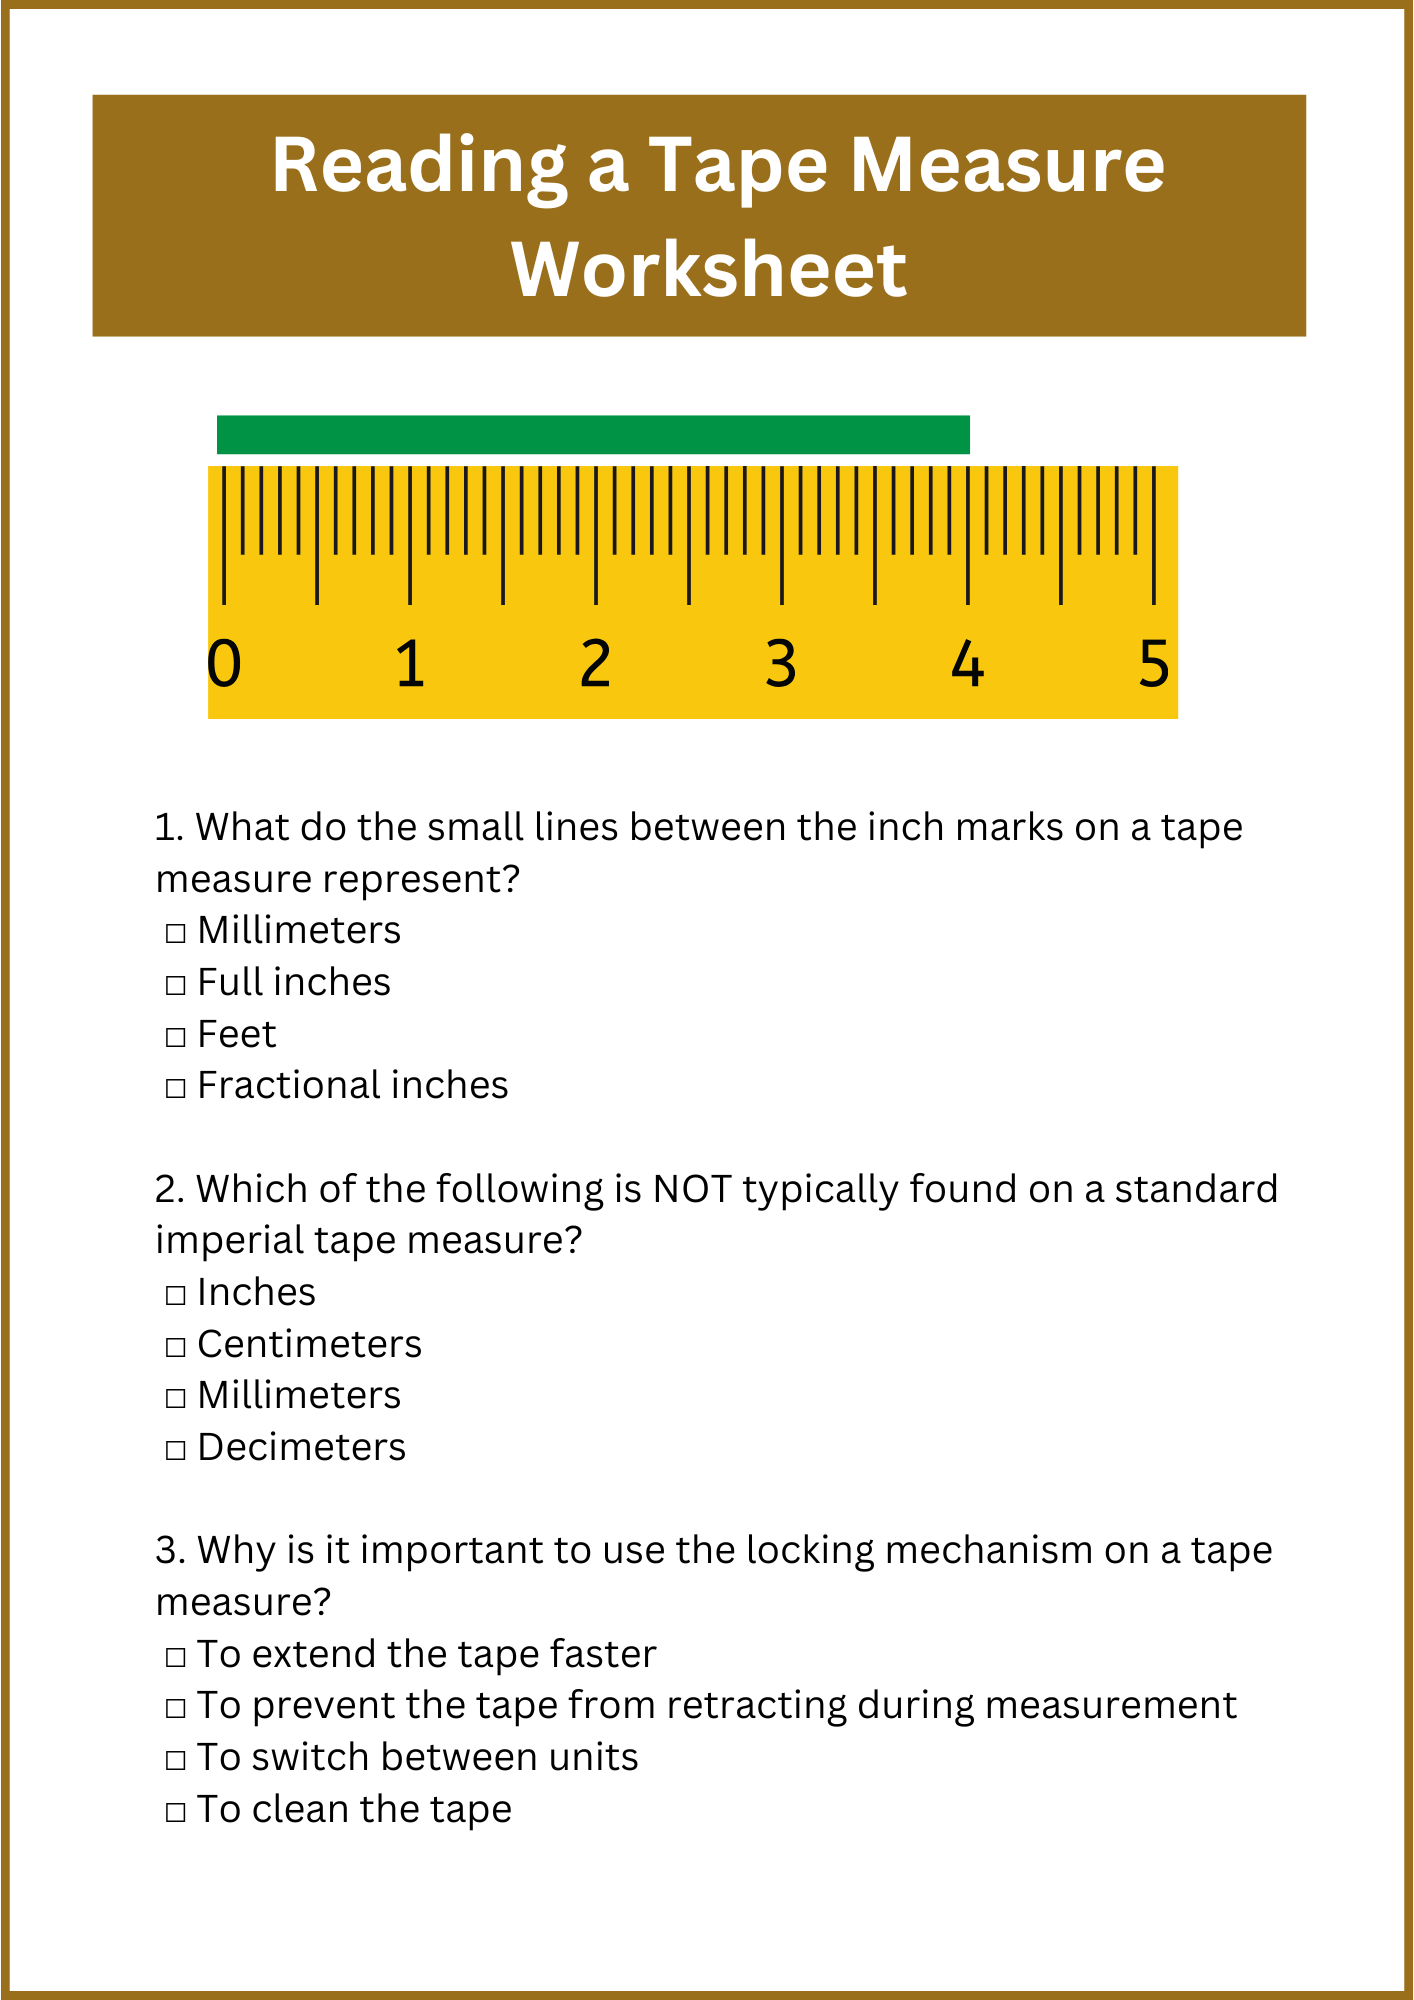
What Do the Notches on a Tape Measure Mean?
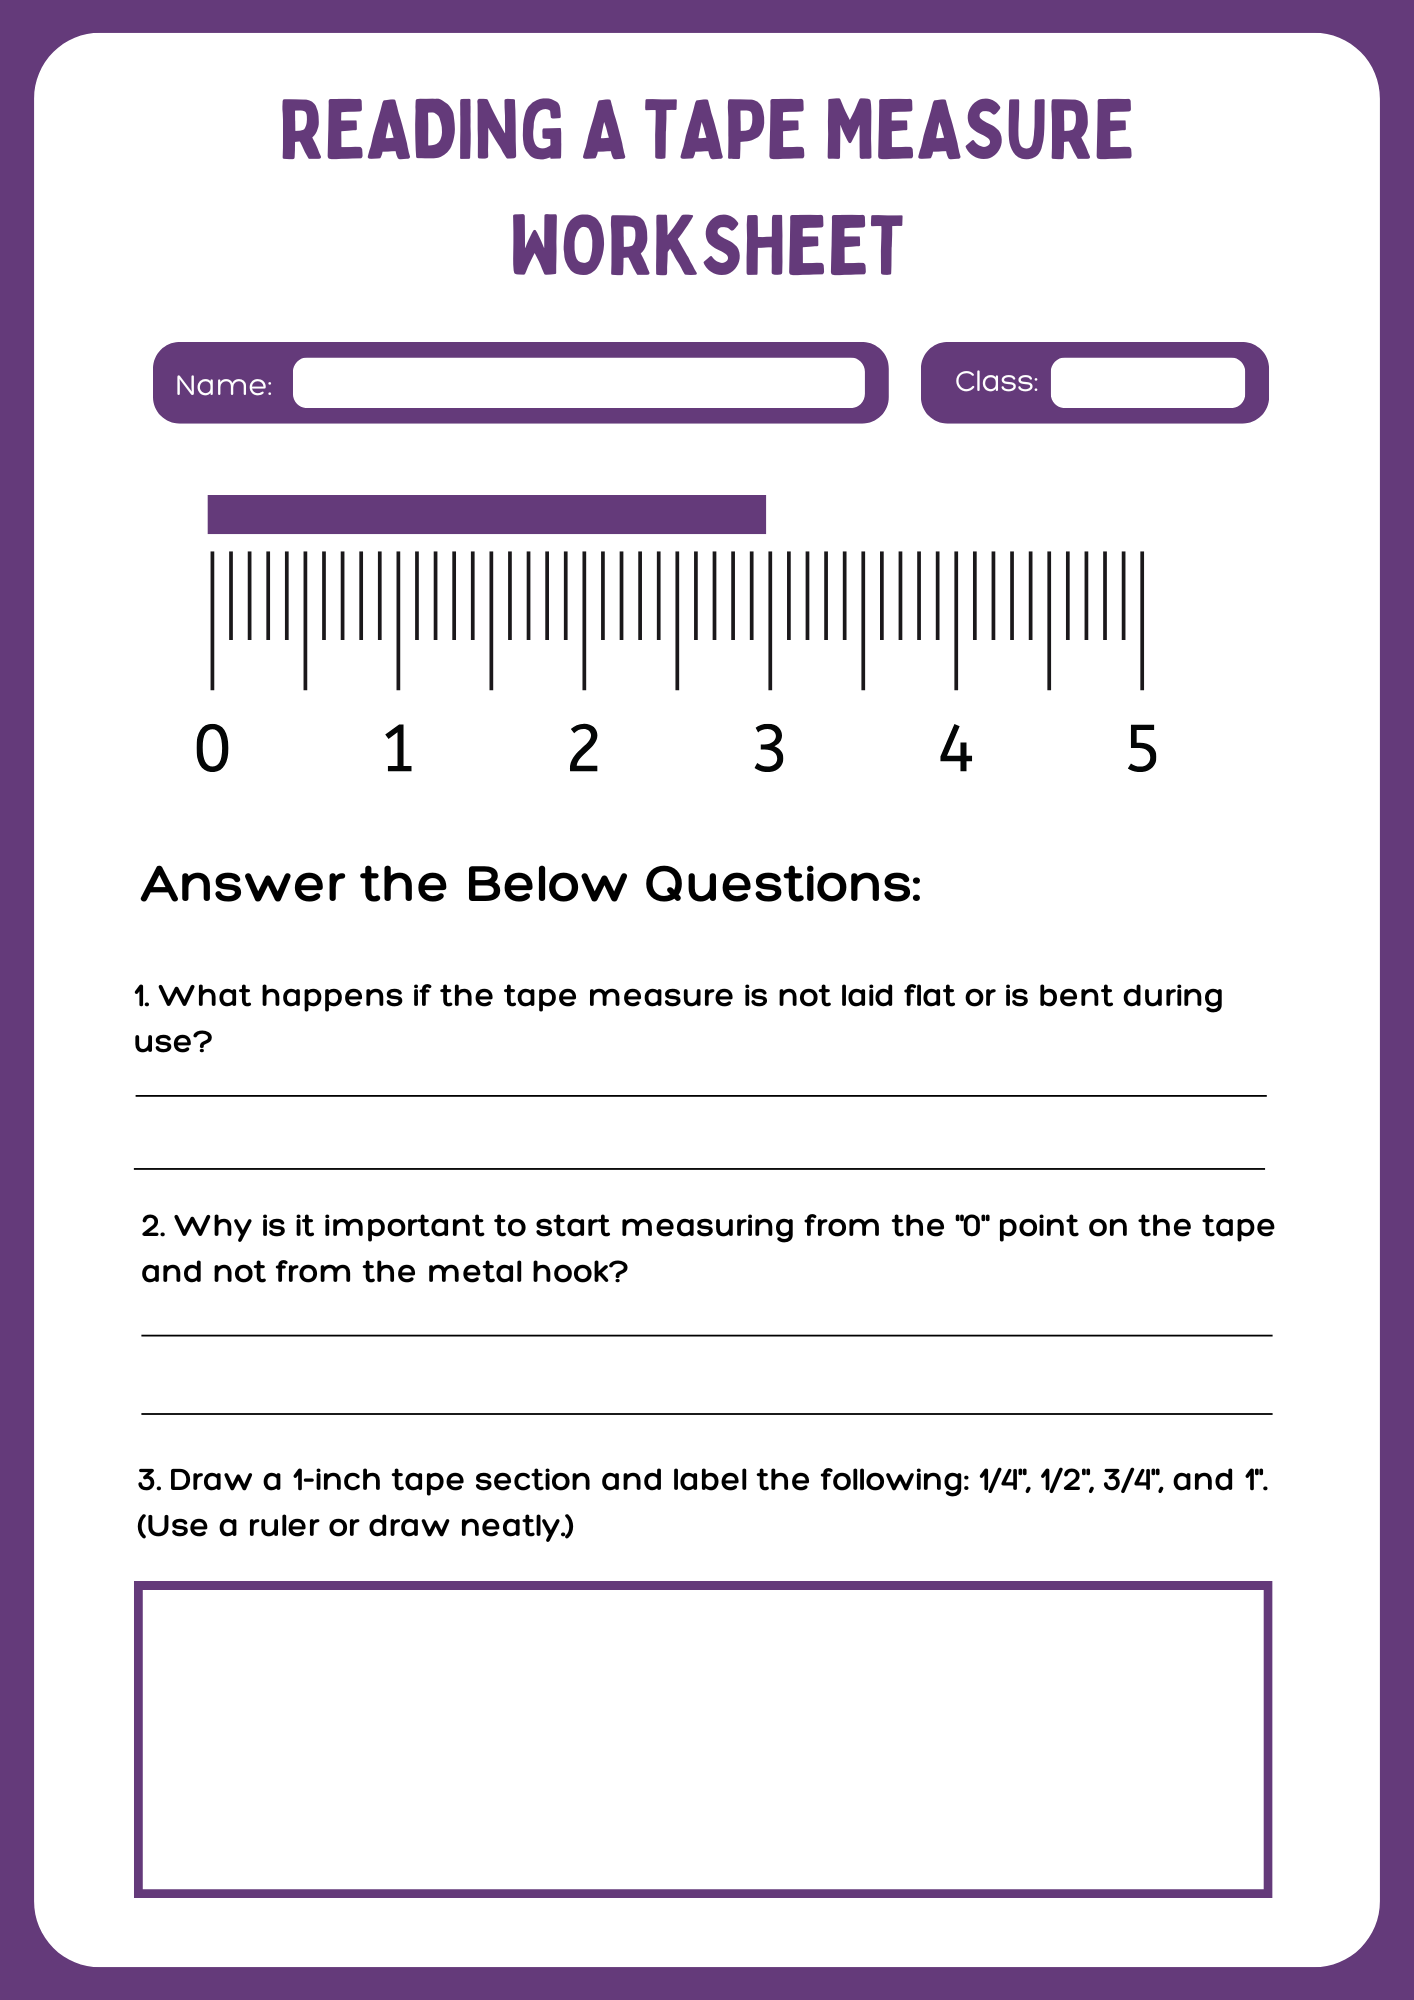
What is the Correct Technique for Measuring Length Using Tape?
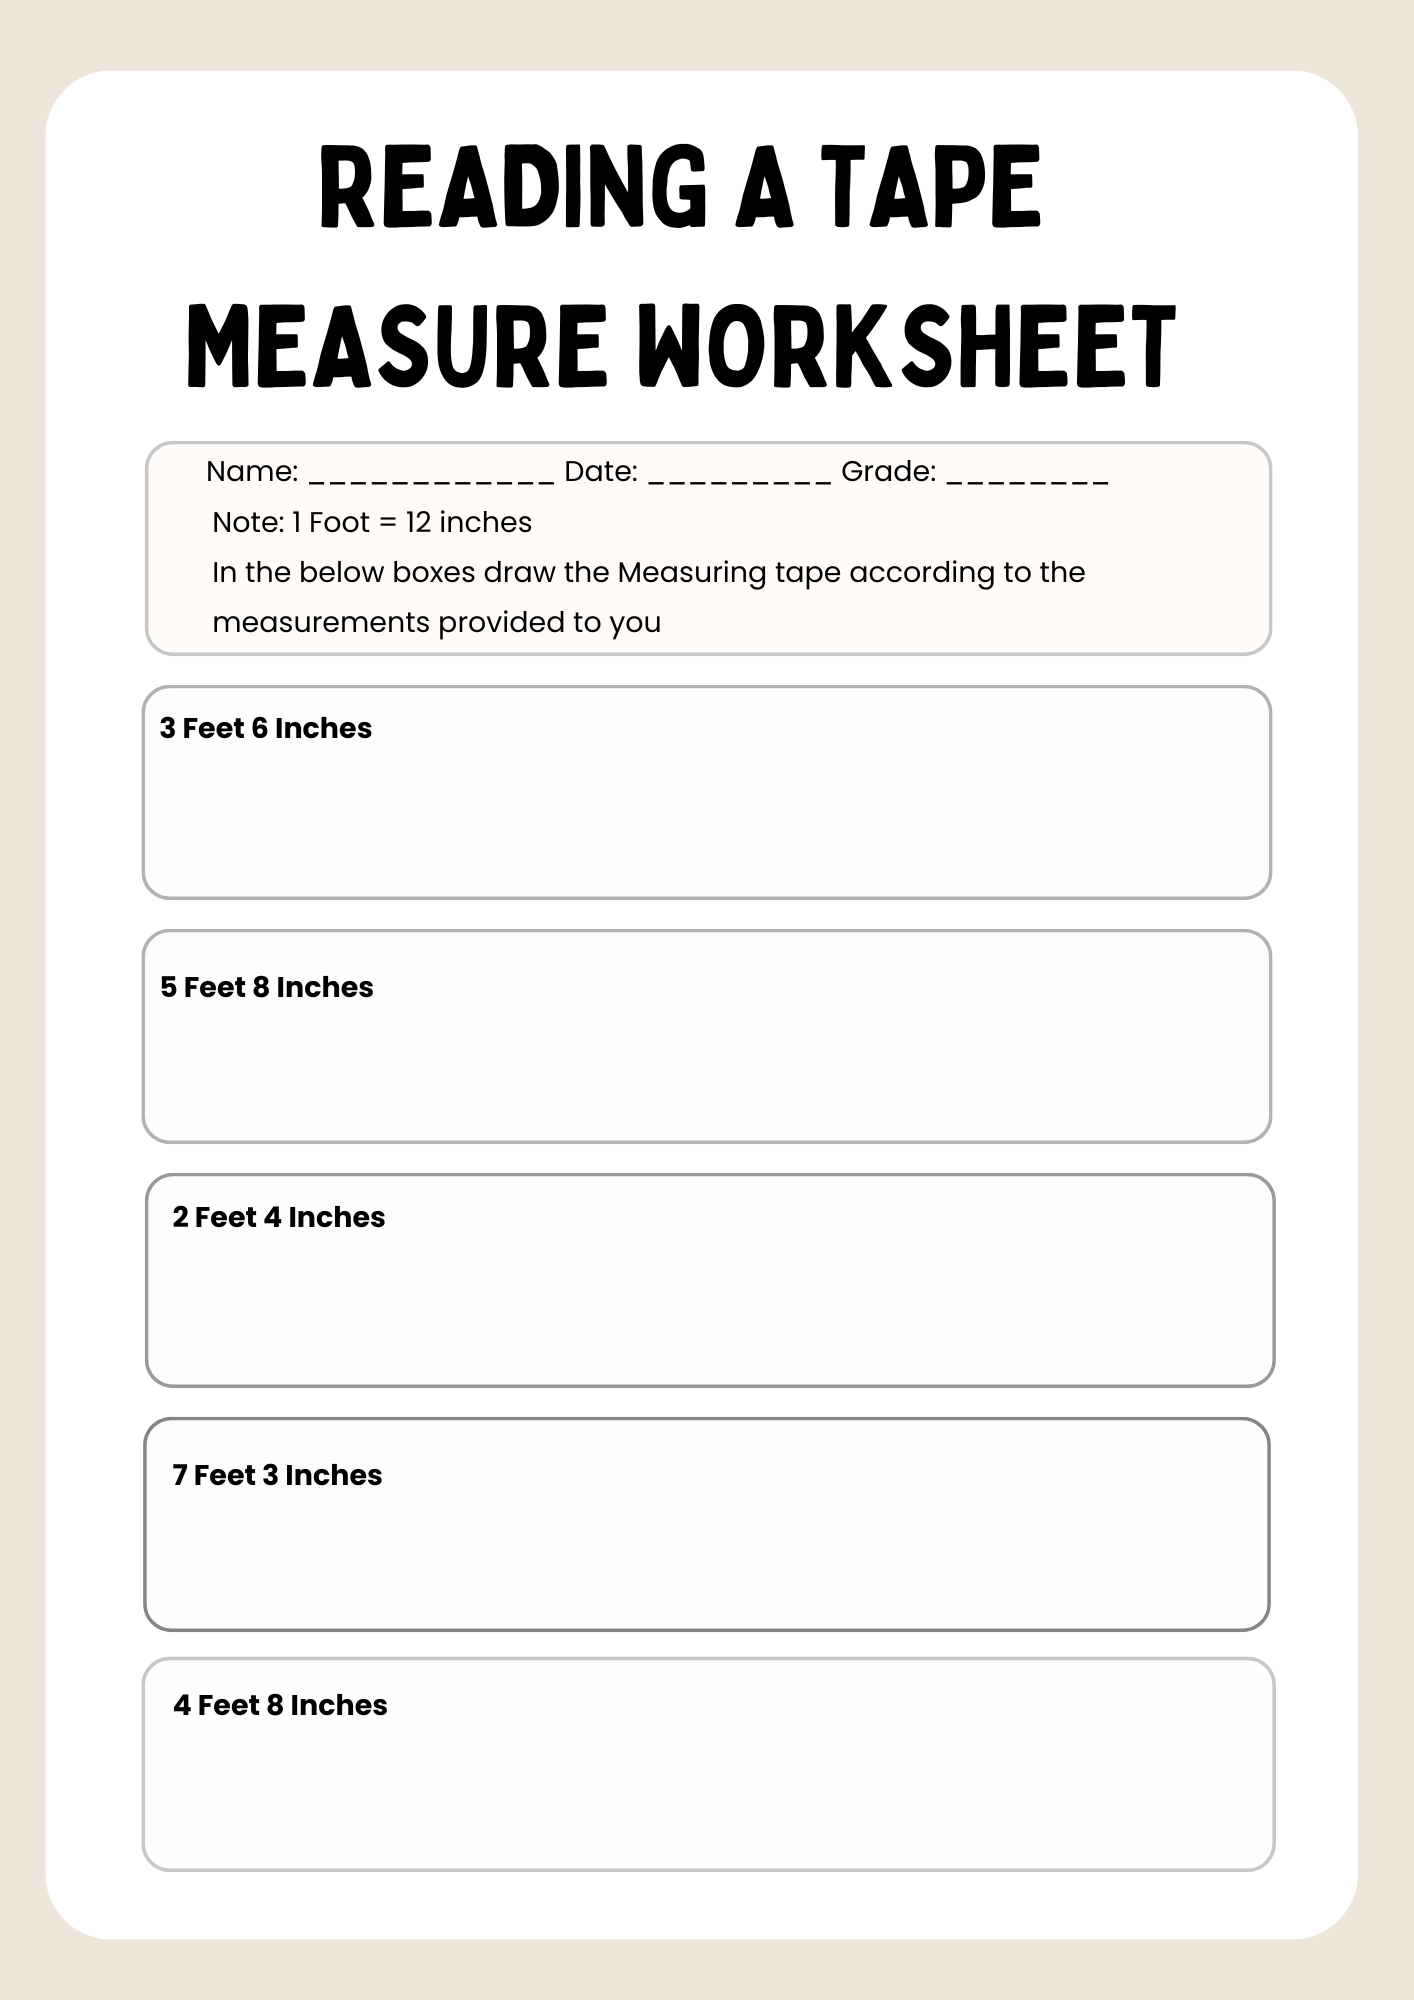
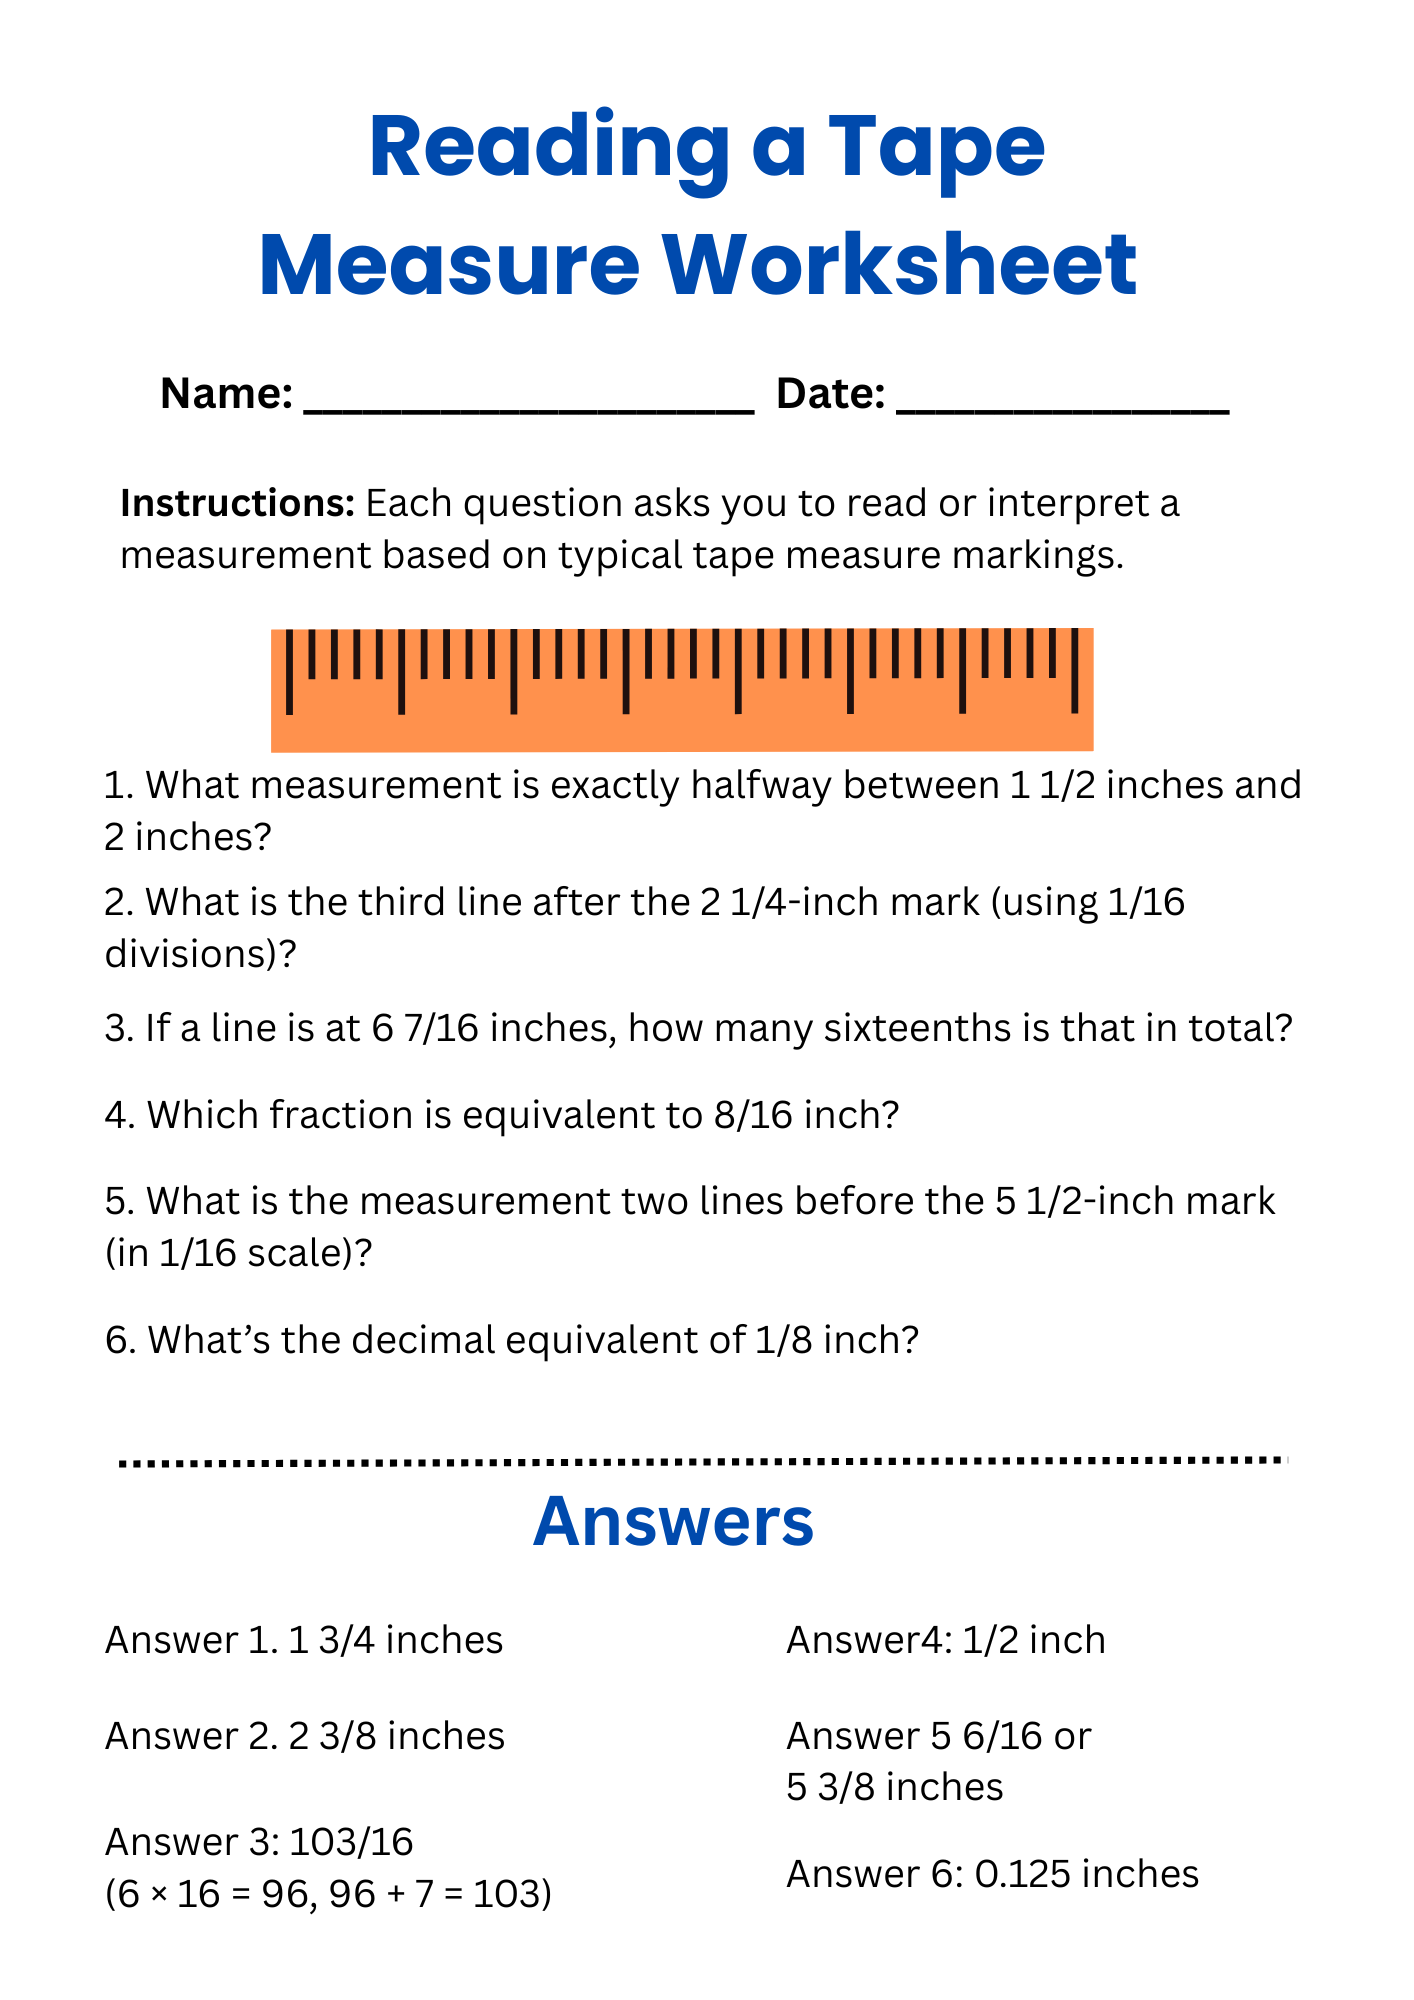
What is a Reading a Tape Measure Worksheet?
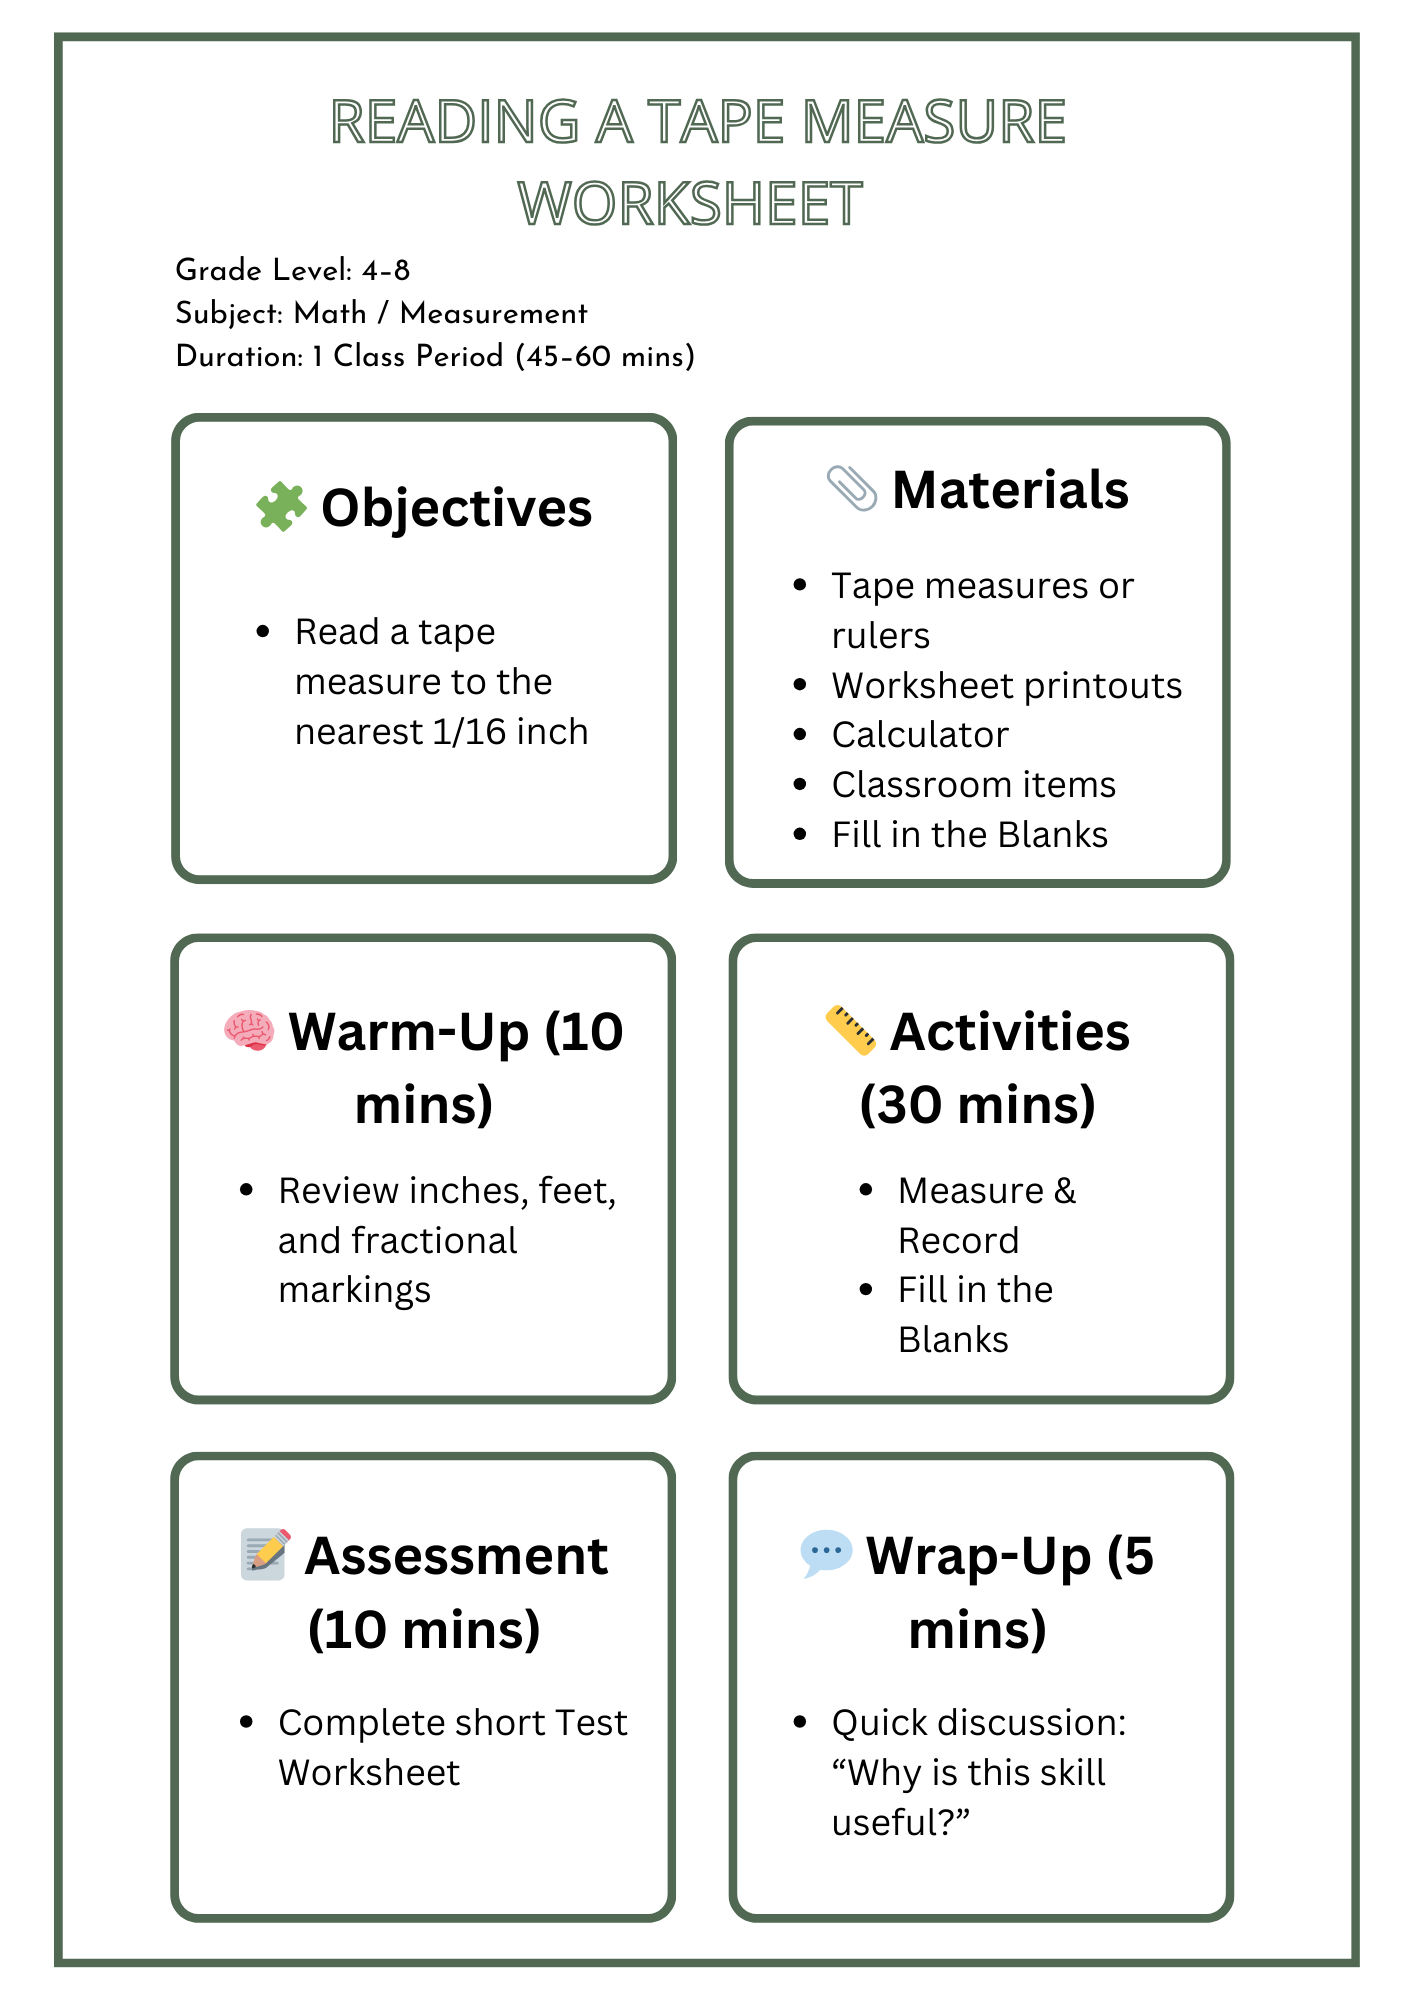
A Reading a Tape Measure Worksheet is a practical educational tool designed to help learners accurately interpret measurements using both standard (imperial) and metric tape measures. These worksheets typically include exercises focused on reading inches, feet, centimeters, and millimeters, as well as identifying fractional markings such as 1/2″, 1/4″, 1/8″, and 1/16″. By working through these activities, students strengthen their understanding of measurement increments, unit conversions, and spatial awareness—skills essential in fields like construction, engineering, woodworking, and everyday life. The worksheets often feature visual diagrams, real-world scenarios, and hands-on practice, enabling learners to build accuracy and confidence in using measurement tools. This structured approach enhances problem-solving abilities and lays a strong foundation for practical math applications and technical skill development.
How do you Read a Tape Measure?
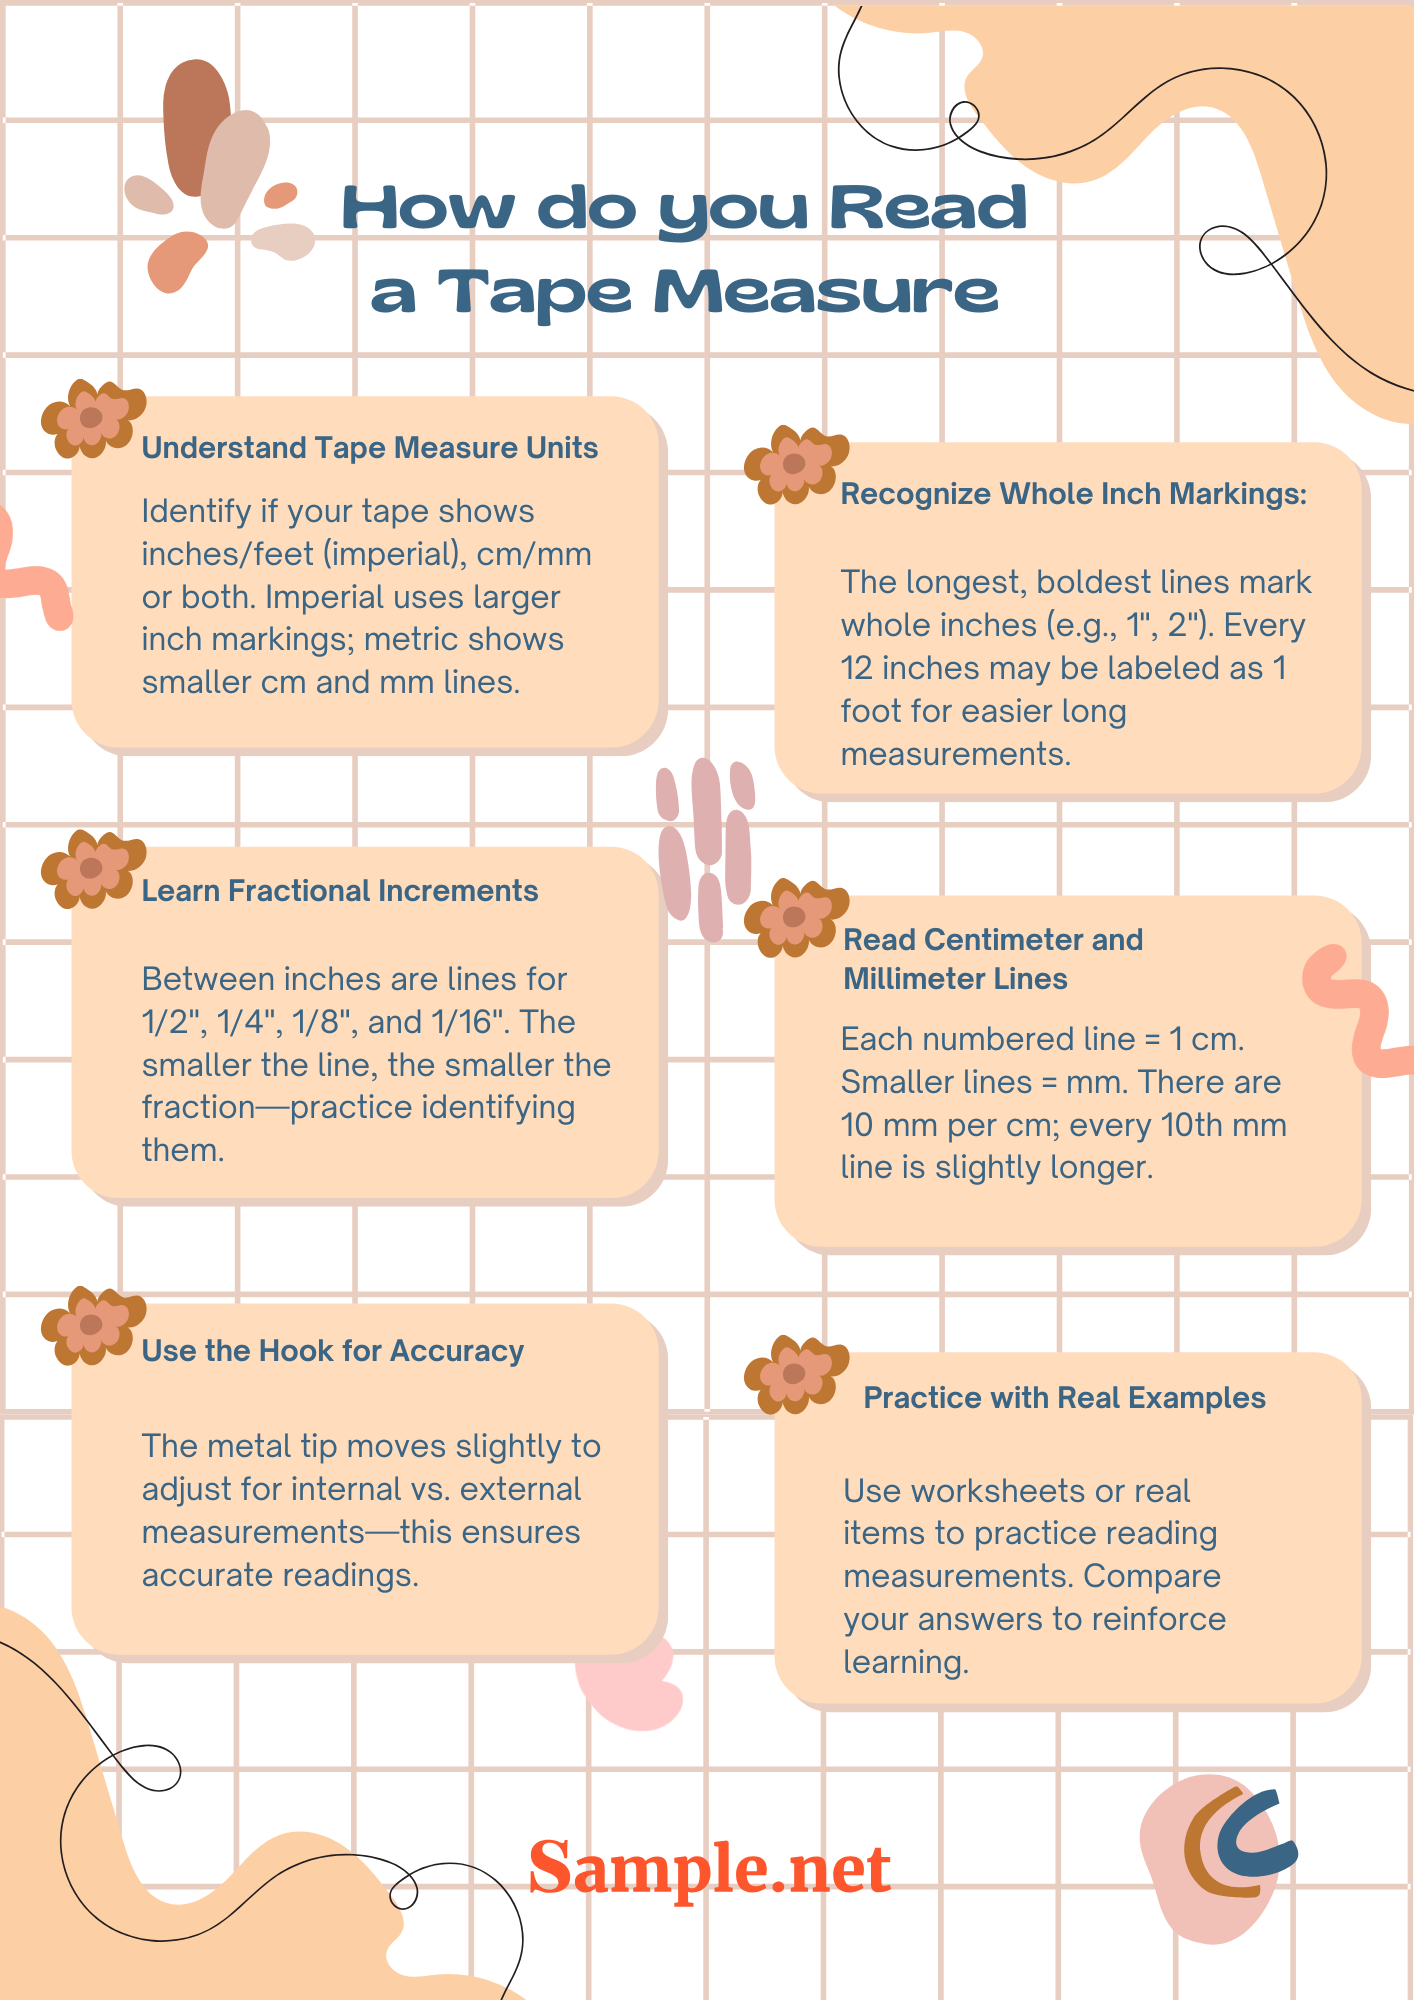
Reading a tape measure involves identifying numbers, markings, and units accurately to measure length in inches, feet, or centimeters.
🟧 Understand Tape Measure Units: Start by identifying if your tape measure uses imperial (inches/feet), metric (centimeters/millimeters), or both. Most tape measures show both systems. The imperial side usually has larger markings with numbers indicating inches, while the metric side lists centimeters and millimeters in smaller increments.
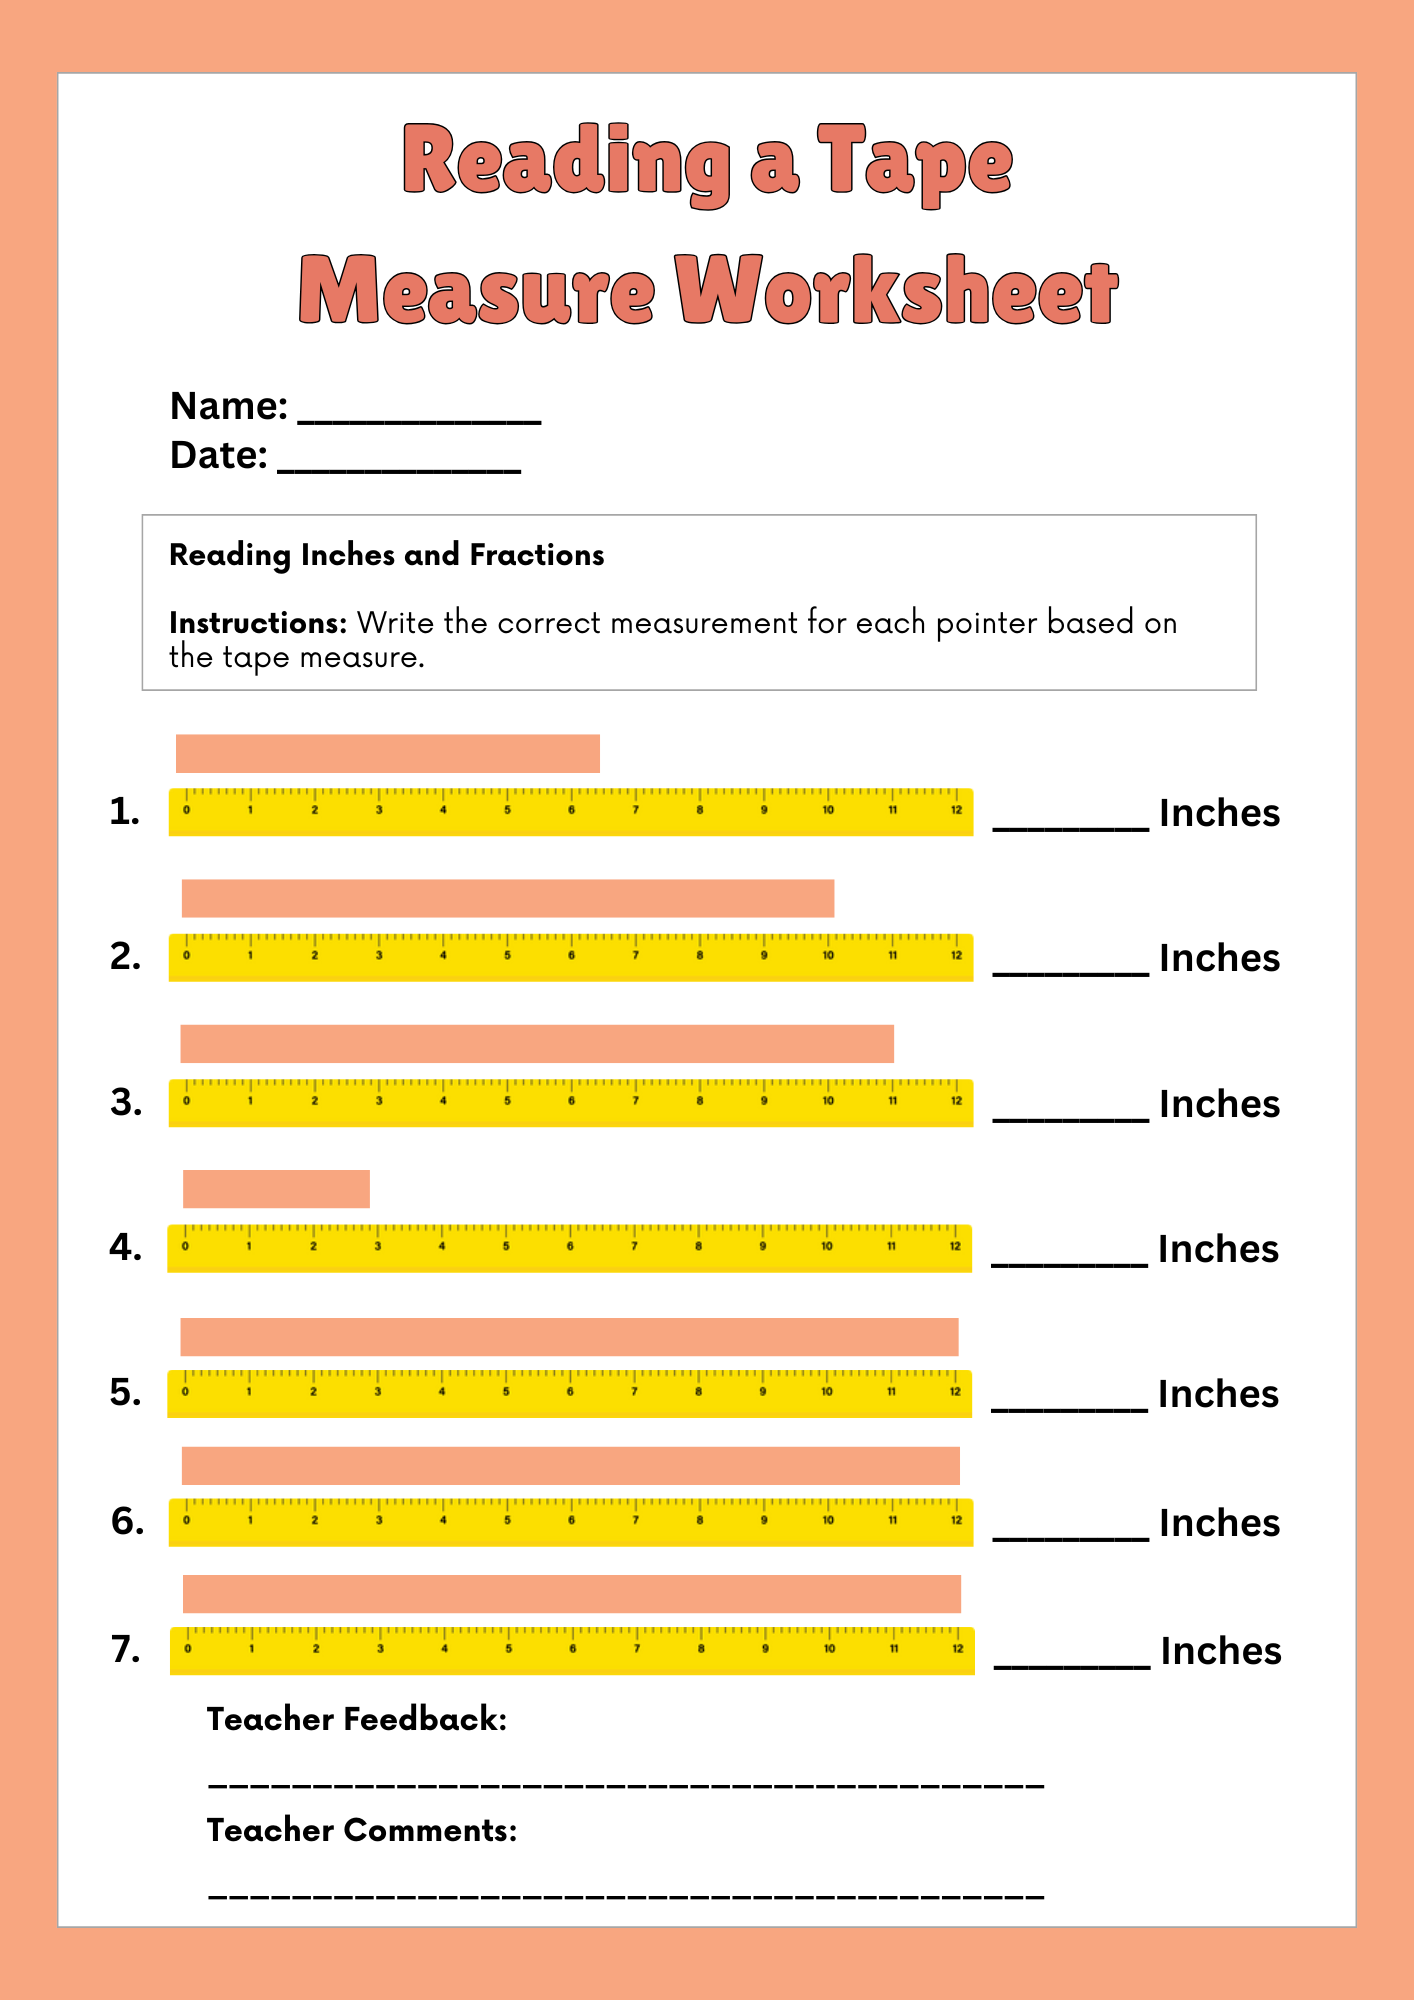
🟧 Recognize Whole Inch Markings: The boldest lines with numbers represent whole inches (e.g., 1″, 2″, 3″). These are the easiest to read and are typically the longest lines. On some tapes, every 12 inches is marked as 1 foot to make conversion easier during longer measurements.
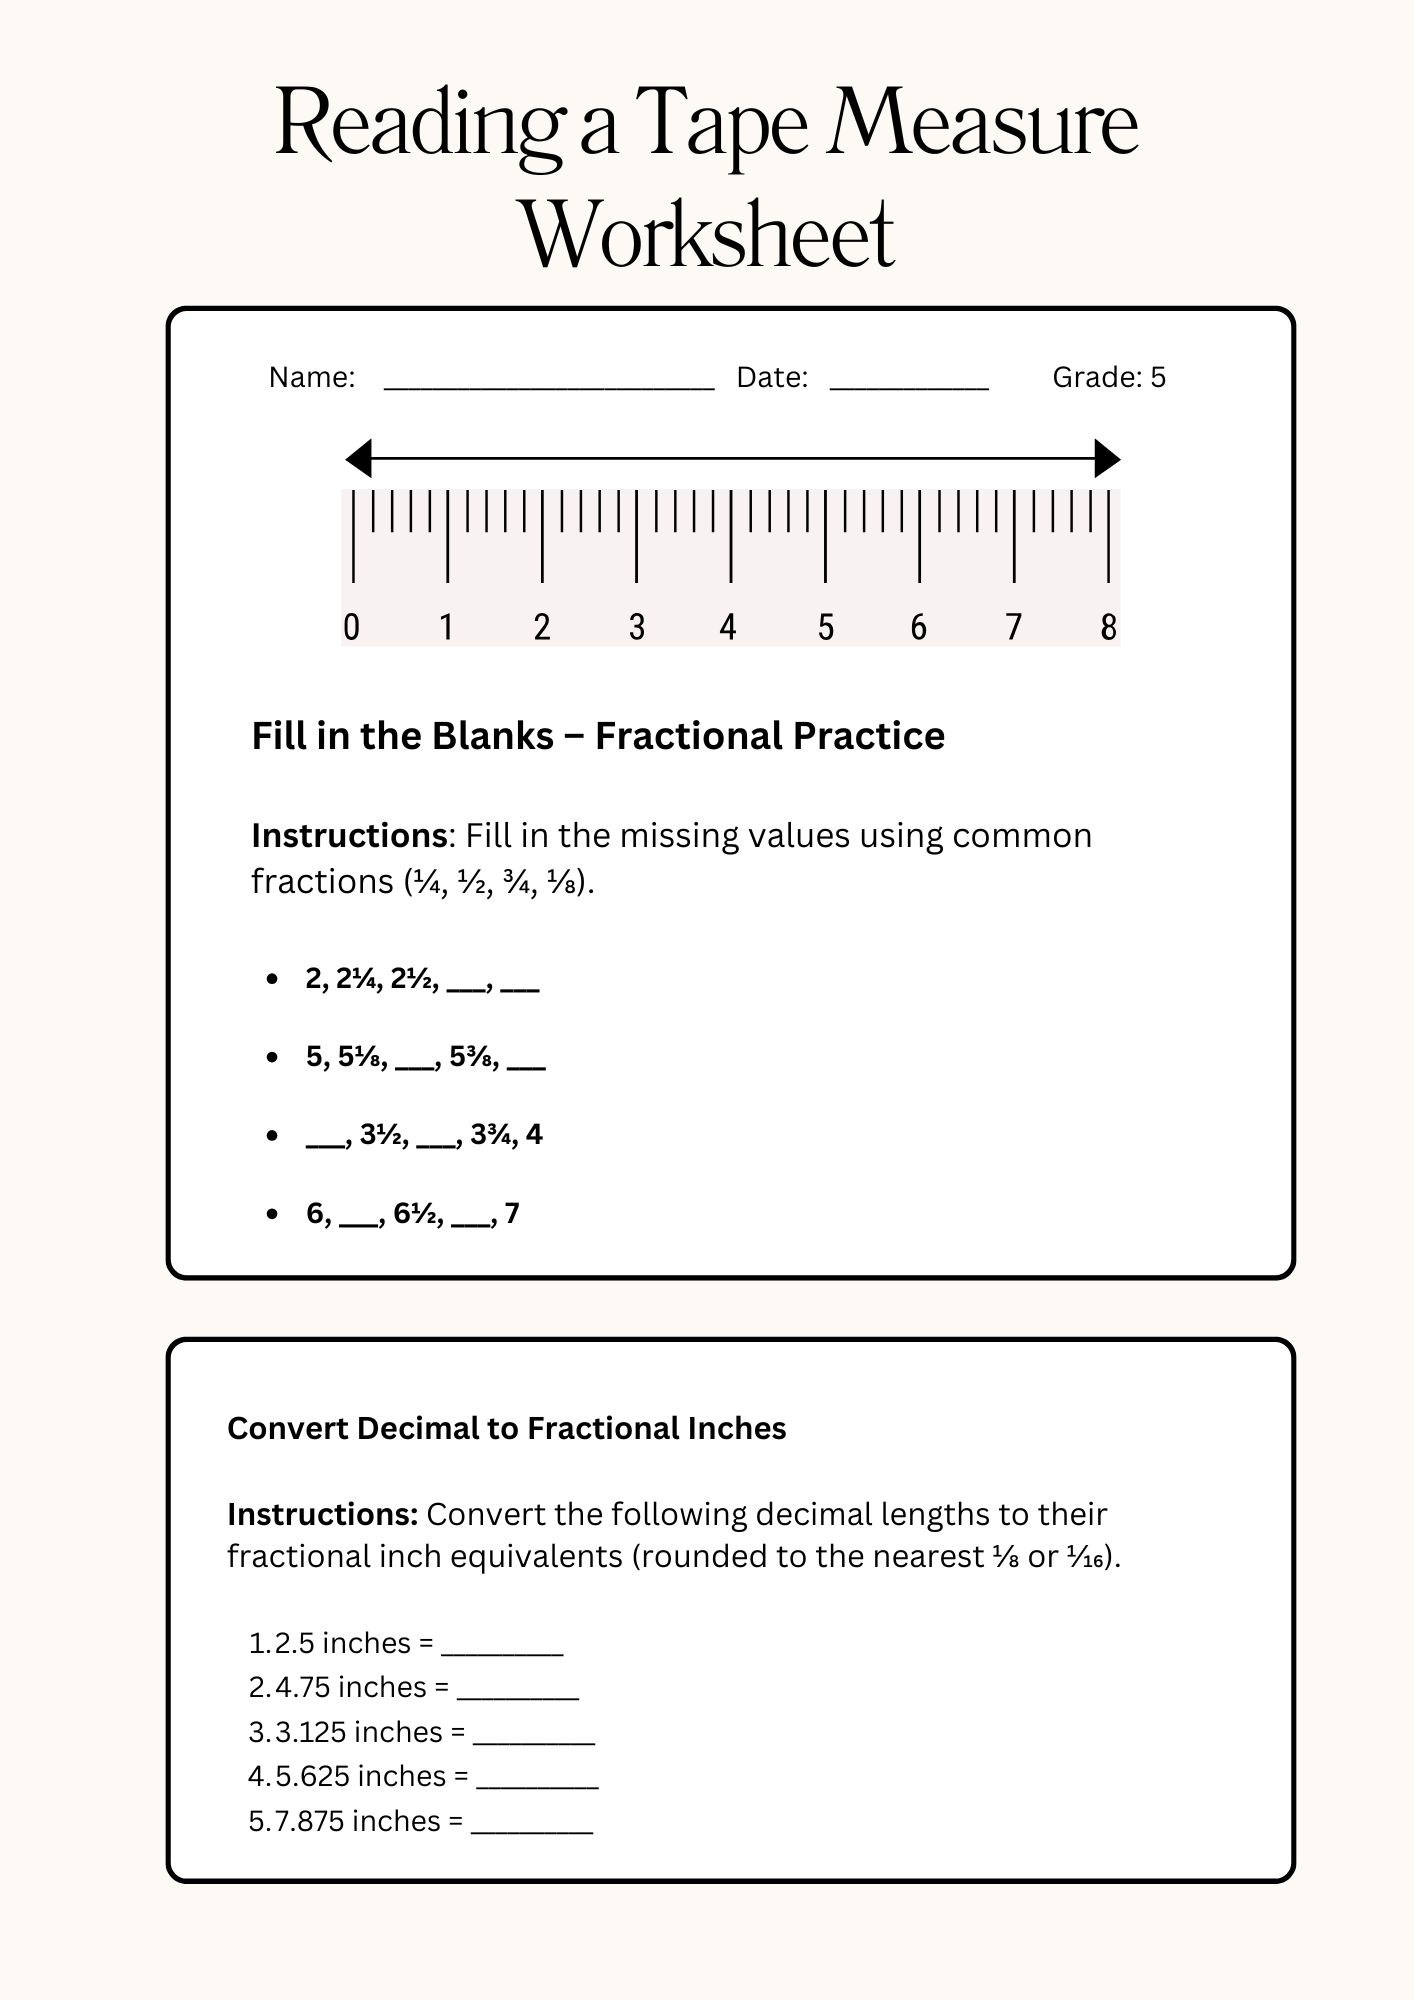
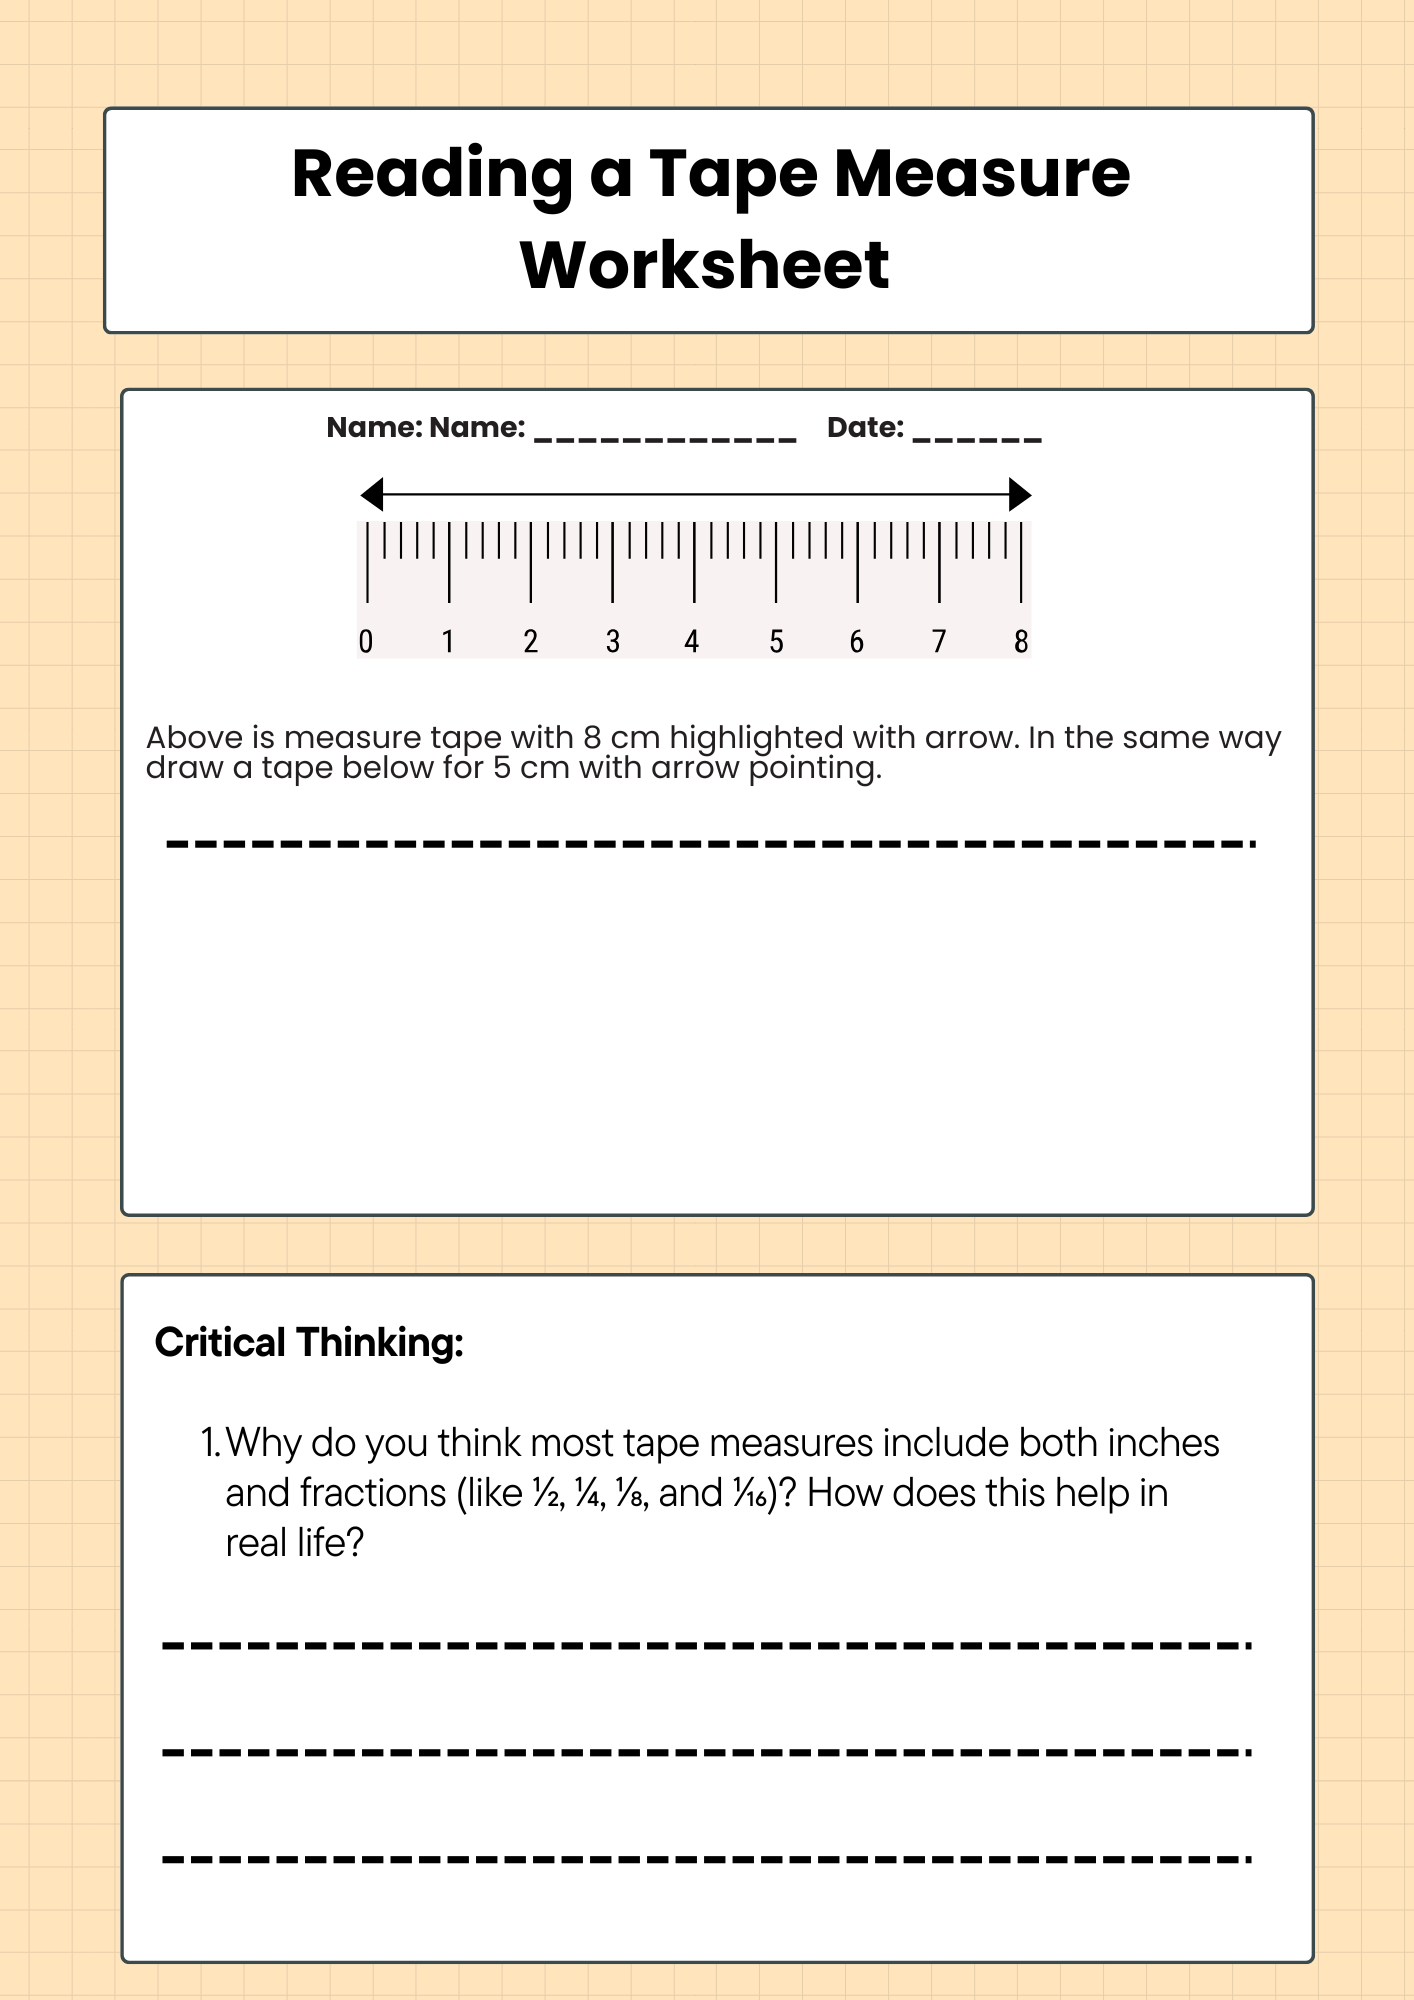
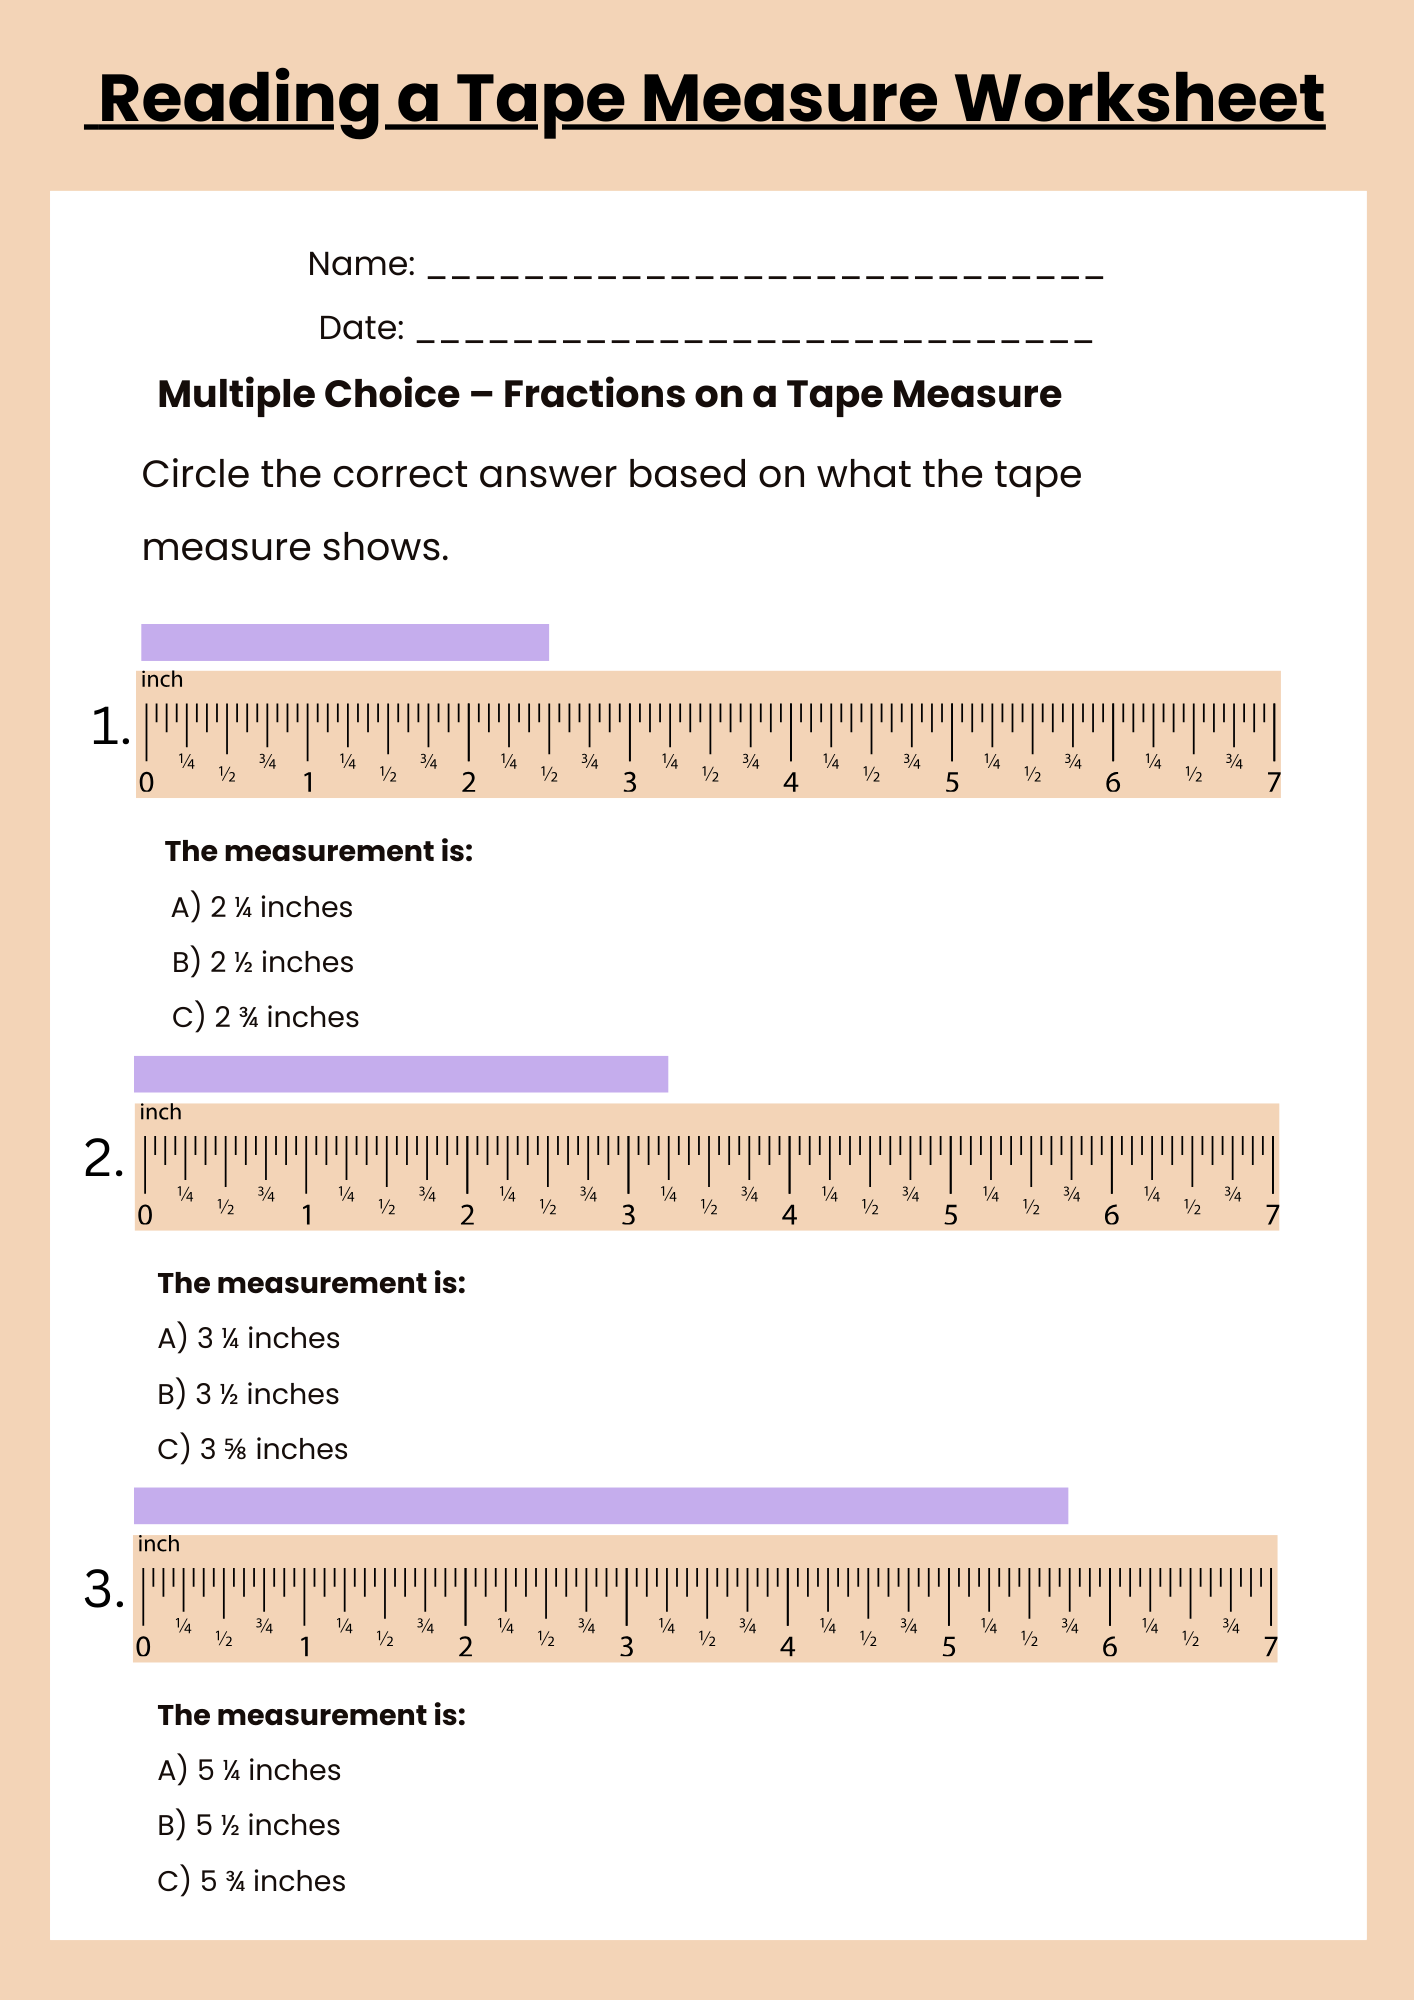
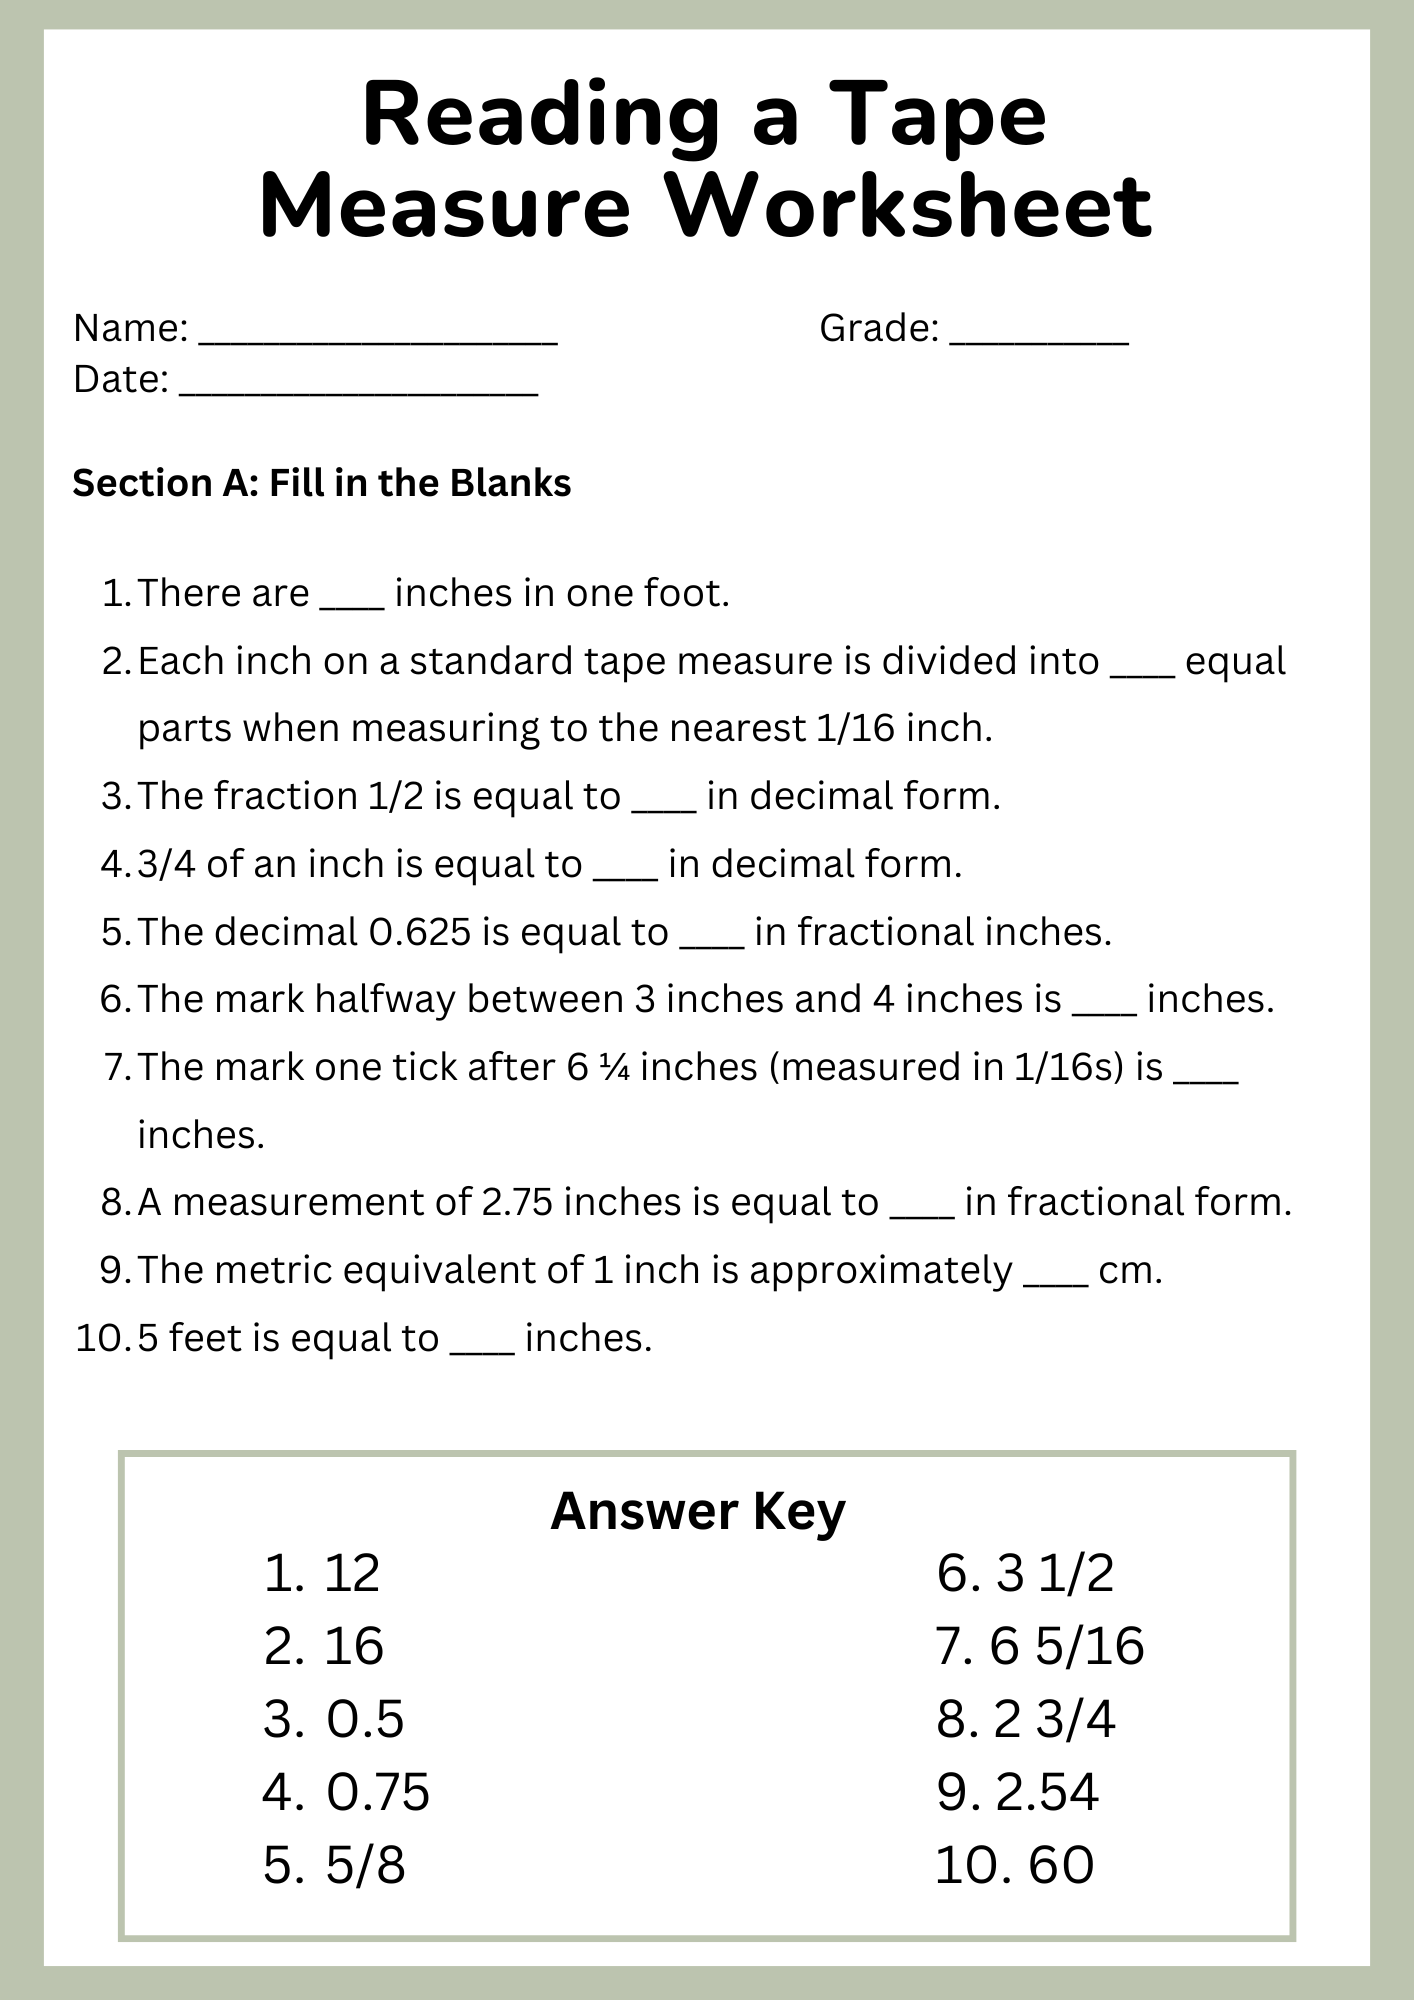
🟧 Learn Fractional Increments: Between each inch, there are several shorter lines representing fractions such as 1/2″, 1/4″, 1/8″, and 1/16″. The closer the lines are together, the smaller the fraction. Familiarize yourself with these fractions and practice identifying them correctly on the worksheet.
🟧 Read Centimeter and Millimeter Lines: On the metric side, each numbered line represents a centimeter (cm). The smaller lines in between are millimeters (mm). There are 10 millimeters in each centimeter, so every tenth line is usually longer and easier to spot.
🟧 Use the Hook for Accuracy: The metal tab or hook at the end of the tape is slightly loose by design. When measuring an external surface, the hook compresses inward. For inside measurements, it extends outward. This compensates for the hook’s thickness and ensures exact readings.
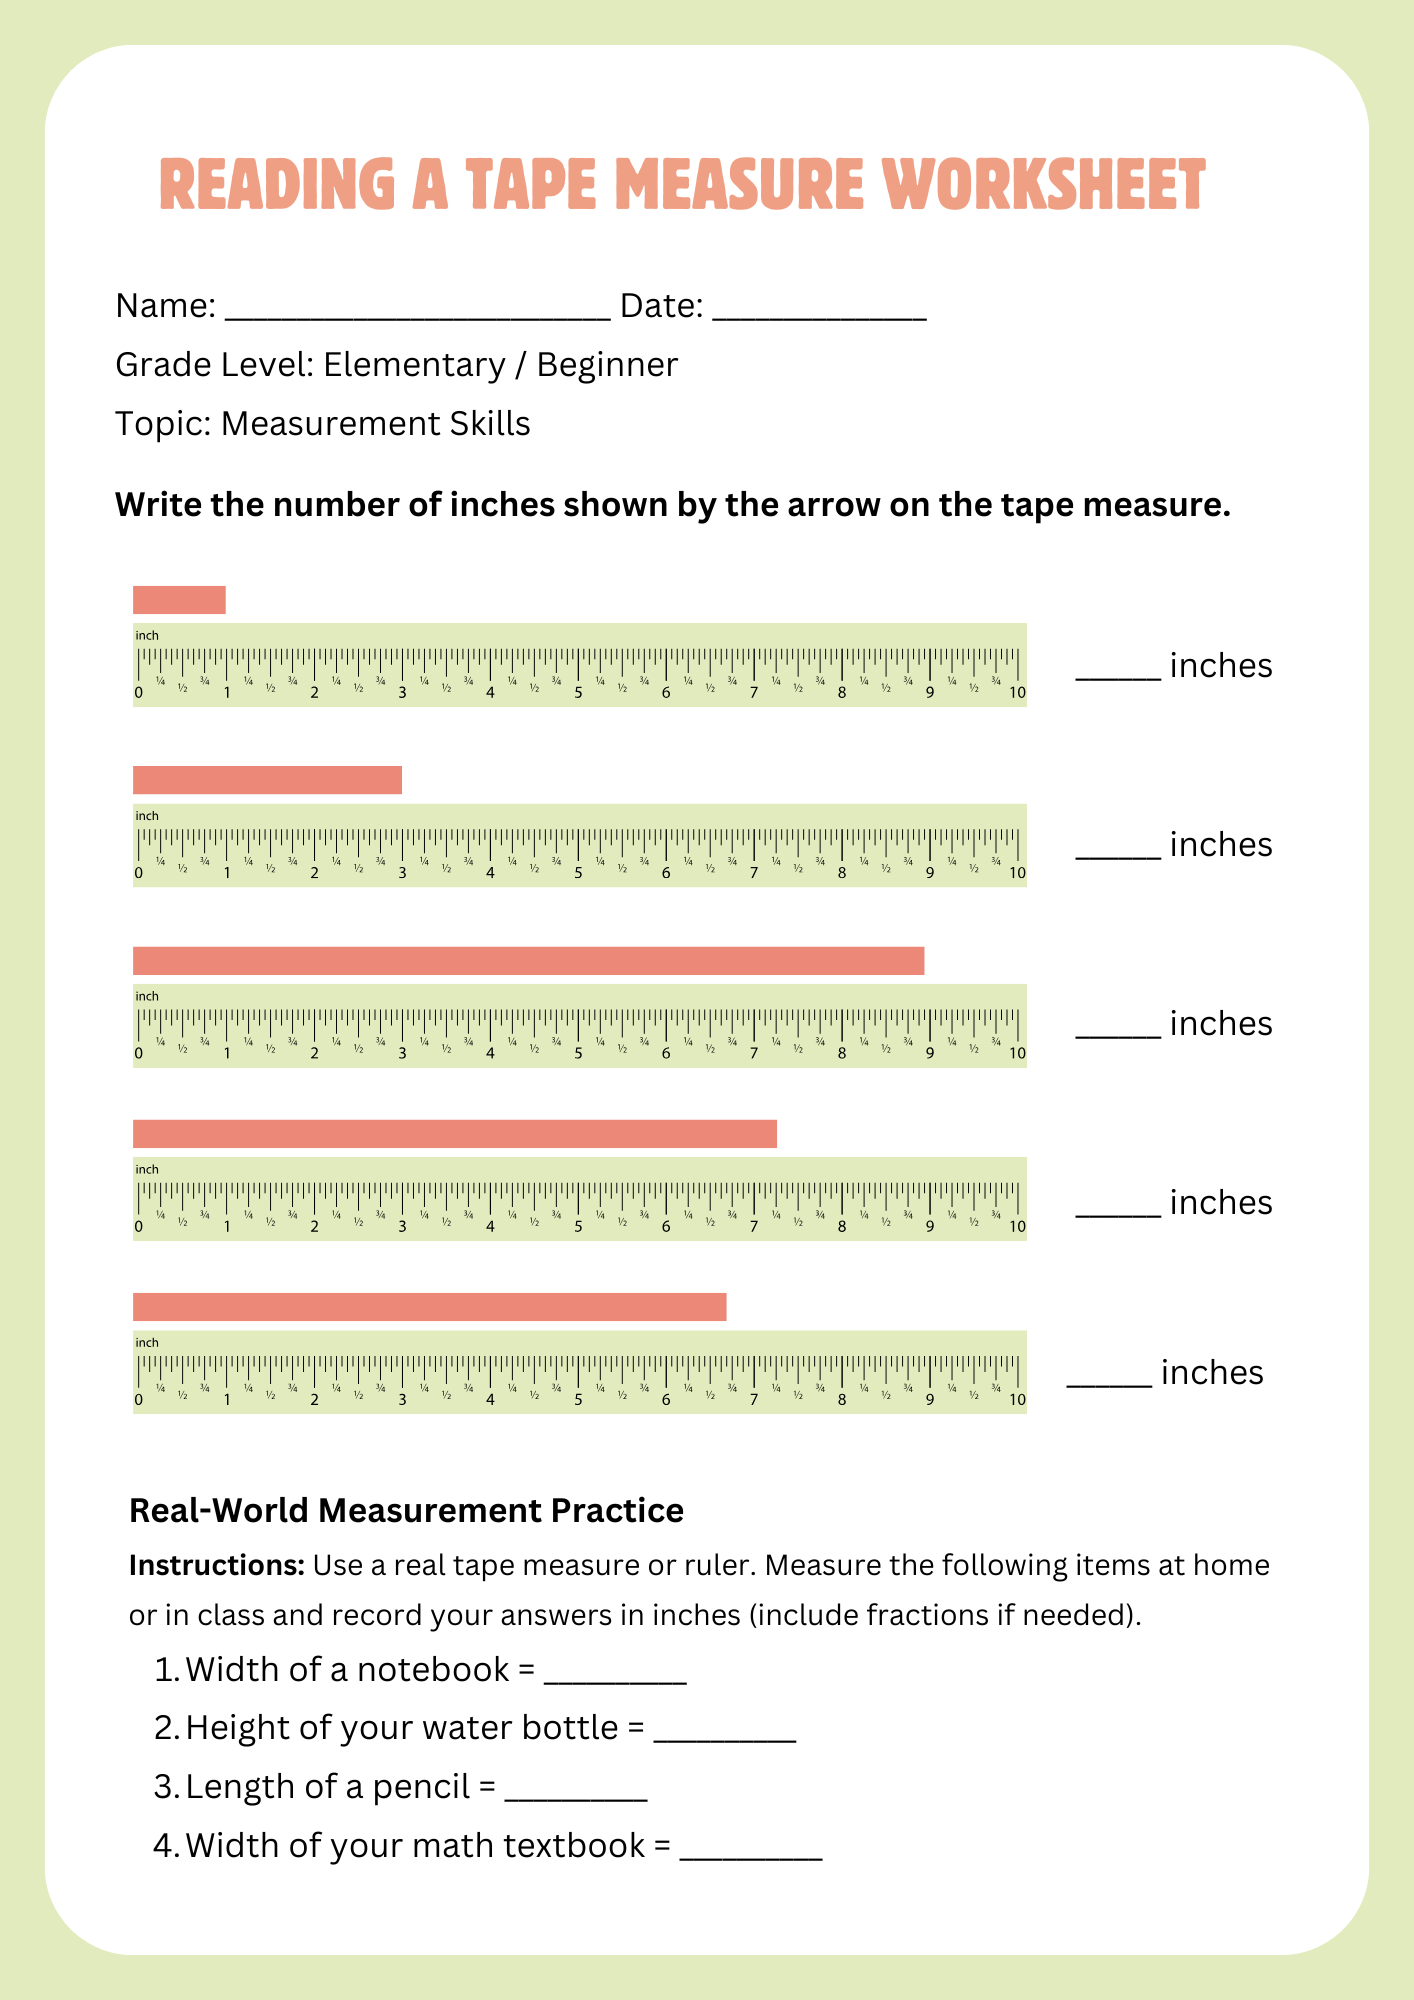
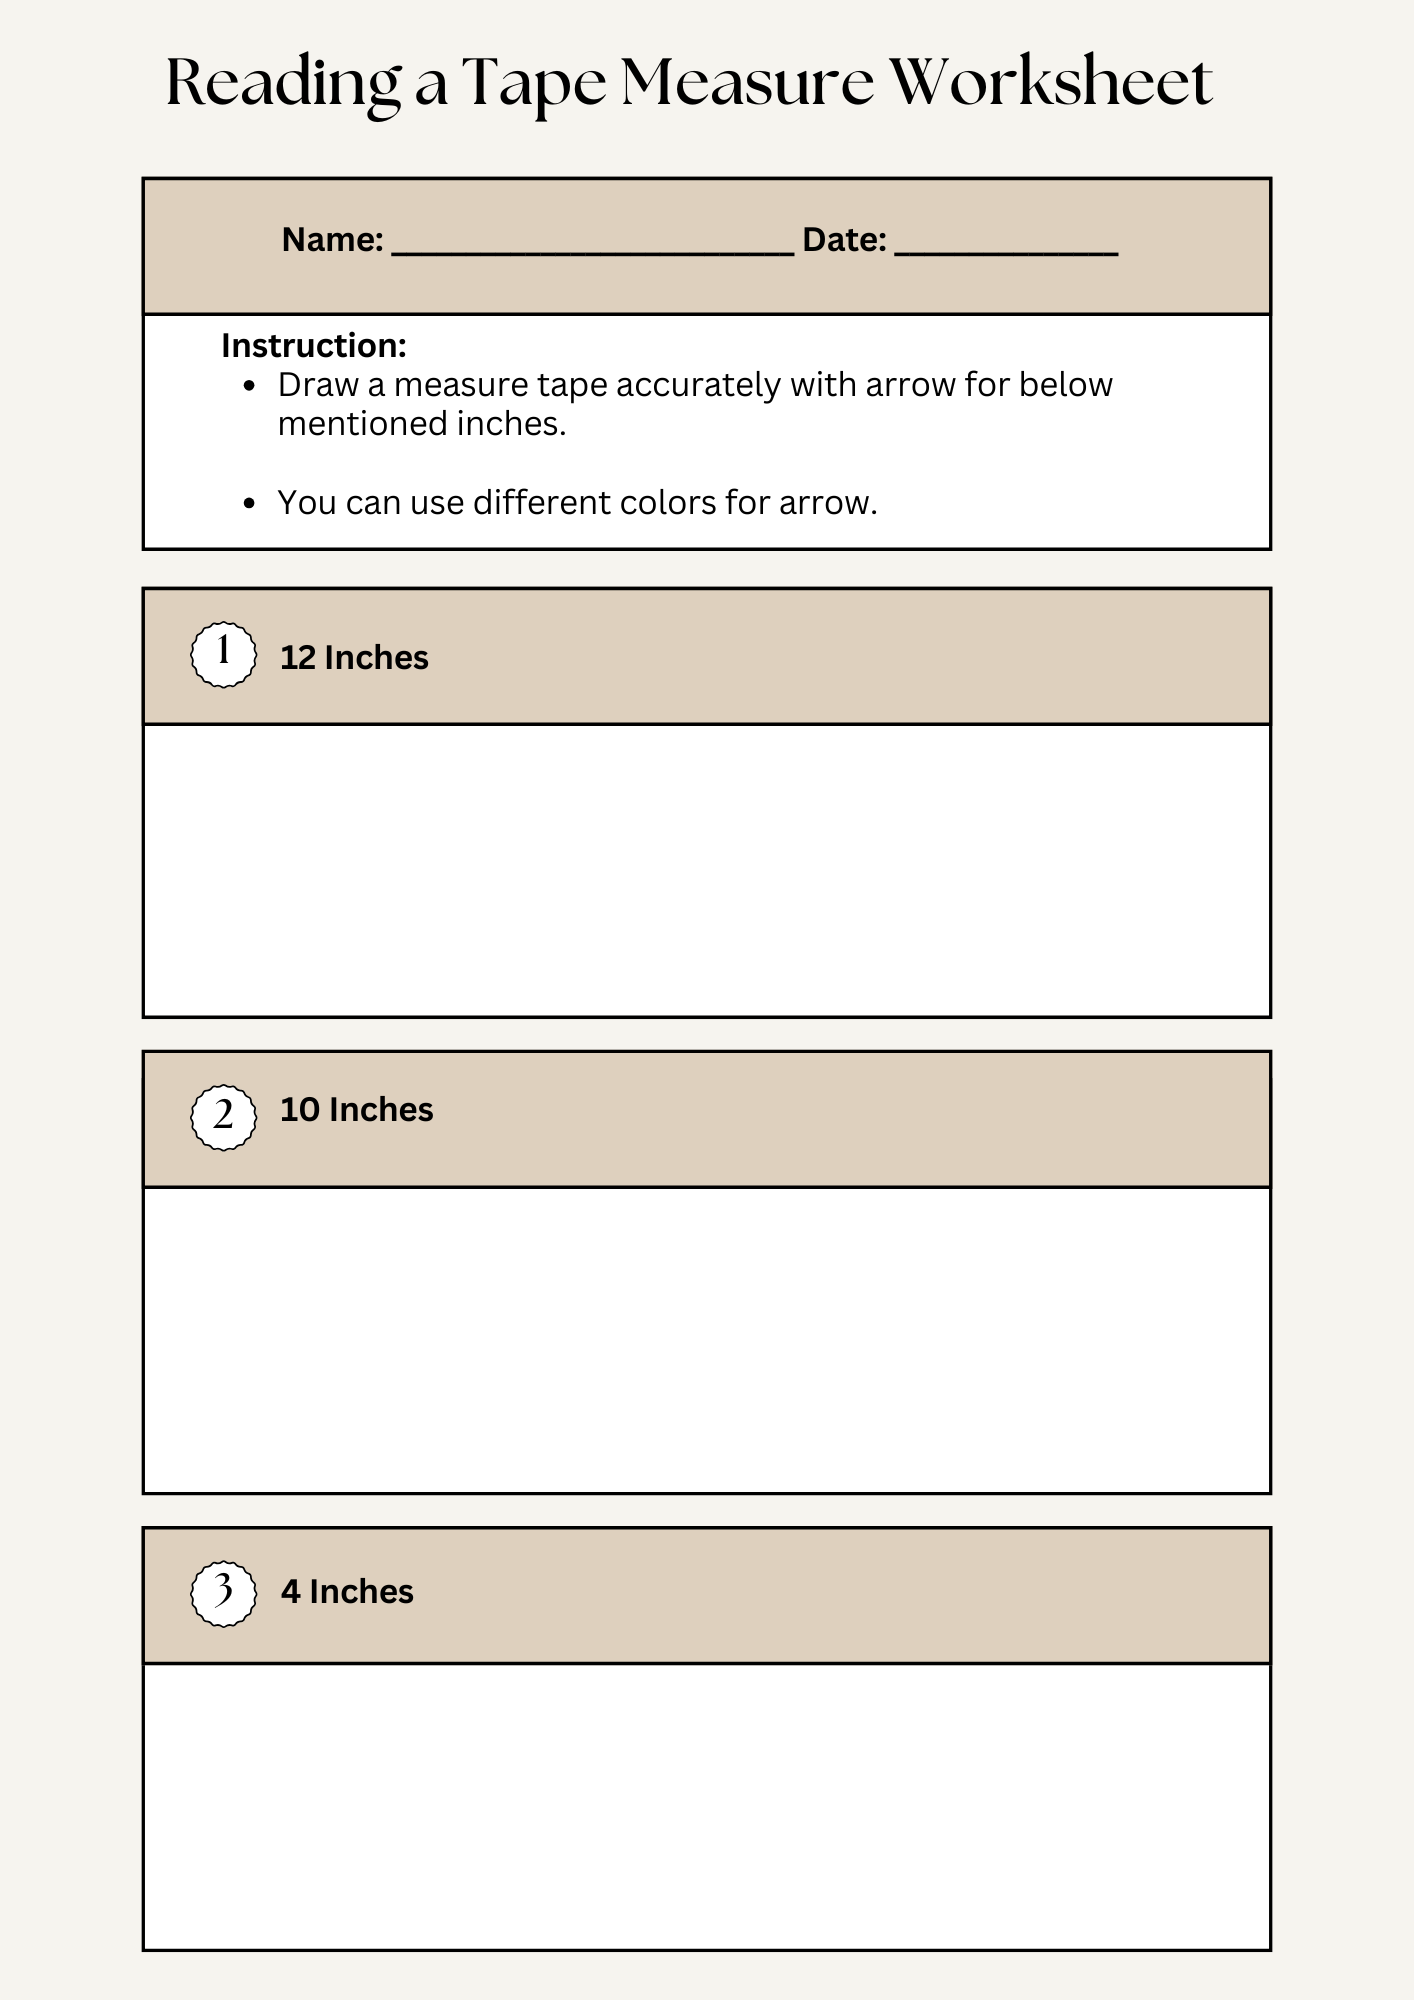
🟧 Practice with Real Examples: Use the worksheet to practice reading different measurements from diagrams or real objects. Compare your answers with the worksheet’s solutions to check accuracy. This step-by-step repetition helps improve your measurement reading skills effectively.
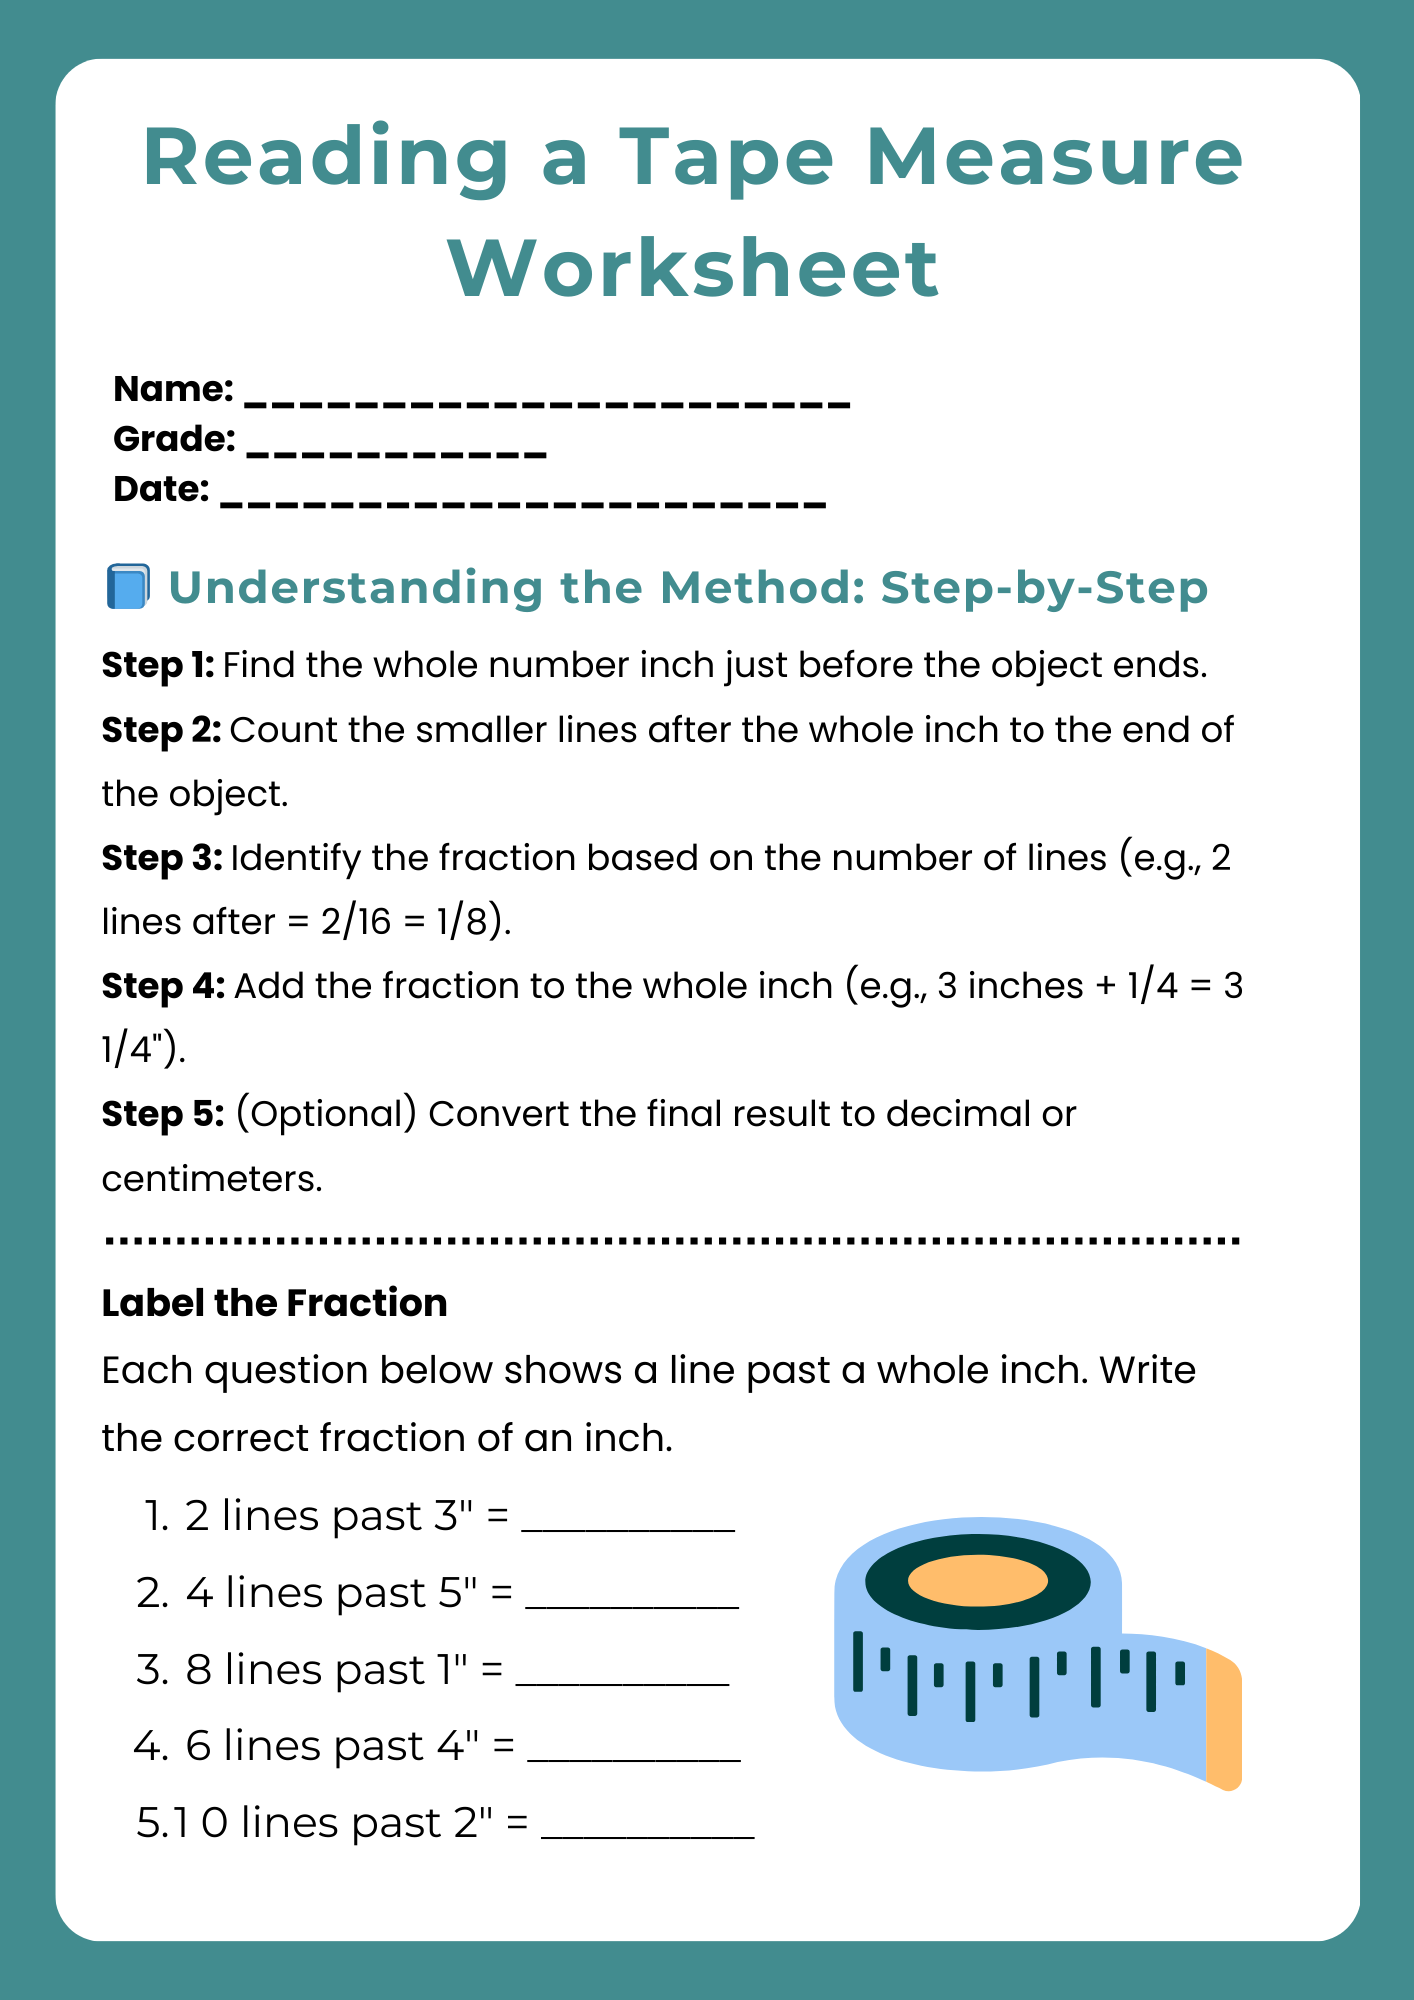
What Do the Notches on a Tape Measure Mean?
Notches on a tape measure represent specific units and fractions, helping users measure accurately in both standard and metric systems.
1️⃣ Identify Inch Marks: The longest notches on a standard tape measure indicate full inches. Each one is usually numbered (1, 2, 3, etc.) and spaced one inch apart.
2️⃣ Recognize Half-Inch Lines: Slightly shorter than inch marks, these notches divide each inch in half. They sit directly between the full-inch marks (e.g., 1½”).
3️⃣ Spot Quarter-Inch Marks: These medium-sized lines divide each inch into four equal parts. They appear at ¼, ½, and ¾ positions between inch notches.
4️⃣ Understand Eighth-Inch Divisions: Smaller than quarter-inch lines, these notches split each inch into eight equal sections. You’ll find them evenly spaced between quarter-inch marks.
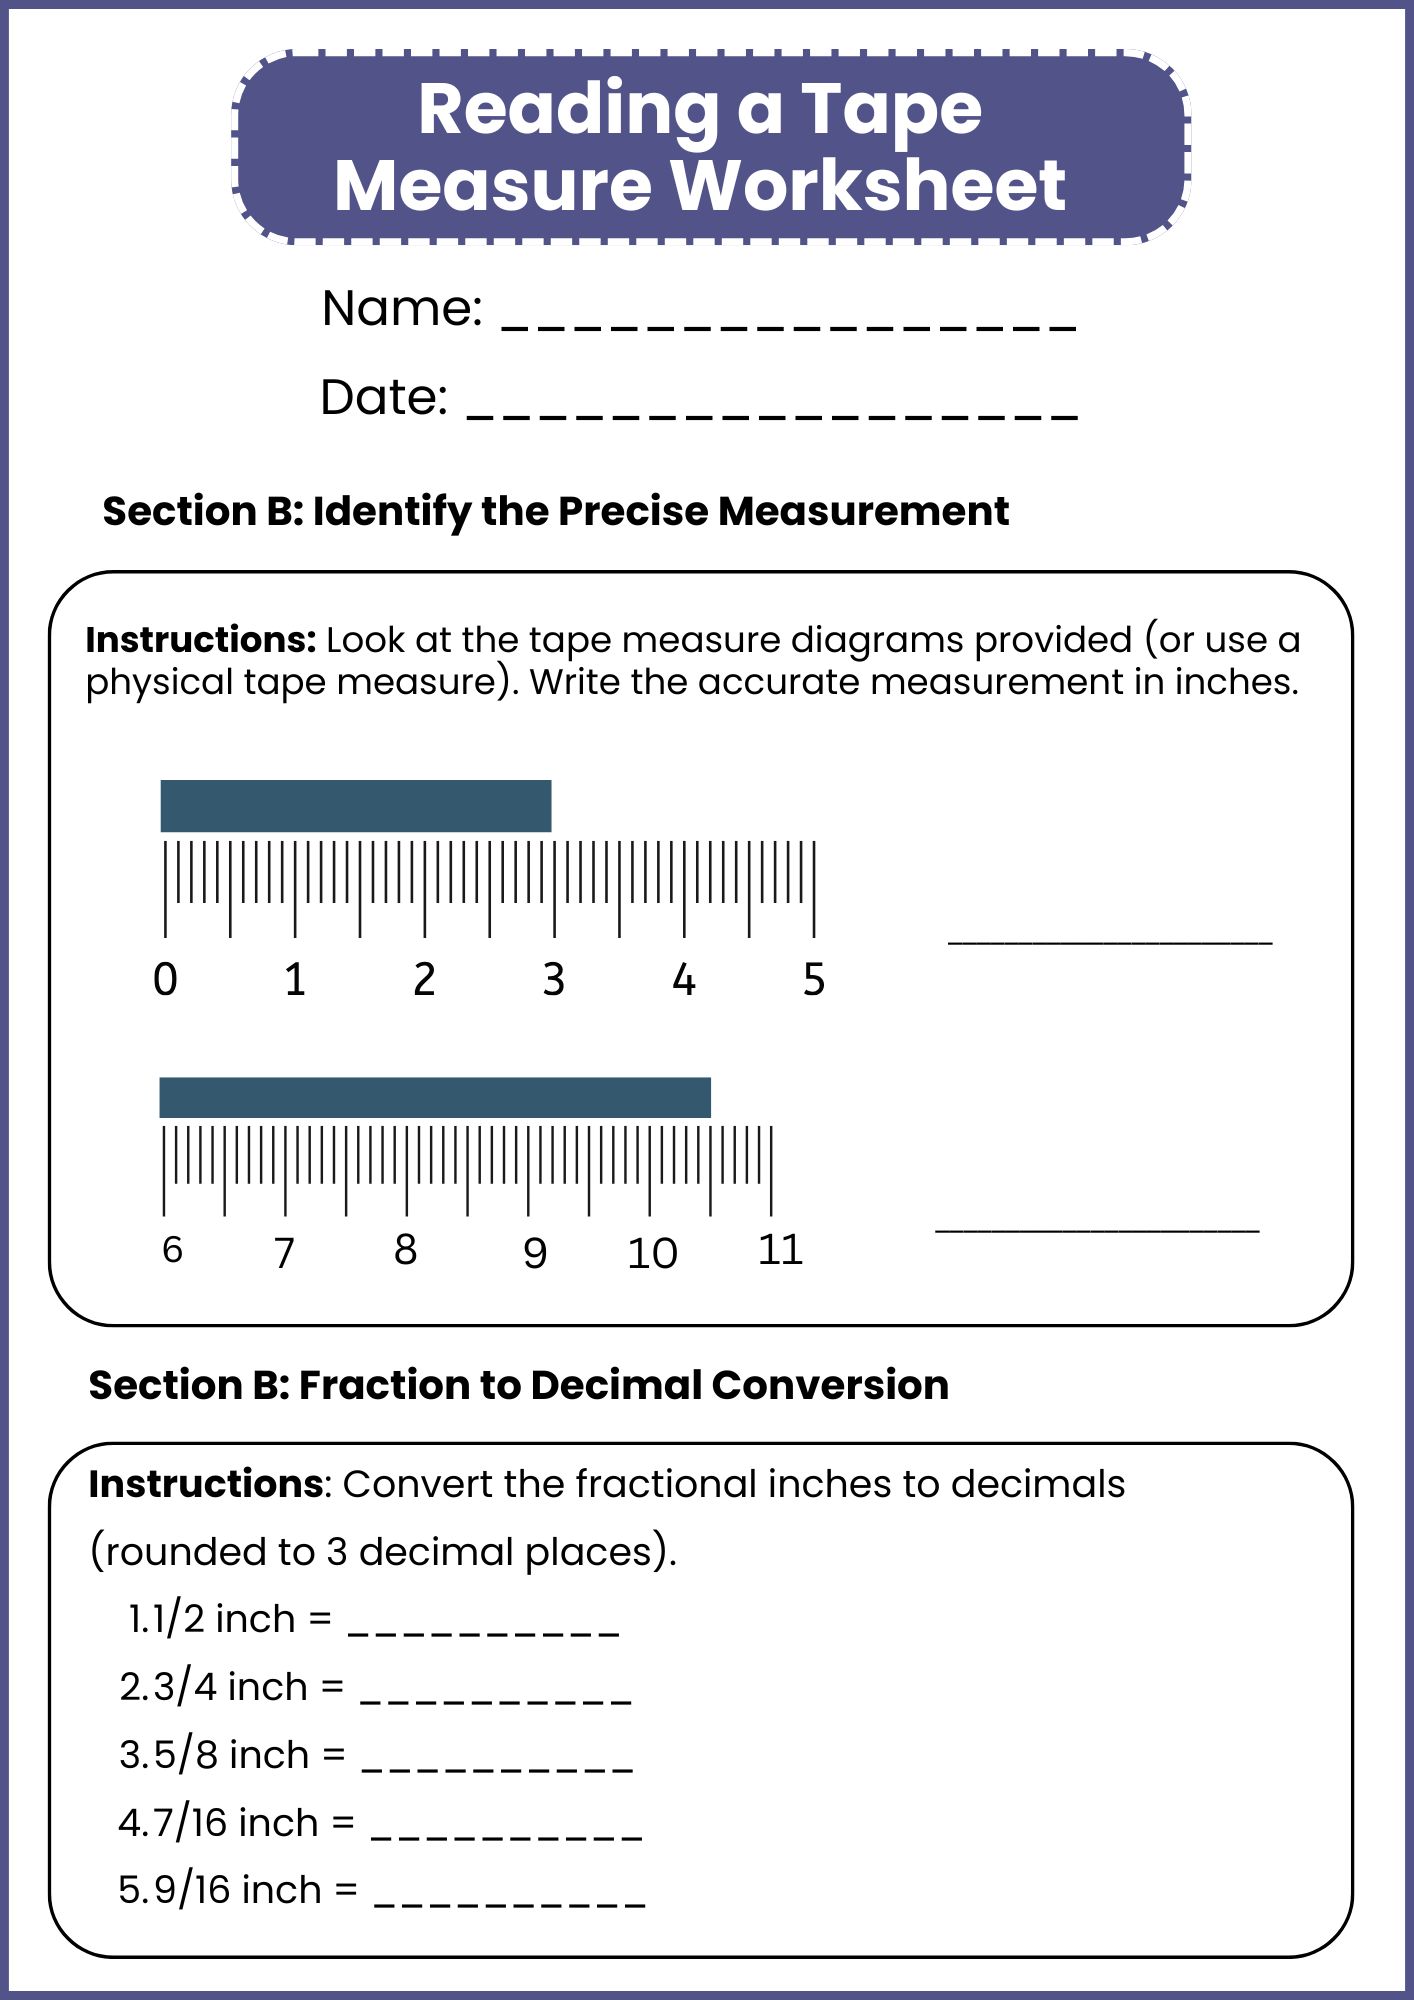
5️⃣ Read Sixteenth-Inch Lines: The smallest visible notches on most tape measures divide each inch into 16 parts. These tiny lines provide high precision for fine measurements.
6️⃣ Metric System Notches: In metric tape measures, notches represent millimeters and centimeters. Each centimeter is numbered, and ten small millimeter marks fill the space in between.
What is the Correct Technique for Measuring Length Using Tape?
Accurately reading a tape measure is a fundamental skill in carpentry, engineering, DIY projects, and math education, ensuring precise and reliable results. Mastering the technique builds measurement confidence, improves accuracy, and supports real-world application of math skills. Here’s the correct method for measuring length using a tape measure:
✅ Understand the Tape’s Units: Familiarize yourself with the tape measure’s layout, including inches, feet, and metric units like centimeters and millimeters, depending on the model.
✅ Start from the Zero Mark: Always begin measuring from the “0” mark at the tape’s tip, not from the tape’s physical end or hook gap.
✅ Align the Tape with the Object: Make sure the tape is straight and flush with the object’s edge. Avoid bending or sagging for an accurate measurement.
✅ Read the Measurement Mark: Identify the closest full unit (inch or centimeter) first, then count the fractional or smaller marks that follow for precision.
✅ Hold the Tape Steady: Keep the tape firmly in place using the hook or your fingers, especially on longer measurements where movement can distort accuracy.
✅ Record the Measurement Precisely: Note the value clearly, including the unit (e.g., 5 ¾ inches or 14.5 cm), and double-check the reading to avoid errors in calculations.